 How To - Super Cooler Install
How to Super Cooler Install
With warmer weather upon us some of you may be thinking of installing a Super Cooler (SC).
FACTS:
Stock Heat Exchanger (HE) holds only 2 cups of coolant
The SC holds 8 cups
Stock HE full weighs 3.2lbs
The SC full weighs 10.6lbs
Stock cooling area measures 22x4.5x1.6 - 158.4 cu in
SC cooling area measures 20.5x16x1.4 - 459.2 cu in
So it’s going to cost you about 7 pounds of weight to gain four times as much cooling capacity and nearly three times the cooling area. Oh, so now you want to do it! Well let’s get started!
PARTS LIST
Super Cooler
Various hose clamps
Hose plugging stuff
5/8” hose
Zip Ties
TOOLS
Jack
Jack Stands
�” Ratchet
Couple of Extensions
8mm, 10mm socket
T25, T30 Star Bits
Drill with � bit
Screw Driver
Funnel
Knife
PROCESS
1. Safely and securely jack up the front of your car.
2. Open hood
3. Remove X4, 8mm bolts from the top of the grill and pull grill off. (just the four inside bolts)
 4. Remove the plastic splash shield under the engine X5, 8mm bolts and a plastic rivet.
5. Remove plastic nuts, 10mm, and plastic screws, T25, from the front fender well inner liners. (Think its 4 nuts and 3 screws on driver side. 2 nuts and 3 screws on the passenger side). Take out liners.
4. Remove the plastic splash shield under the engine X5, 8mm bolts and a plastic rivet.
5. Remove plastic nuts, 10mm, and plastic screws, T25, from the front fender well inner liners. (Think its 4 nuts and 3 screws on driver side. 2 nuts and 3 screws on the passenger side). Take out liners.
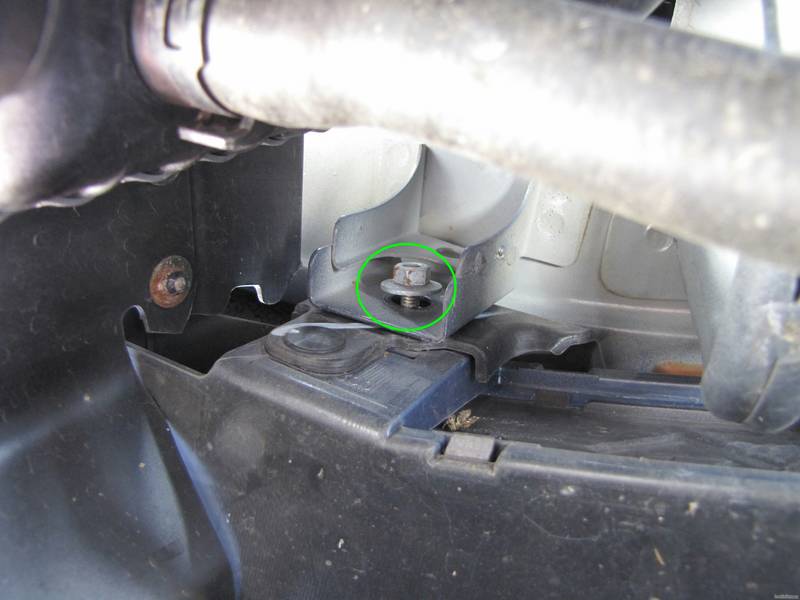
 6. Remove X2, 10mm nuts from the front lower center of the bumper. (circled in green)
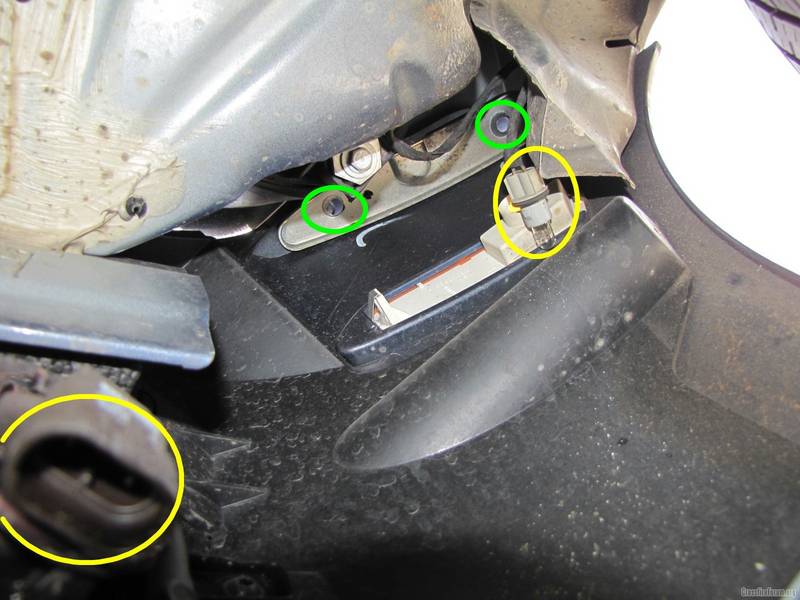
 7. Pull the outside temperature sensor off of the bumper.(circled in yellow)
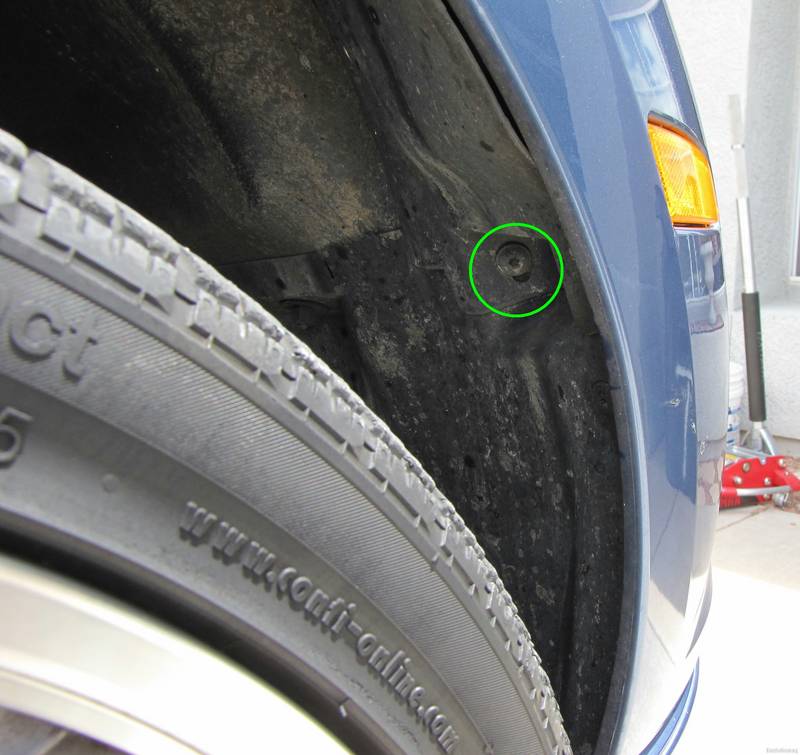
 8. On both the drivers and passenger inside upper fender area remove one 10mm bolt and nut. (circled in green)
9. Disconnect X2 fog lights. (circled in yellow)
10. Disconnect X2 side marker lights. (circled in yellow)
8. On both the drivers and passenger inside upper fender area remove one 10mm bolt and nut. (circled in green)
9. Disconnect X2 fog lights. (circled in yellow)
10. Disconnect X2 side marker lights. (circled in yellow)

11. Back on top remove X2, T30 bolts. The bumper is free!

Stock Heat Exchanger (HE) Removal and Super Cooler Install
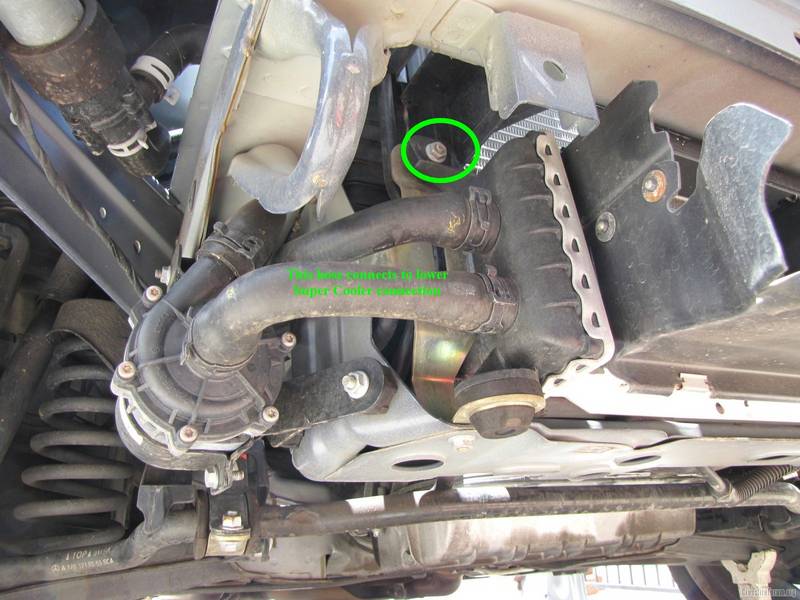
1. Remove 10mm bolt from left and right side of the stock HE. (circled in green)
 The area in yellow is where you can relocate your horns if you desire.
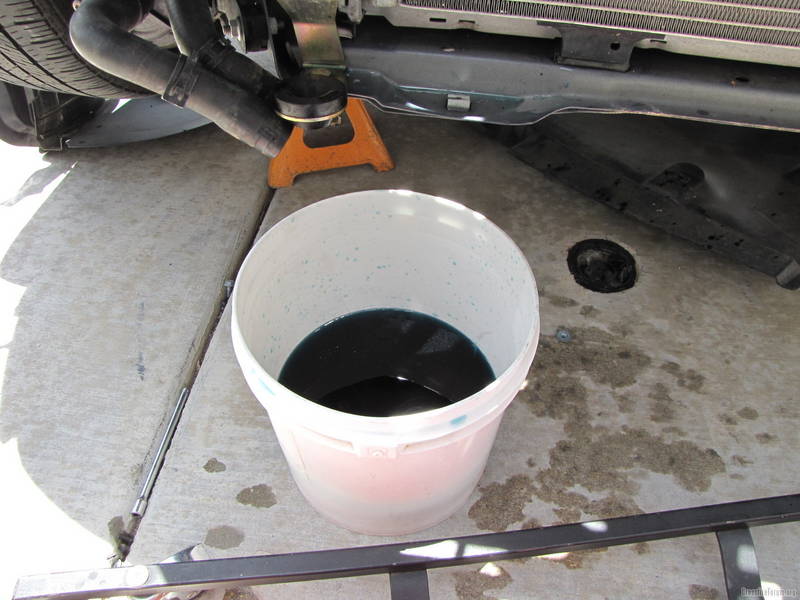
2. Remove hoses from HE and drain.
The area in yellow is where you can relocate your horns if you desire.
2. Remove hoses from HE and drain.
Last edited by tighed1; Jun 19, 2009 at 09:29 PM.