Now comes the harder part of the install...removing all the air bubbles and getting the soapy solution out from under the tint.
Something of note is when making your soapy solution you should note that the more baby shampoo you put into your mixture the longer time you will have to maneuver the tint, but it also take a lot more time to get all the solutiono out from behind the tint. I personally believe that I used too much soap in my solution as it took a while and a lot of work to get the solution out from underneath the tint.
5: Now that your tint is in place, take your hard card and wrap it in a paper towel. This will help to soak up a lot of the solution that comes out at first. It is a good way to start the squeegee process. After one pass around with the paper towel wrapped hard card remove the paper towel and continue with the hard card by itself.

Start in the center of the window and create that as an anchor point for the window. You will need to hold a corner of the tint as at this point it is still fairly slippery and has a tendency to move. You still have time to re-position the tint.
Air bubbles and bubles with solution under them are not uncommon and this is what the hard card is for.
Work your way from the inside out, beginning with a side to side motion in the middle then middle to top and middle to bottom.
One thing you must be careful with is getting the tint underneath the rubber seal of the door jam. Use your hard card and slide it inside the seal and slowly move along the window to get all the tint under the seal.
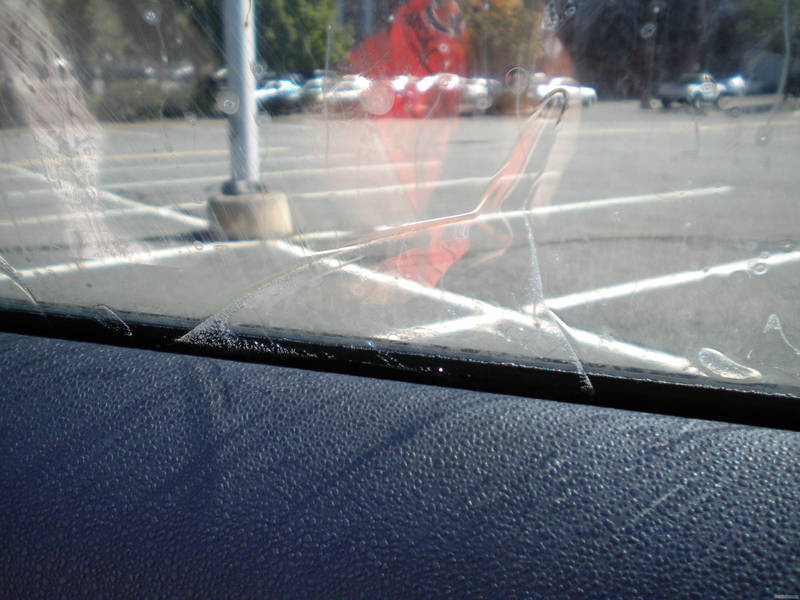
Once you get the tint under the rubber seal, it takes a good bit more time and attention to detail to get all the bubbles out. just work around the window always using the center as a starting point and working to the outside of the window.
Once you think you have gotten most of the bubbles out of the tint, use a littel soap solution and a clean microfiber and clean off the outside of the window to help see where imperfections may still be, you can do this same process for the inside of the window.
As said before it takes some time to get all the bubbles and soap solution out from under the tint, but set some time aside and pay attention to detail and you can have a successful install.