Step-3 : Making the openings
As you know by now, I talked about adding a few things to the center storage console. It is just too convenient not to take advantage of this opportunity to go ahead and mod a few other features the CF did not come with. This portion of the installation has absolutely no relation to the Bluetooth mod but we are here now, so just enjoy!
I always wondered why the engineers did not put similar lighting in the center storage console as they did with the glovebox storage. So, now I'll make it a reality and install one in like it should have been done.
I have read in this forum about CF owners having problems with batteries not keeping its charge or alternators failing. For a small price, I am willing to go ahead and install a digital voltmeter which allows me to monitor the current charging state of my CF anytime, engine running or not.
The born date of my Crossfire is mid July, 2003. I am sure the designers did not anticipate what a major role personal electronics have on us thirteen years later. Updating my CF with an auxillary power connector is exactly what it needs to keep up with the times. Heck, my '14 Chrysler 300C has 4 of them! So that's going in!
Lastly, friends and family, like my nieces, riding in the CF would enjoy being able to listen to their own personal devices that may not have Bluetooth technology, like an iPod or an mp3 player. And all it would cost me is a stereo cord with a headphone jack. Done!
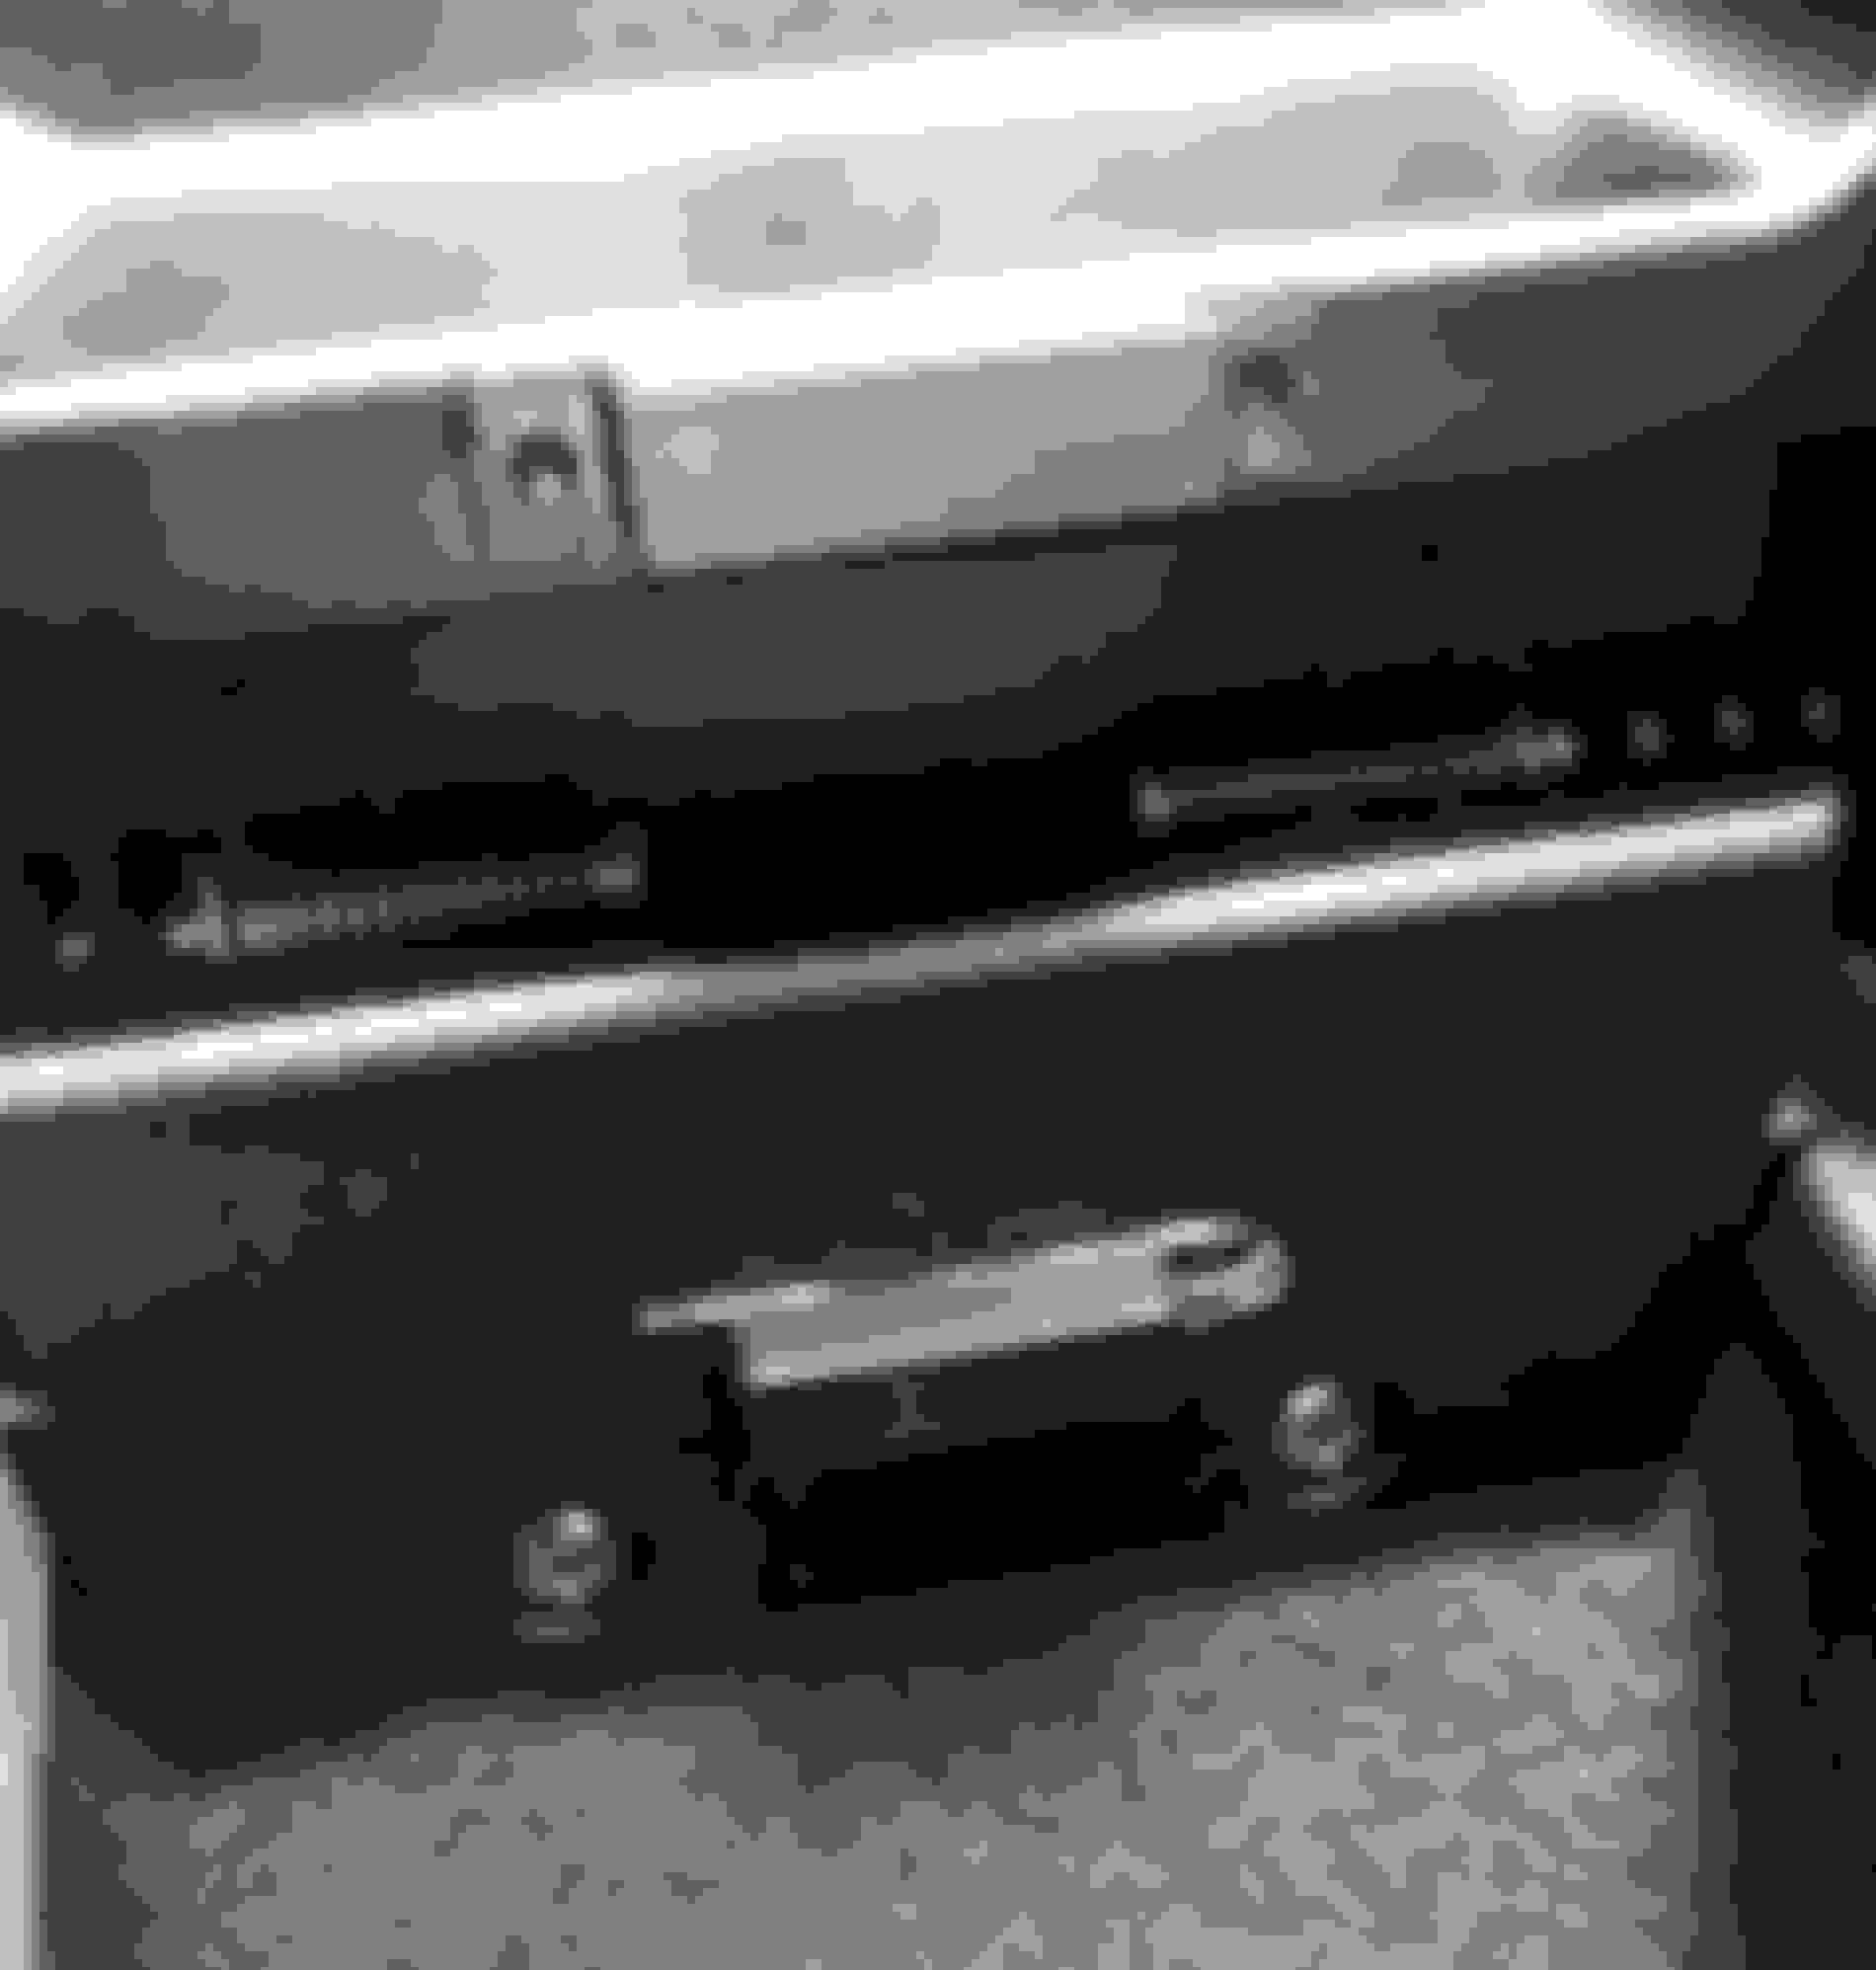
The picture below is the forward portion of the center console storage with the felt liner pulled down exposing just the plastic as I mark it and get ready to drill two large holes for the auxillary power connector and the digital voltmeter. Along the lower part of the center line will be a smaller hole large enough to thread the 3.5mm tip of the iPod stereo cord. To the left, a barely visible cutout is made on the liner to accomodate the lighting dimmer switch.

Okay and here's the finished product, below, with power hooked up and all!
Notice the touch pad dimmer switch on the upper left by the auxillary power connector?

Lighting consists of a set of hidden 8" array adjustable warm white LED strips on either side of the console, epoxied in place. The LED strips will only come on if you touch the dimmer switch, located the upper left at the forward part of the storage. It is turned off one of two ways: by touching the dimmer switch or by triggering a magnetic reed switch when closing the console cover. The reed switch also controls the on/off function of the voltmeter. Open the cover, the voltmeter turns on, close the cover, the voltmeter is then not visible, so it is turned off.
To keep things in the storage compartment less cluttered, the 5 ft. length of iPod stereo cable can be stowed away from view, through the small hole all the way to the 3.5mm tip when its not in use! Leaving just the tip exposed.
The DEI magnetic reed switch epoxied to the cover and cast aluminum hinge of the console. Careful attention was used to make the wires as less visible as could be by drilling the smallest hole possible and using epoxy glue within the hole to eliminate any movement preventing the wires from chaffing.
In the photo below, located towards the back mounting hole, hidden under the felt liner, is a secret brass colored control-****. That brass-**** is the 50-turn, 12-volt potentiometer that allows me to adjust and fine tune the brightness limit of the storage console's LED lighting system.

Bottom view of the blue 50-turn, 12-volt potentiometer epoxied and ziptied for superior stability.

Thanks again for looking!
Step-3, Done!
.