02 May 2022
Since my last update, I have been dealing with weekly deferments to my surgery, so in the meantime, I have been making weekly sprints on working on the two project Crossfires, with the NA/M6 car complete, and the SRT6 at 95%. Sundays are 'relax' days for our family, so by all means I should fill the afternoon up with 'fun' projects, instead

This week it meant some quality time with the subject Crossfire. Mind you nearly zero has been done with this car, except to drive it. Two trips to Atlanta and back, and it still hasn't been washed.
This past Sunday it was high time to proceed with something new. Rob from
@NeedsWings did some convincing that the engine really should have a set of his crossover tube plenums. The problem was that he had not tried to make some for a M113K in a Crossfire, so hood clearance was a concern. After making some measurements with stacks of Playdoh, he determined that he could build crossover plenum with one crossover tube, instead of his usual two. The theory here is that the crossover tubes will even out flow in these plenums, and distribute air more evenly bank to bank. This ensures that each intake port pulse is absorbed by nearly twice the plenum area. This results in better air handling and air flow, which of course mean better (more) power. He shipped them to me a couple of weeks ago and they look great! NeedsWings sent them with the needed silicone crossover tube, clamps, gaskets and even a set of shiny stainless steel hardware. Installation is as straightforward as it can come, and took all of 30 minutes to complete.
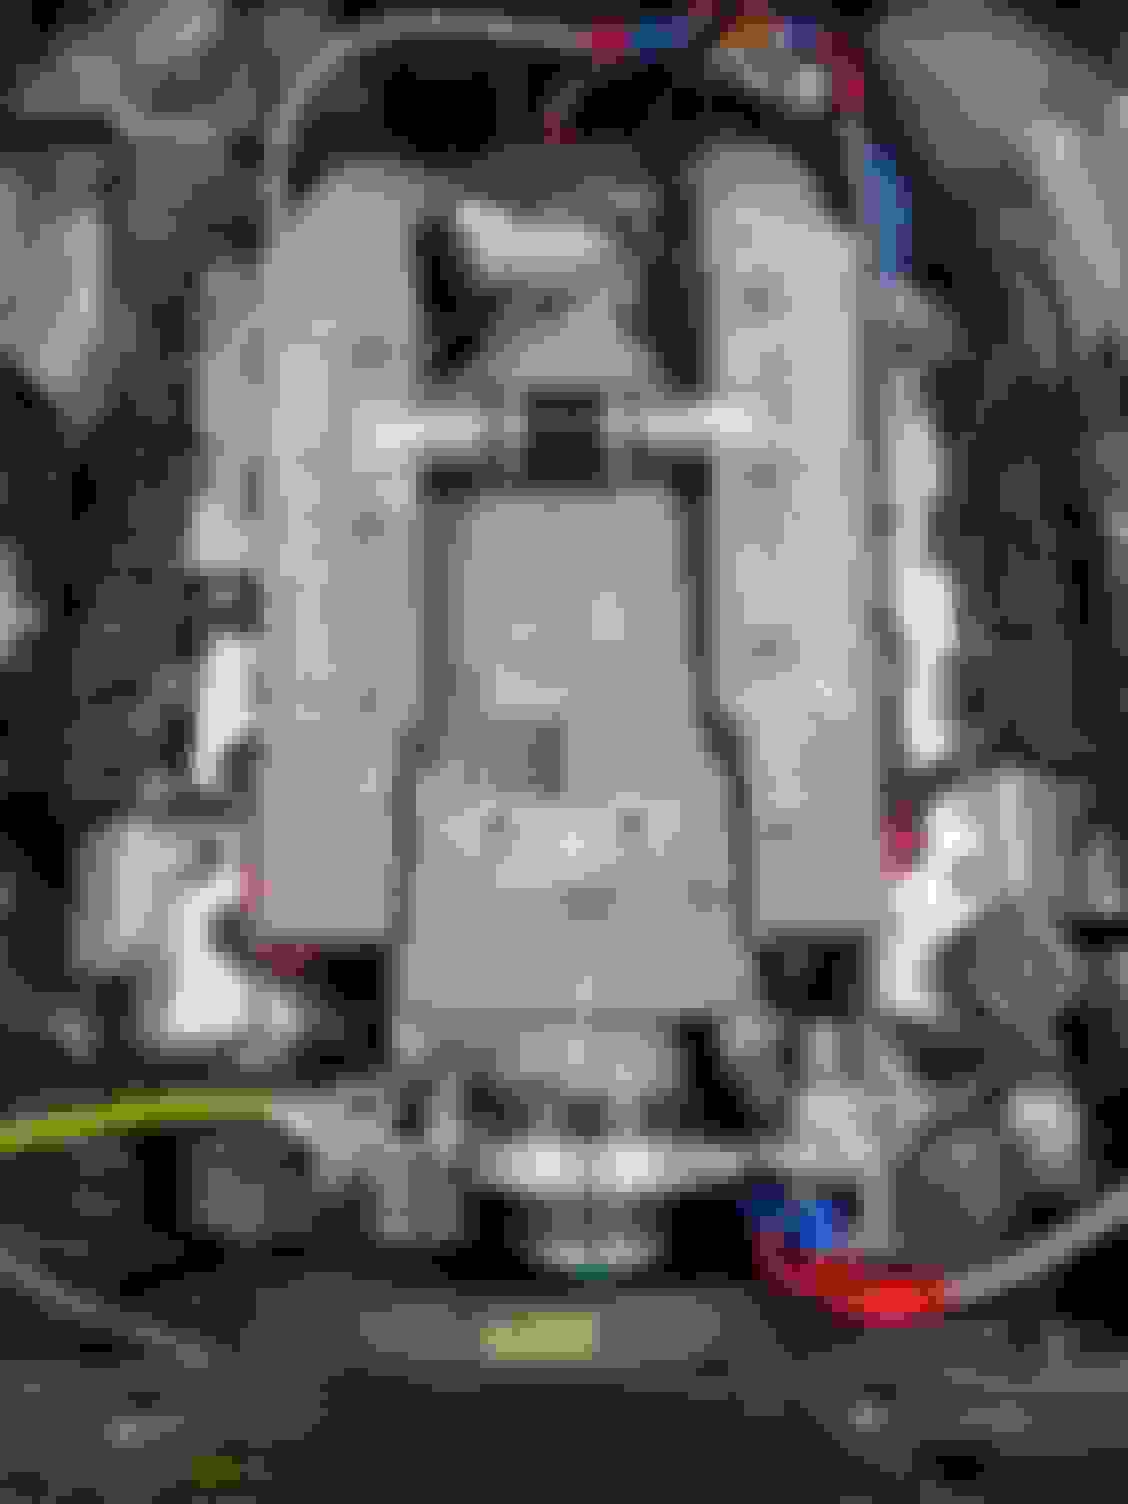
The next problem is one that has plagued this car for a bit. High air intake temperatures (IATs). Rob thought that part of that solution should be one of his DCAI systems. After some back and forth with him on configuration, we settled on a system that would put inline air filters into the mix, and intake horns up next to the radiator, rather than exposed air filter elements up in the grille. More on this in a bit. The very first problem was to work out how to get the intake horns in place up near the grille. They have to fit with hoses through the small openings to the upper left and upper right of the radiator. On a 'normal' Crossfire, this is no issue. This car? Ahem. Remember way back when space up front to clear the cooling fan and the front of the engine was needed? So, the solution was to relocate the radiator package forward 2" and down 1". That now causes clearance problems. The left side just crushes the rubber hose:

Remember earlier it was mentioned that we wanted inline filters, and not the typical filters in the grille setup? Oh boy, sure glad that decision was made! There's no way that nice, round aluminum horn is going to fit in there, either, even if that oil cooler was moved. There was no way. The right side was a little better, but still too tight to get the hose in there:

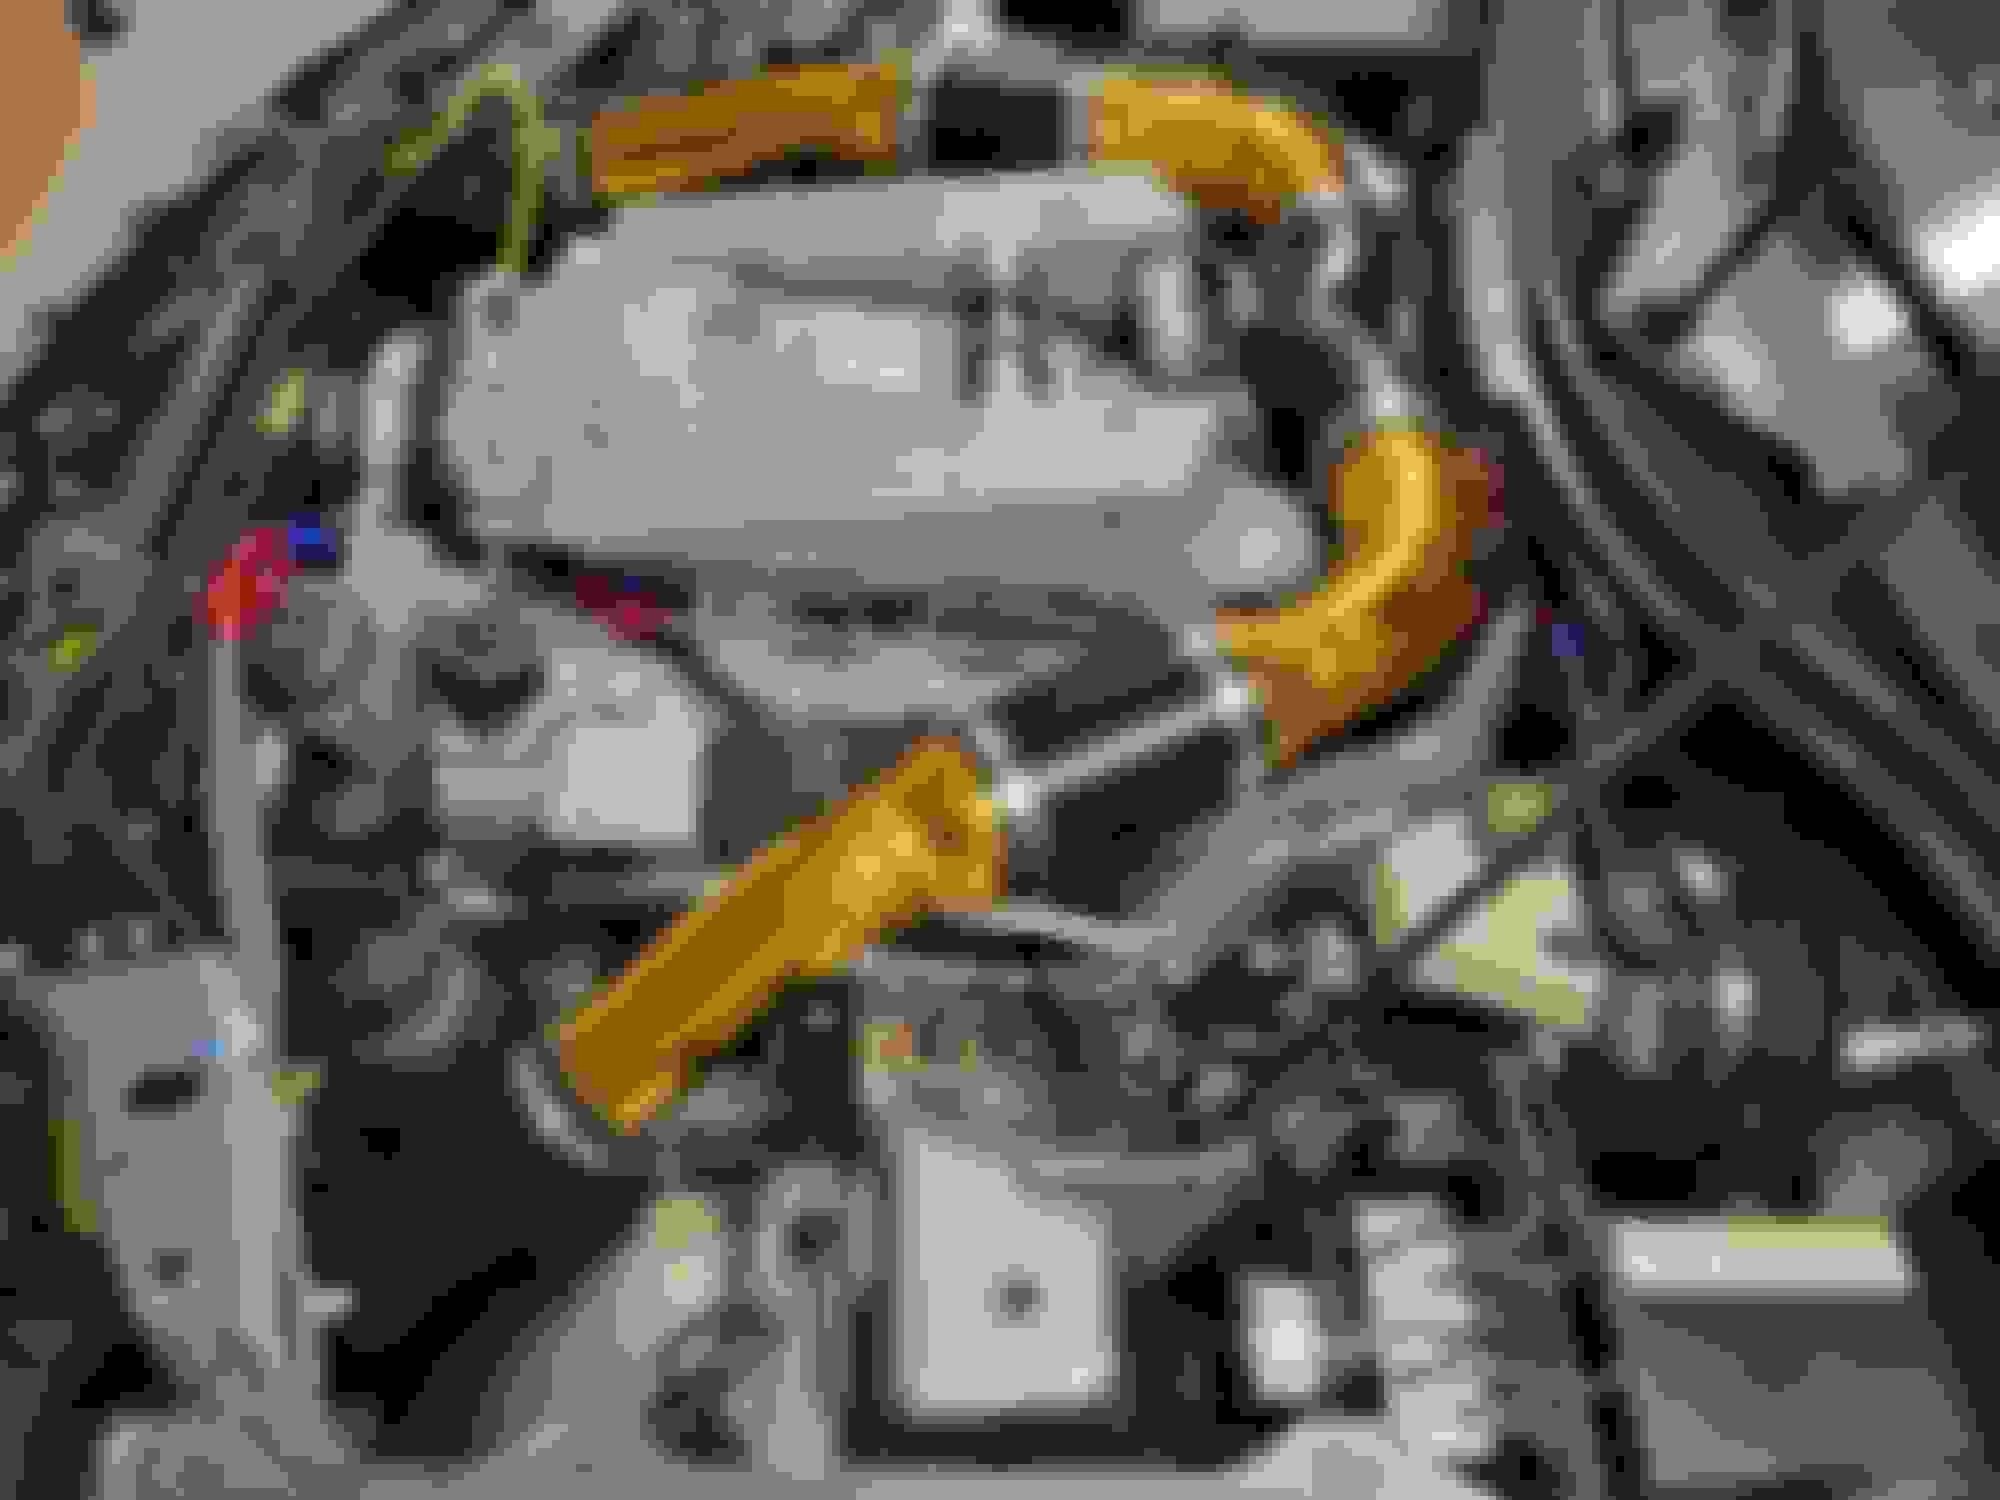
With a little work from the 'suggester' (2# ball peen), the 'persuader' (5# sledge) and a bevy of long drifts, the opening was made wider and rounder. The end result was that the right side of the DCAI finally went together. Below, you can see what it all looks like with the radiator core support removed, which gives a nice cross-sectional view of the setup. This is fairly close to the way it would go together on a more 'stock' Crossfire/R170.

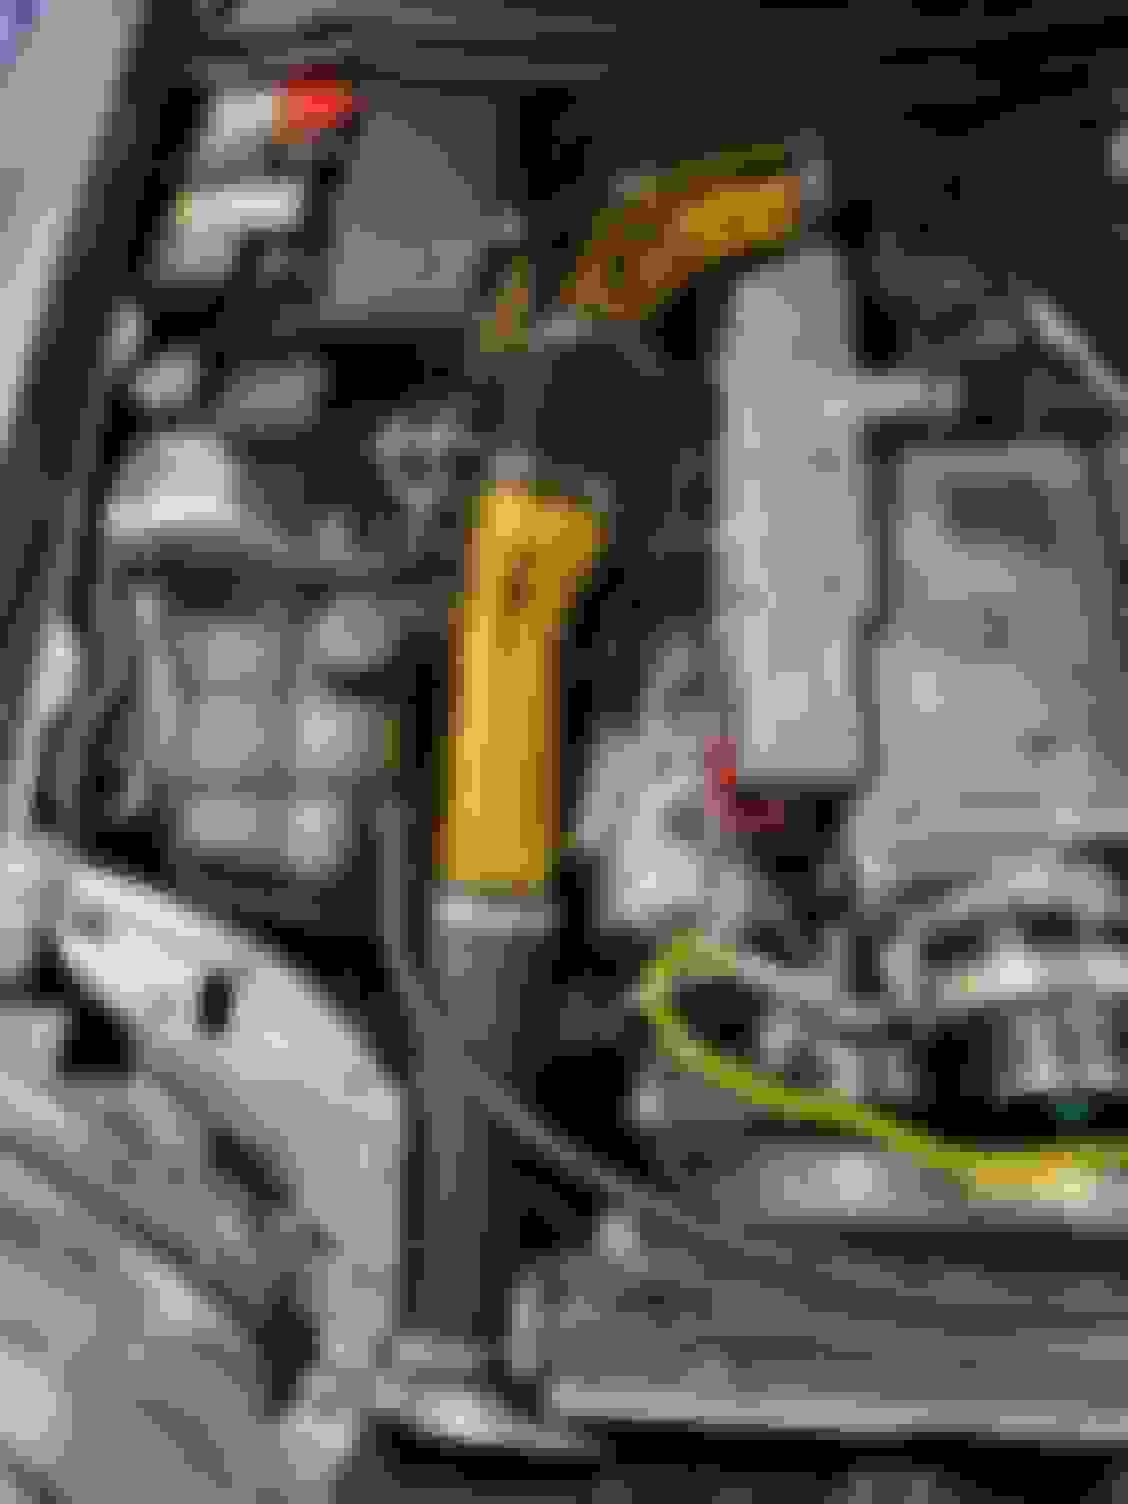
Unsure of color choice at the time, I opted to have the pipes left with raw aluminum, rather than powdercoat them. After thinking about it, it was decided to use heat wrap tape on them, which would cover the powder, anyway. Design Engineering Inc (DEI) gold foil tape was selected. On a side note, these installs of heat reflecting tape always looked messy, and why wouldn't people take effort to lay it on nice and flat, instead of a wrinkled mess? Well, school was about to be in session. There is zero stretch in that tape, so fitting curves and contours is almost impossible. Yup, my work looks like a wrinkled mess, just like every other application of that tape ever seen. Now, the tape could be cut in strips just long enough to make one wrap around the pipe, and the seams would be underneath, That would probably result in fewer wrinkles. Then again, it would be a pipe full of seams that would beg for moisture and dirt to get under, and peel the tape into a mess, too. Maybe there is too much overthinking happening here. Alas, there are wrinkles. Lots of them. Perhaps someone could send along results that give no wrinkles. These could be redone. OTOH, my kids love the wrinkles. They think it "looks very NASA".
That was the easy part. The left side had to be dealt with. After lots of eyeballing the situation, the thought occurred that perhaps along the radiator was not the optimal choice for the left intake. There is an opening along the bottom of the headlamp, and since there is no SAI pump or fan controller on the left inner fender, there is room. Ah ha! OK, back in business! Instead of proceeding straight from front to rear, along the valve cover, the pipe could be moved to a ~30� angle towards the front left corner of the car, and under the headlamp. Nice! Can't be that easy, though. Upon mocking up the setup, it was discovered that the inline air filter housing will hit the A/C lines, and prevent the pipe from going where we want it to. The solution was fairly straightforward, though. Disconnect the clamps holding the large suction line and the small pressure line, and simply swap them. This moves the large suction line towards the engine, but also down the shock tower slightly. Importantly, this opens up the needed clearance.
(Place holder for a pic of this)
A temporary silicone hose is then added to run up under the headlamps, and voila!
An aluminum 3" pipe will need to be ordered, and some fiddling with a intake horn under the headlamp, but the 'bones' of the system are in place, ready to go! I am pleased, to say the least! After install, the car got a very much needed bath, and that was a relaxing Sunday wrap for me. Here's a couple more pics of everything:


p.s. - Important item! I want to powdercoat those intake plenums, but keep wavering on color/style. Anyone have opinions? Almost any color or texture could be done. What are your thoughts?