22 June 2023 (continued)
So now was a moment of truth, would it all work out? Time to assemble.

Good news and bad news. The good news was that the axle was the right length (23.5" from differential face to the inside flange of the wheel bearing/hub, for reference, BTW). The bad news? Look at that angle on the shaft! There's always some, but this seemed like too much. What was wrong? What that turned out to be was very bad measurement on my part! In the beginning of this part of the journey, I stated in this thread that the distance from the front mounting hole of the differential housing to the centerline of the axles was the same between the stock HAG190 and the HAG215. That is WRONG!!! In all actuality, the distance was shorter on the HAG215 by exactly 10mm. Now there's a problem! The whole differential has to shift aft 10mm to get the axles in the exact same alignment as stock. The straighter you can make CV axles, the better, especially when it comes to launches, however, they are never perfectly straight for many reasons, and even stock the differential centerline is pulled slightly forward of the hubs. So, some trickery was necessary. In this case it was a combination of simply sinking the two rubber differential mounts further towards the rear, grinding clearance on the subframe and the ribs on the back cover of the differential. The front mount hole was also carefully slotted to move that rearwards. The number achieved became 8mm - 2mm less than ideal, but the result looks much better:


Now we're in business! Everything turns nicely, without any binding. A quick check of the pinion angle shows the front flange in exactly the same height position as the HAG190, so good there, too!
Putting a complete subframe into a Crossfire on the ground, without a lift is a chore, to say the least! I was a struggle, but it was finally in there. A quick look around showed one minor issue. The dogleg mount cover was pushing on the body of the car. This is no good for a lot of reasons, especially for NVH issues. Taking the cap off showed no interference otherwise. As the cap just helps protect the rubber from the elements, I simply sectioned the cap:
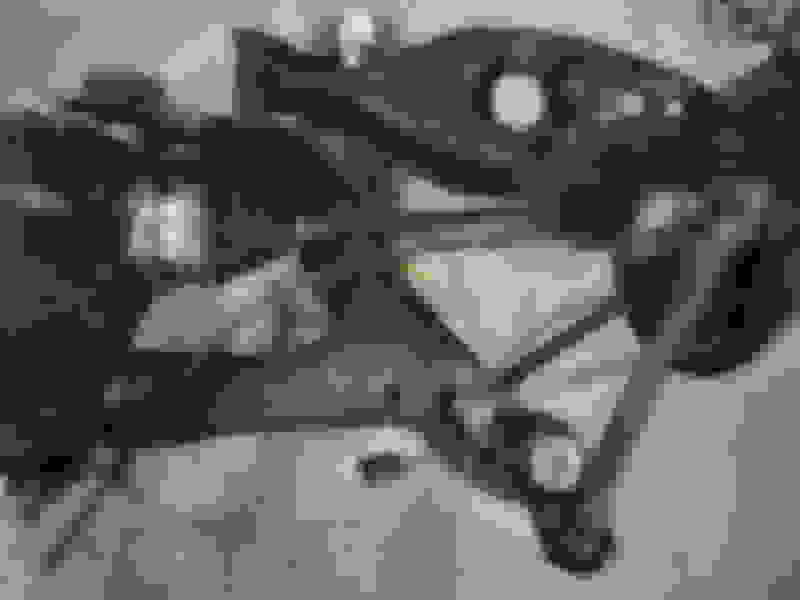
 It's got more room than this picture shows.

One bolt left, and we're done with the subframe! Hahahahahahah! Not so fast there, cowboy! How many times do you think you can put a rear differential bolt into the housing? Answer, one less time than needed to complete the project. As the bolt was being torqued down, aluminum bits started raining down, and suddenly the tightening bolt became loose. Ugh! Stripped! The bolt was inserted to just hold the differential level until a M14x1.50 Helicoil kit arrives on Friday...
Work doesn't stop when things go wrong. Rear brakes were cleaned up and new EBC Blue Stuff pads that were won in last years EBC Halloween contest were installed
 Blue Stuff pads in SLK55 330mm rear brakes
The next chapter coming up in the next post.