
SL55 Y pipe and air intake mods for SRT6


Thread Starter
Joined: Apr 2007
Posts: 166
Likes: 0
From: England
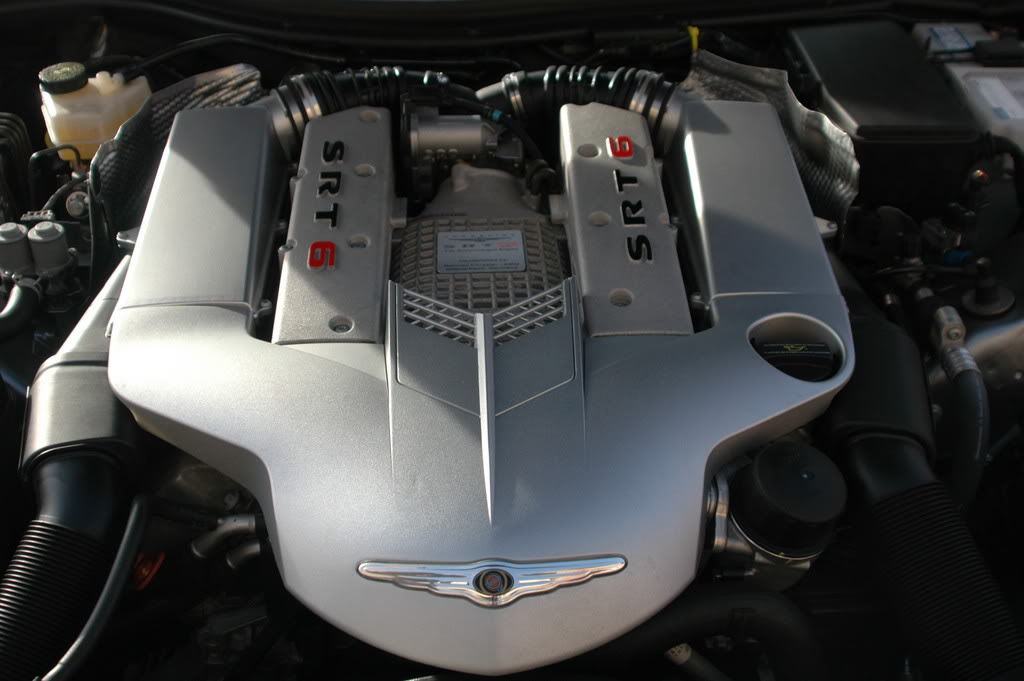
Below is the finished fitting. Looks pretty stock still, I think.
Performance wise, I noticed the following:
1) sounds a little more angry / aggressive under full throttle
2) between 5,000 and 6,000 RPM it pulls stronger than before
3) gear changes feel stronger for 1st - 2nd and 2nd - 3rd
4) wheel spin in 1st is a little easier too
5) flooring it when cruising at 40mph, gives an improved "push" and it really goes for it, even better than before (which was good anyway)
6) slight increase in the sound from the supercharger
All in all, I am very pleased with the mod. WOT is where it seems to make most of the difference. I would guess it does reduce the 0-60 slightly as it does feel noticably quicker.
So the Butt Dyno says do it !
Senior Member
Joined: May 2006
Posts: 3,027
Likes: 5
From: Folsom, CA

You certainly were able to maintain the stock look. Looks great!
Nice mod on the blower cover. Where did you get that new SRT6 engine plate? LOL.
LOL.
Nice mod on the blower cover. Where did you get that new SRT6 engine plate?
Thread Starter
Joined: Apr 2007
Posts: 166
Likes: 0
From: England
Originally Posted by SRT SIX
You certainly were able to maintain the stock look. Looks great!
Nice mod on the blower cover. Where did you get that new SRT6 engine plate? LOL.
Nice mod on the blower cover. Where did you get that new SRT6 engine plate?
I also painted the rocker boxes to match (did those about 8 months ago though). Just goes to show, one of your engine plates was always destined for my car. The SL55 pipes went in really easy, I recon could swap them out for standard in 15 mins now for servicing / warranty work.
Si
Last edited by simon-srt6; Nov 26, 2007 at 05:49 AM.
Thread Starter
Joined: Apr 2007
Posts: 166
Likes: 0
From: England
Originally Posted by SRT SIX
How long have you had the pipes in? Did it take long for the ecu to adjust to the increased airflow?
Nice pictures - Your installation looks very clean.
Thread Starter
Joined: Apr 2007
Posts: 166
Likes: 0
From: England
Originally Posted by BrianBrave
Nice pictures - Your installation looks very clean.
In the end I unclipped the airboxes, after offering up the Y pipe assembly and marking the pipes with the top of the airbox moulding line, then fitted it all together as one assembly, lining up the pipes to my marks. After that it just all went into place with no problems.
I used stainless steel inside the pipe to clamp down on, it was no thicker then 0.5mm thick and cut to about 18mm wide. I was able to "shape" it oval to match the airbox and clamp it firmly too.
I hope your install goes as smoothly and look forward to hearing what you think after.
Si

Thread
Thread Starter
Forum
Replies
Last Post
Currently Active Users Viewing This Thread: 1 (0 members and 1 guests)