When you click on links to various merchants on this site and make a purchase, this can result in this site earning a commission. Affiliate programs and affiliations include, but are not limited to, the eBay Partner Network.
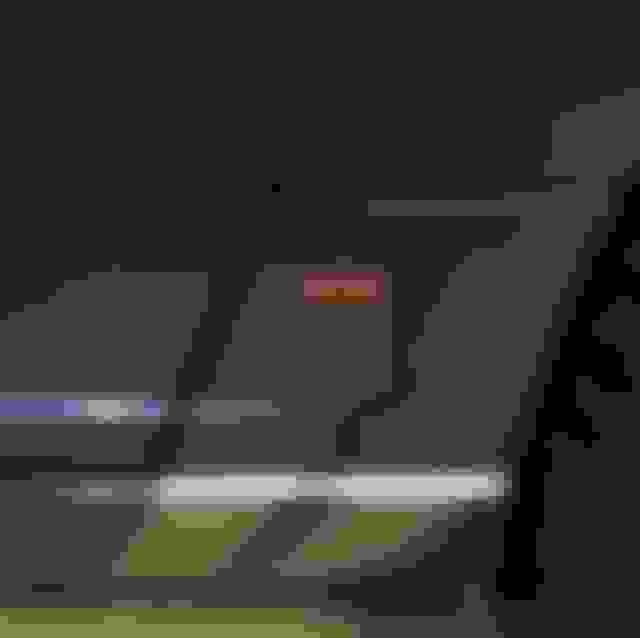
I think everyone here was or is missing the drivers side wiper post grommet
Also I think we all have a hole in the cowl not centered with the wiper post
I got a grommet from Jim and took the easier way to make it fit
I simply cut a V section out of the grommet so it would come together enough to fit in the existing hole in the cowl.
I also placed the spot that was cut under the wiper arm to make it fit best where the post is close to the cowl and it cant even be seen
This method was much easier than cutting the hole in the cowl bigger too.
Now I just need to coat the cowl with a product to bring back the rich black look
I find these have a tendency to slide back and forth and rotate. To prevent this a thin double sided tape along the length of the handle keeps them in place
I think everyone here was or is missing the drivers side wiper post grommet
Also I think we all have a hole in the cowl not centered with the wiper post
I got a grommet from Jim and took the easier way to make it fit
I simply cut a V section out of the grommet so it would come together enough to fit in the existing hole in the cowl.
I also placed the spot that was cut under the wiper arm to make it fit best where the post is close to the cowl and it cant even be seen
This method was much easier than cutting the hole in the cowl bigger too.
Now I just need to coat the cowl with a product to bring back the rich black look
Grommet Installed
I doubt you will be pleased with this solution for too long, you are so fastidious normally.
Finally installed by PKE (Passive Key Entry) push to start system. About three weeks ago, I ended up losing my key in one of the norestern snow storms that passed by in my work parking lot. The plows ended up pushing everything in the parking lot to one side making finding the key impossible. I ended up getting a new set (thanks to the excellent service at NeedsWings) and decided it was time to take the leap and convert the car over. I sacrificed one of the new keys I purchased for the immobilizer bypass. Long story short, the system works perfectly and I could not be happier with it. I have it set up so the doors automatically unlock when I walk up to the car and lock when I walk away. As soon as I get in the car, all I have to do is put my foot on the brake and press the start button. The remote start works amazing as well. It definitely helps out with the cold mornings we have been having. I can press the remote start button to turn the car either on or off while I am not inside of it. I made it virtually plug and play and kept the old ignition in place just in case I have to do any troubleshooting in the future. If something goes wrong and I am unable to determine if it is the PKE system or car itself, I can simply unplug the ignition harness from the system, plug it into the OEM ignition switch an remove the button covering the key hole. As some of you may know, there are two different locking systems (one while the car is off and the other for when the car is on). Since I already have my touch screen installed with the Arduino, I fed the lock and unlock signal into it so I could use both systems. A couple of extra lines of code was a lot easier than running relays to the ignition or doing anything else funky. I am getting to the point to where if I want to change a function in the car, I can just change one of the Arduino programs. In not exactly sure if this is a good thing or bad thing yet I currently have 5 Arduinos in the car that communicate on a network. I will be adding 4 more when I completely finish the headlights and tail lights (one for each light to control patterns/designs). It will be easier to run two wires for communications than a bunch of wires for every function.
Below is a picture of what the push start buttons looks like installed. I was lucky and it fit right in the key cylinder. I took the tumbler and copper cap out then 3d printed a cap so I can run the wire through the back.
Push start button installed and functioning. Green means the car is running. Blue means the car is ready to start
The original key bade is hidden in the key in case I have a dead battery and need to open the door. A long hold on the center button starts/stops the car remotely
I laser engraved the key so I could tell the difference between this one and the one for my S4
Its also that time again where I completely detail the car . I just got everything today (courtesy of Amazon Sunday delivery) so I can start next weekend!
I added some more badges and Emblems to my new 6 speed Roadster
Making it much like the Coupe I had for 11 years and recently sold
I found an extra set of Karmann Badges and Karmann Letters from the factory years ago when I requested a couple of sets of each.
The Crossfire Roadster logos on the front and rear emblems as well as the wheel caps are sold here by Andrew >>Revised Crossfire Emblem
I did Corfire's Keyless Entry Alarm Tone today on both rides. Easy to do and sounds great. Great concept! Just another thing one learns from this forum.
It�s snowing again in Calgary, I opened the garage door and sat in my car looking out at the crapy weather like I was at a drive movie
I would sure like to drive it again one day soon.
Wondering where the global warming is up here
Wish we'd get some of your snow down here in Denver. Have had plenty of nice days this winter to even have gotten the roadster out, top down, a number of days.
It�s snowing again in Calgary, I opened the garage door and sat in my car looking out at the crapy weather like I was at a drive movie
I would sure like to drive it again one day soon.
Wondering where the global warming is up here
While the weather here in SC has been much nicer (suppose to hit 80F today), getting the XFire out is nearly impossible. While we don't have snow impacting our driving, we do have pollen season upon us. You leave the XFire outside uncovered for an hour & it will be covered with a light dusting of pollen. Can't even imagine anyone with a roadster and the top down for any length of time. So we just sit in our cars in the garage like a drive-in movie, too!
Yesterday I had the 3M window tint installed at our best shop for many 3M automotive products.
I got FXHP 35 which is the darkest legal tint in Illinois
replaced the top of the dipstick with one from ebay drilled both pieces and used a threaded screw shaft and JB weld to put the two together
I cut off the top of my oil dipstick and attached a black aluminum dipstick handle from ebay .
Last edited by dcskmail; Apr 15, 2018 at 09:29 AM.
Reason: made a mistake
I'm wondering if there is a date code on these "new" modules.
I'd hate paying that price only to find out it's been sitting on a shelf somewhere for 10 years.
I took a look at the box my new siren came in and it has a manufacture date code 02-09-17


 I currently have 5 Arduinos in the car that communicate on a network. I will be adding 4 more when I completely finish the headlights and tail lights (one for each light to control patterns/designs). It will be easier to run two wires for communications than a bunch of wires for every function.
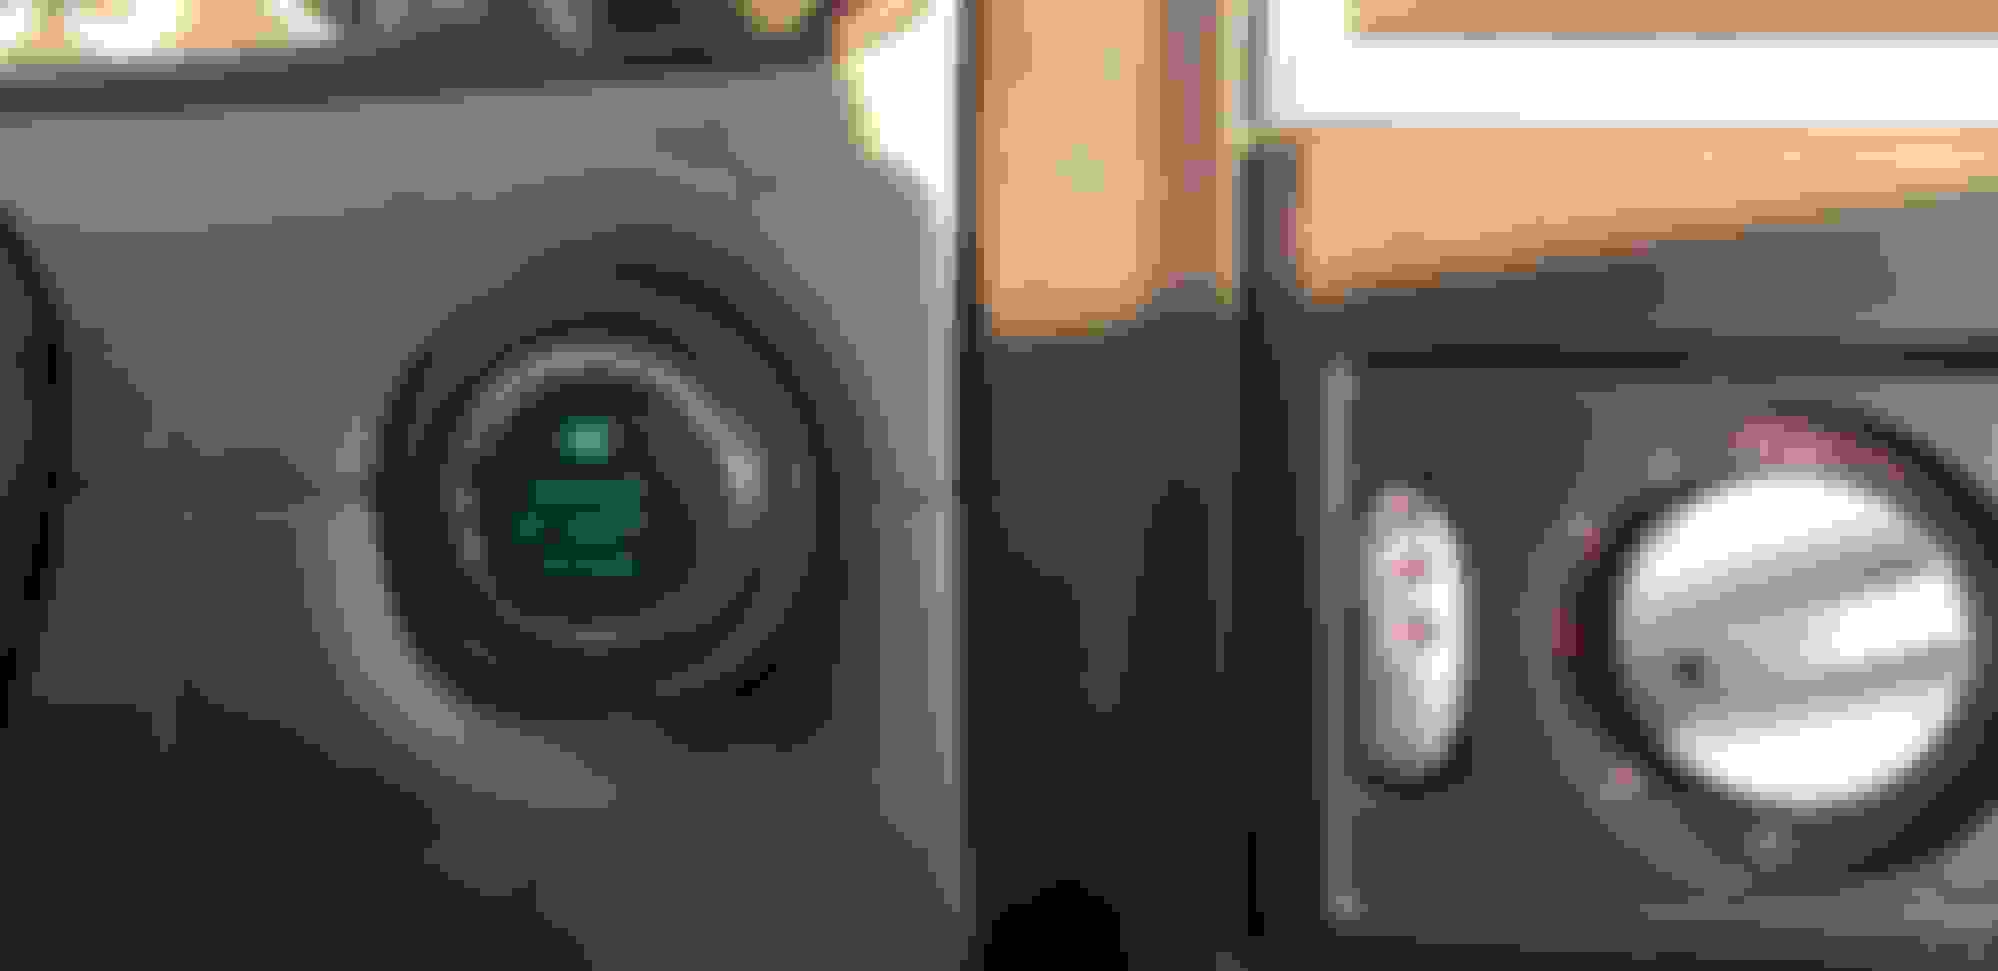


 . I just got everything today (courtesy of Amazon Sunday delivery) so I can start next weekend!