When you click on links to various merchants on this site and make a purchase, this can result in this site earning a commission. Affiliate programs and affiliations include, but are not limited to, the eBay Partner Network.
It seems that every bit of plastic on this car has become brittle and will break if you just glance at it. I cringe when my wife closes the door with her normal vigor.
I noticed the passenger side fog light hanging down inside the bumper, held by one screw. Lots of potholes around here. I try to avoid them but I hit them now and then. Of course the mounts are plastic.
I think the driver side light probably needs attention to save it before it breaks. I thought about getting a used unit, there are a few on eBay for around $130. Then I looked at new, they are $250 each. Then I saw someone on eBay has designed a 3D print part that adapts a morimoto light. That solution would end up costing 5 or 600.
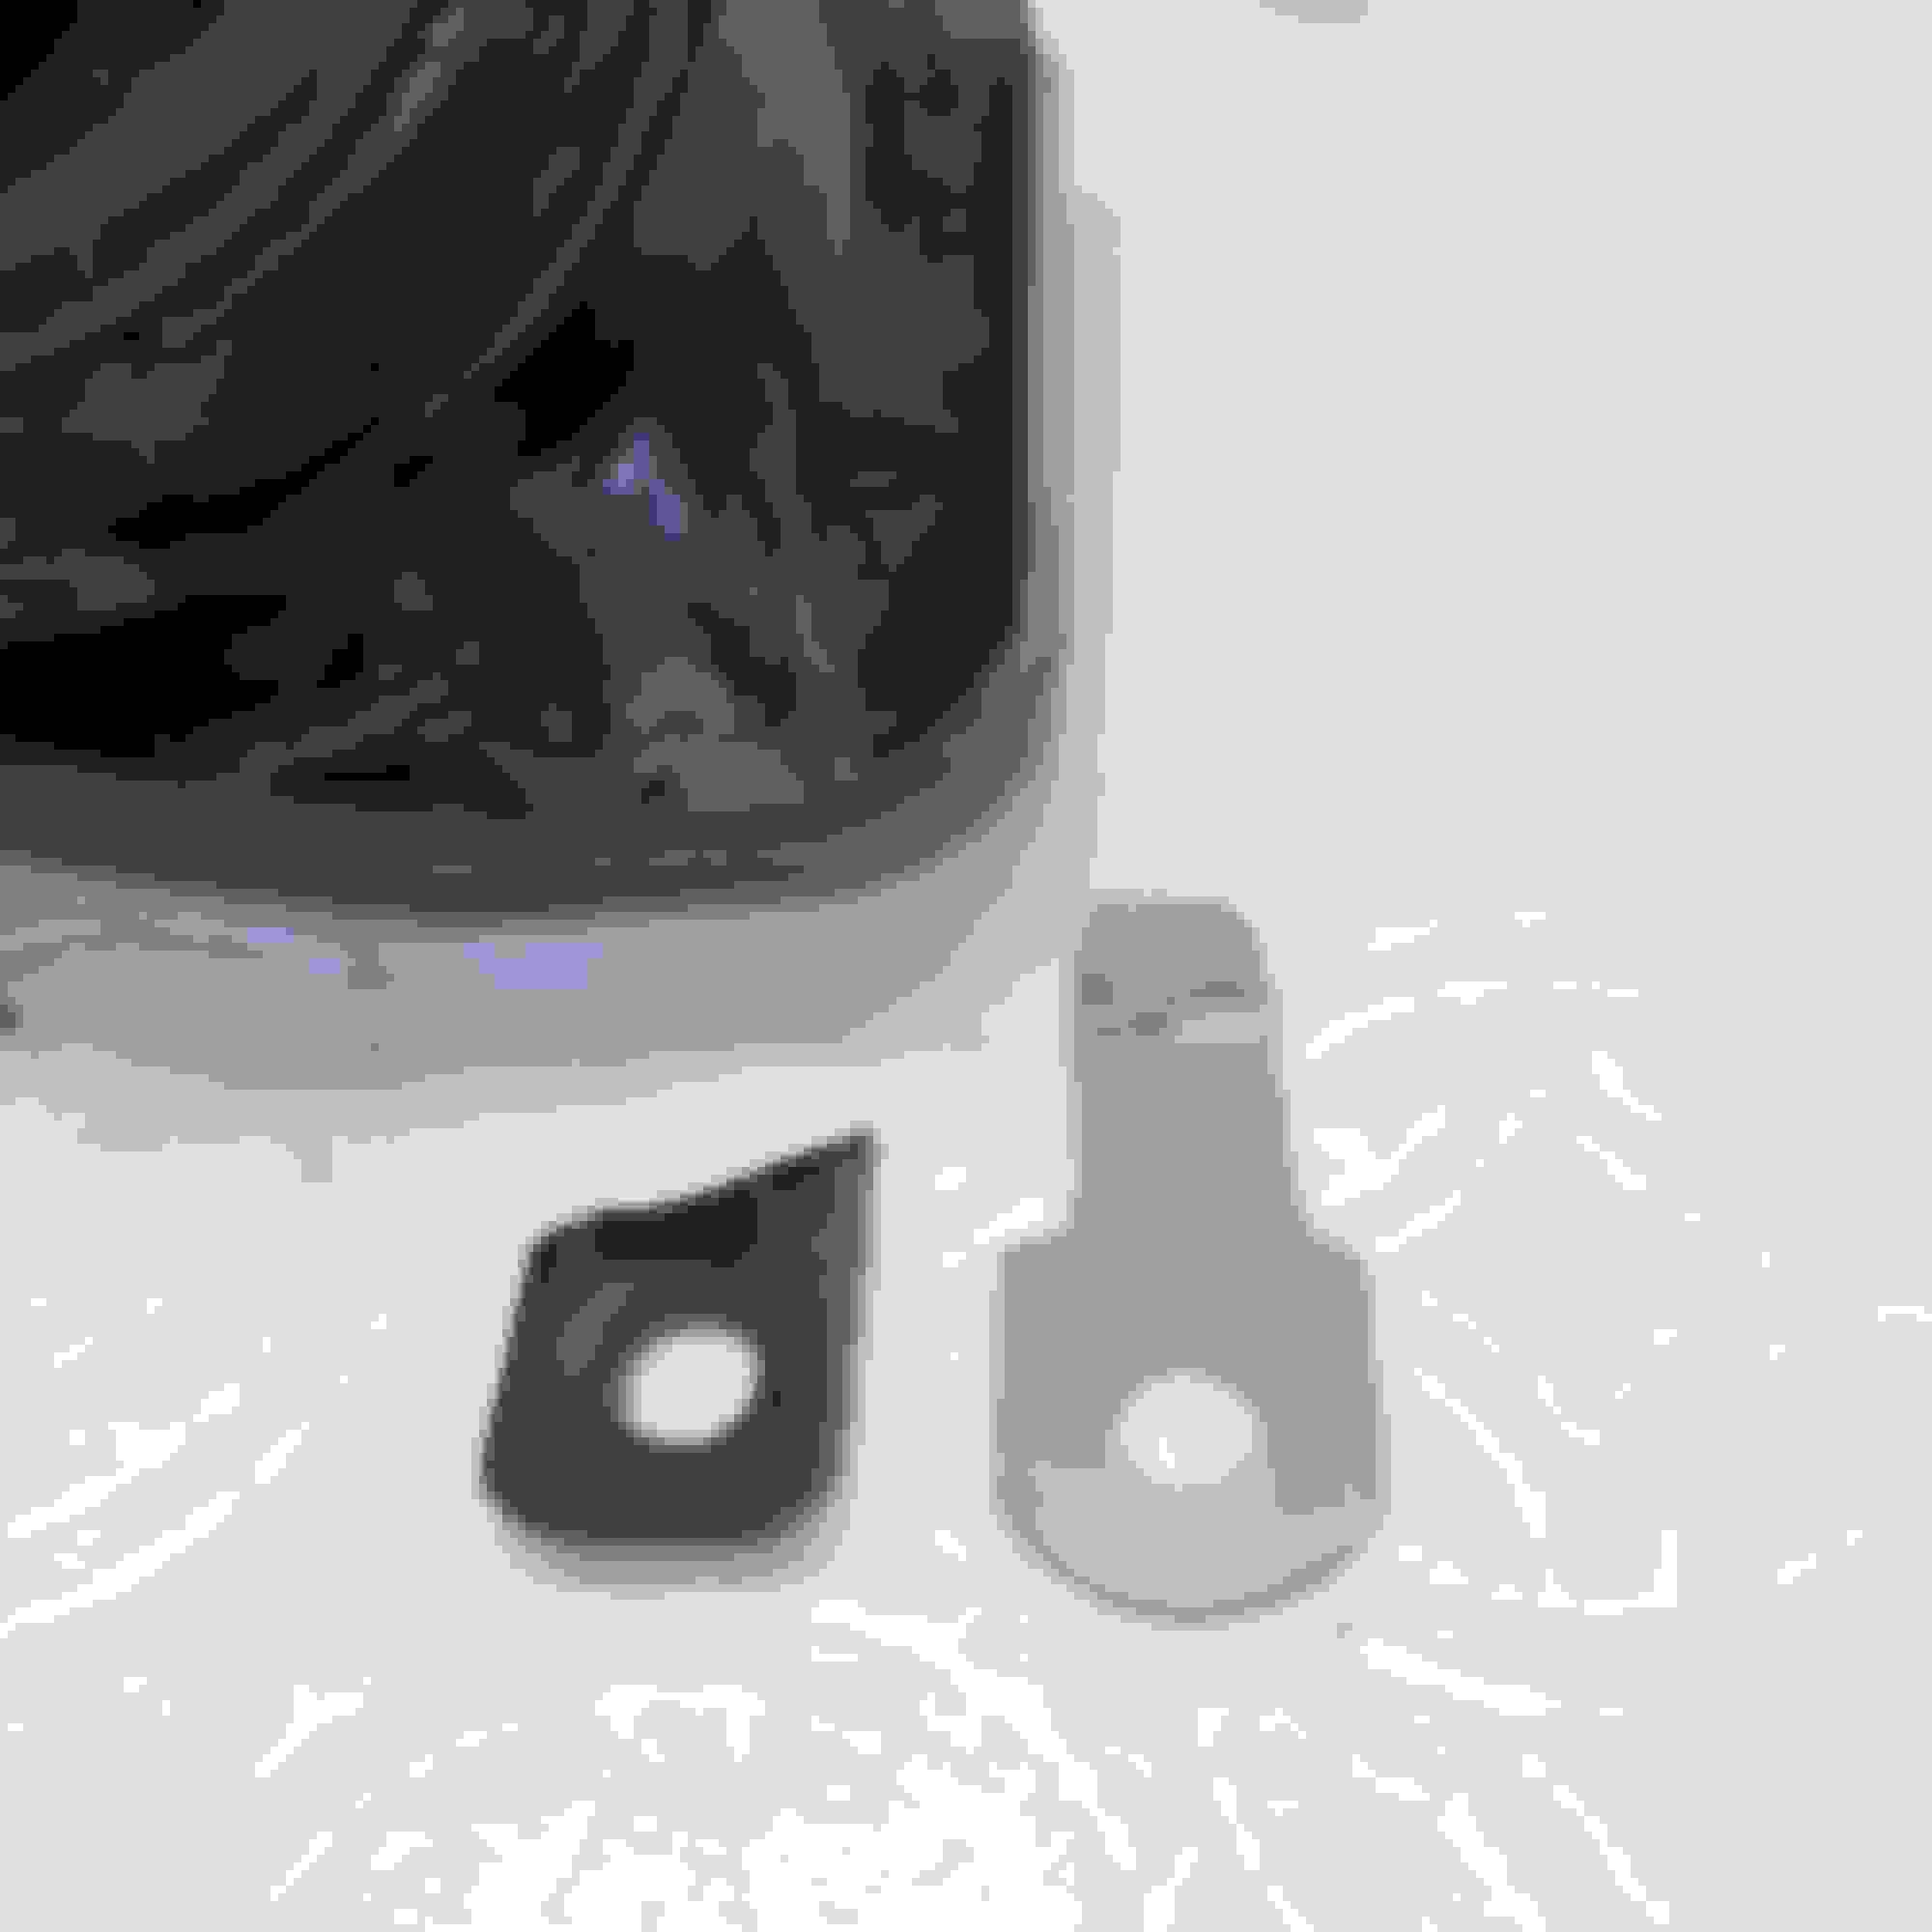
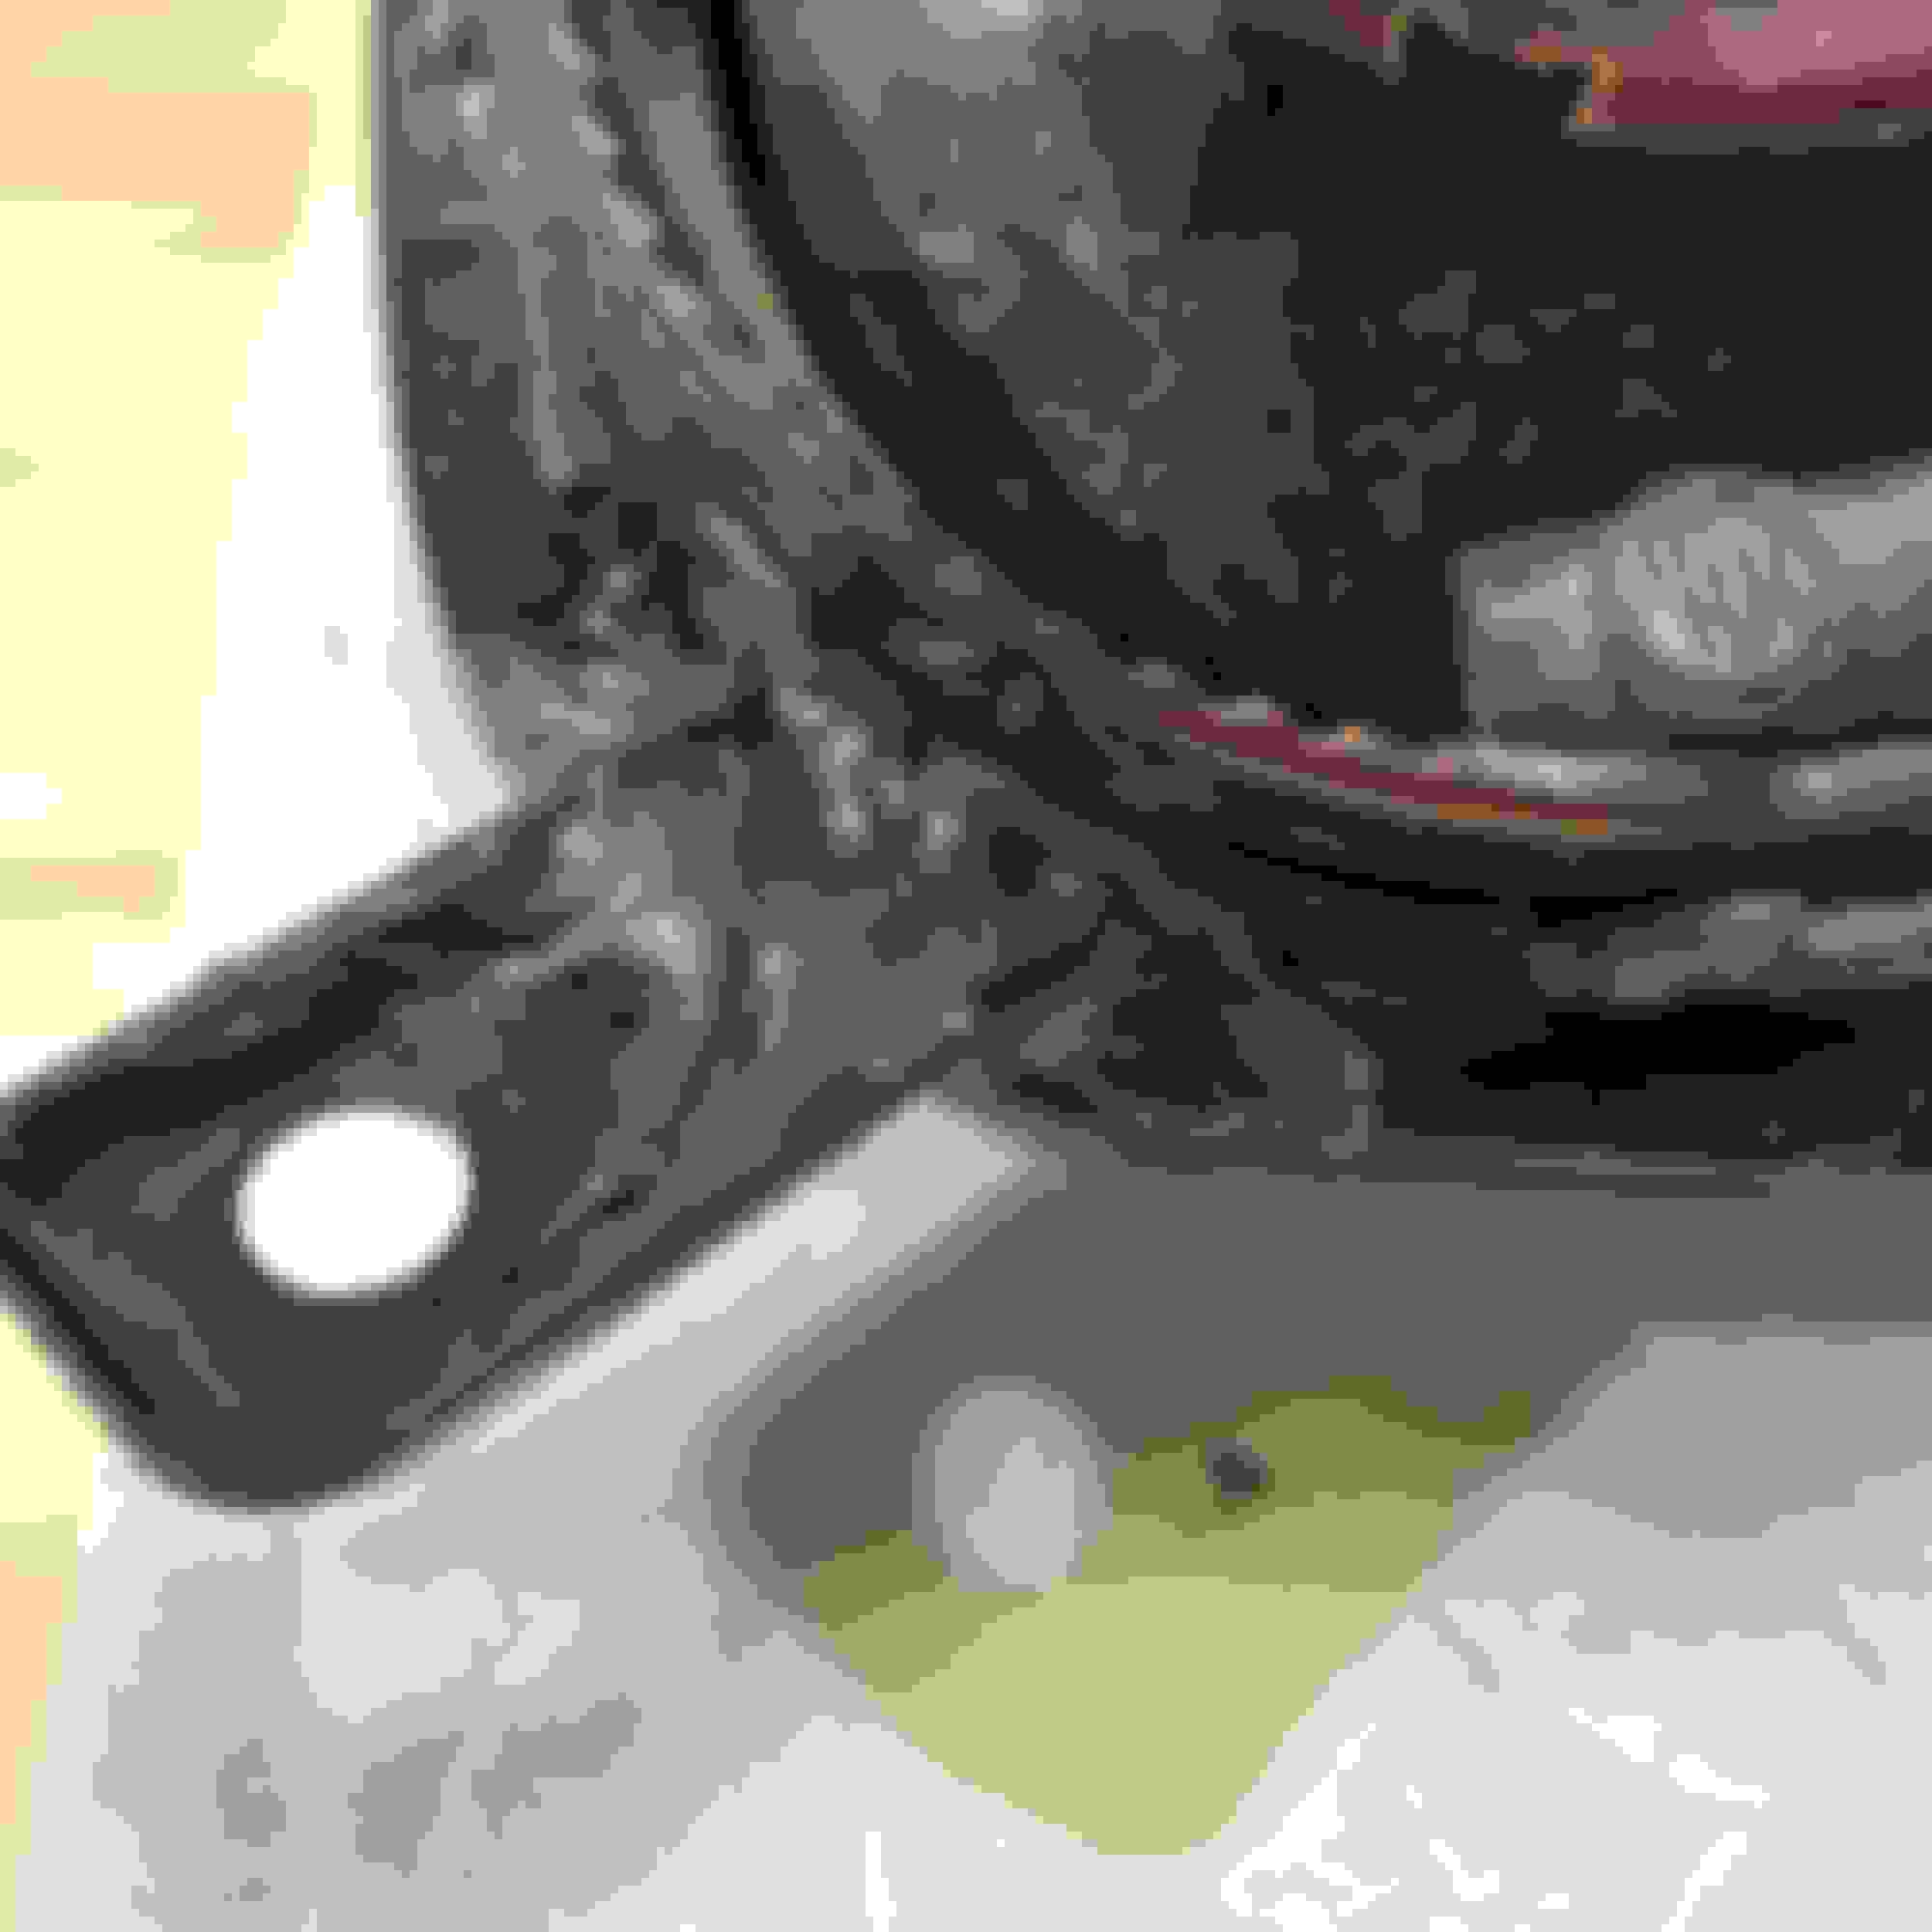
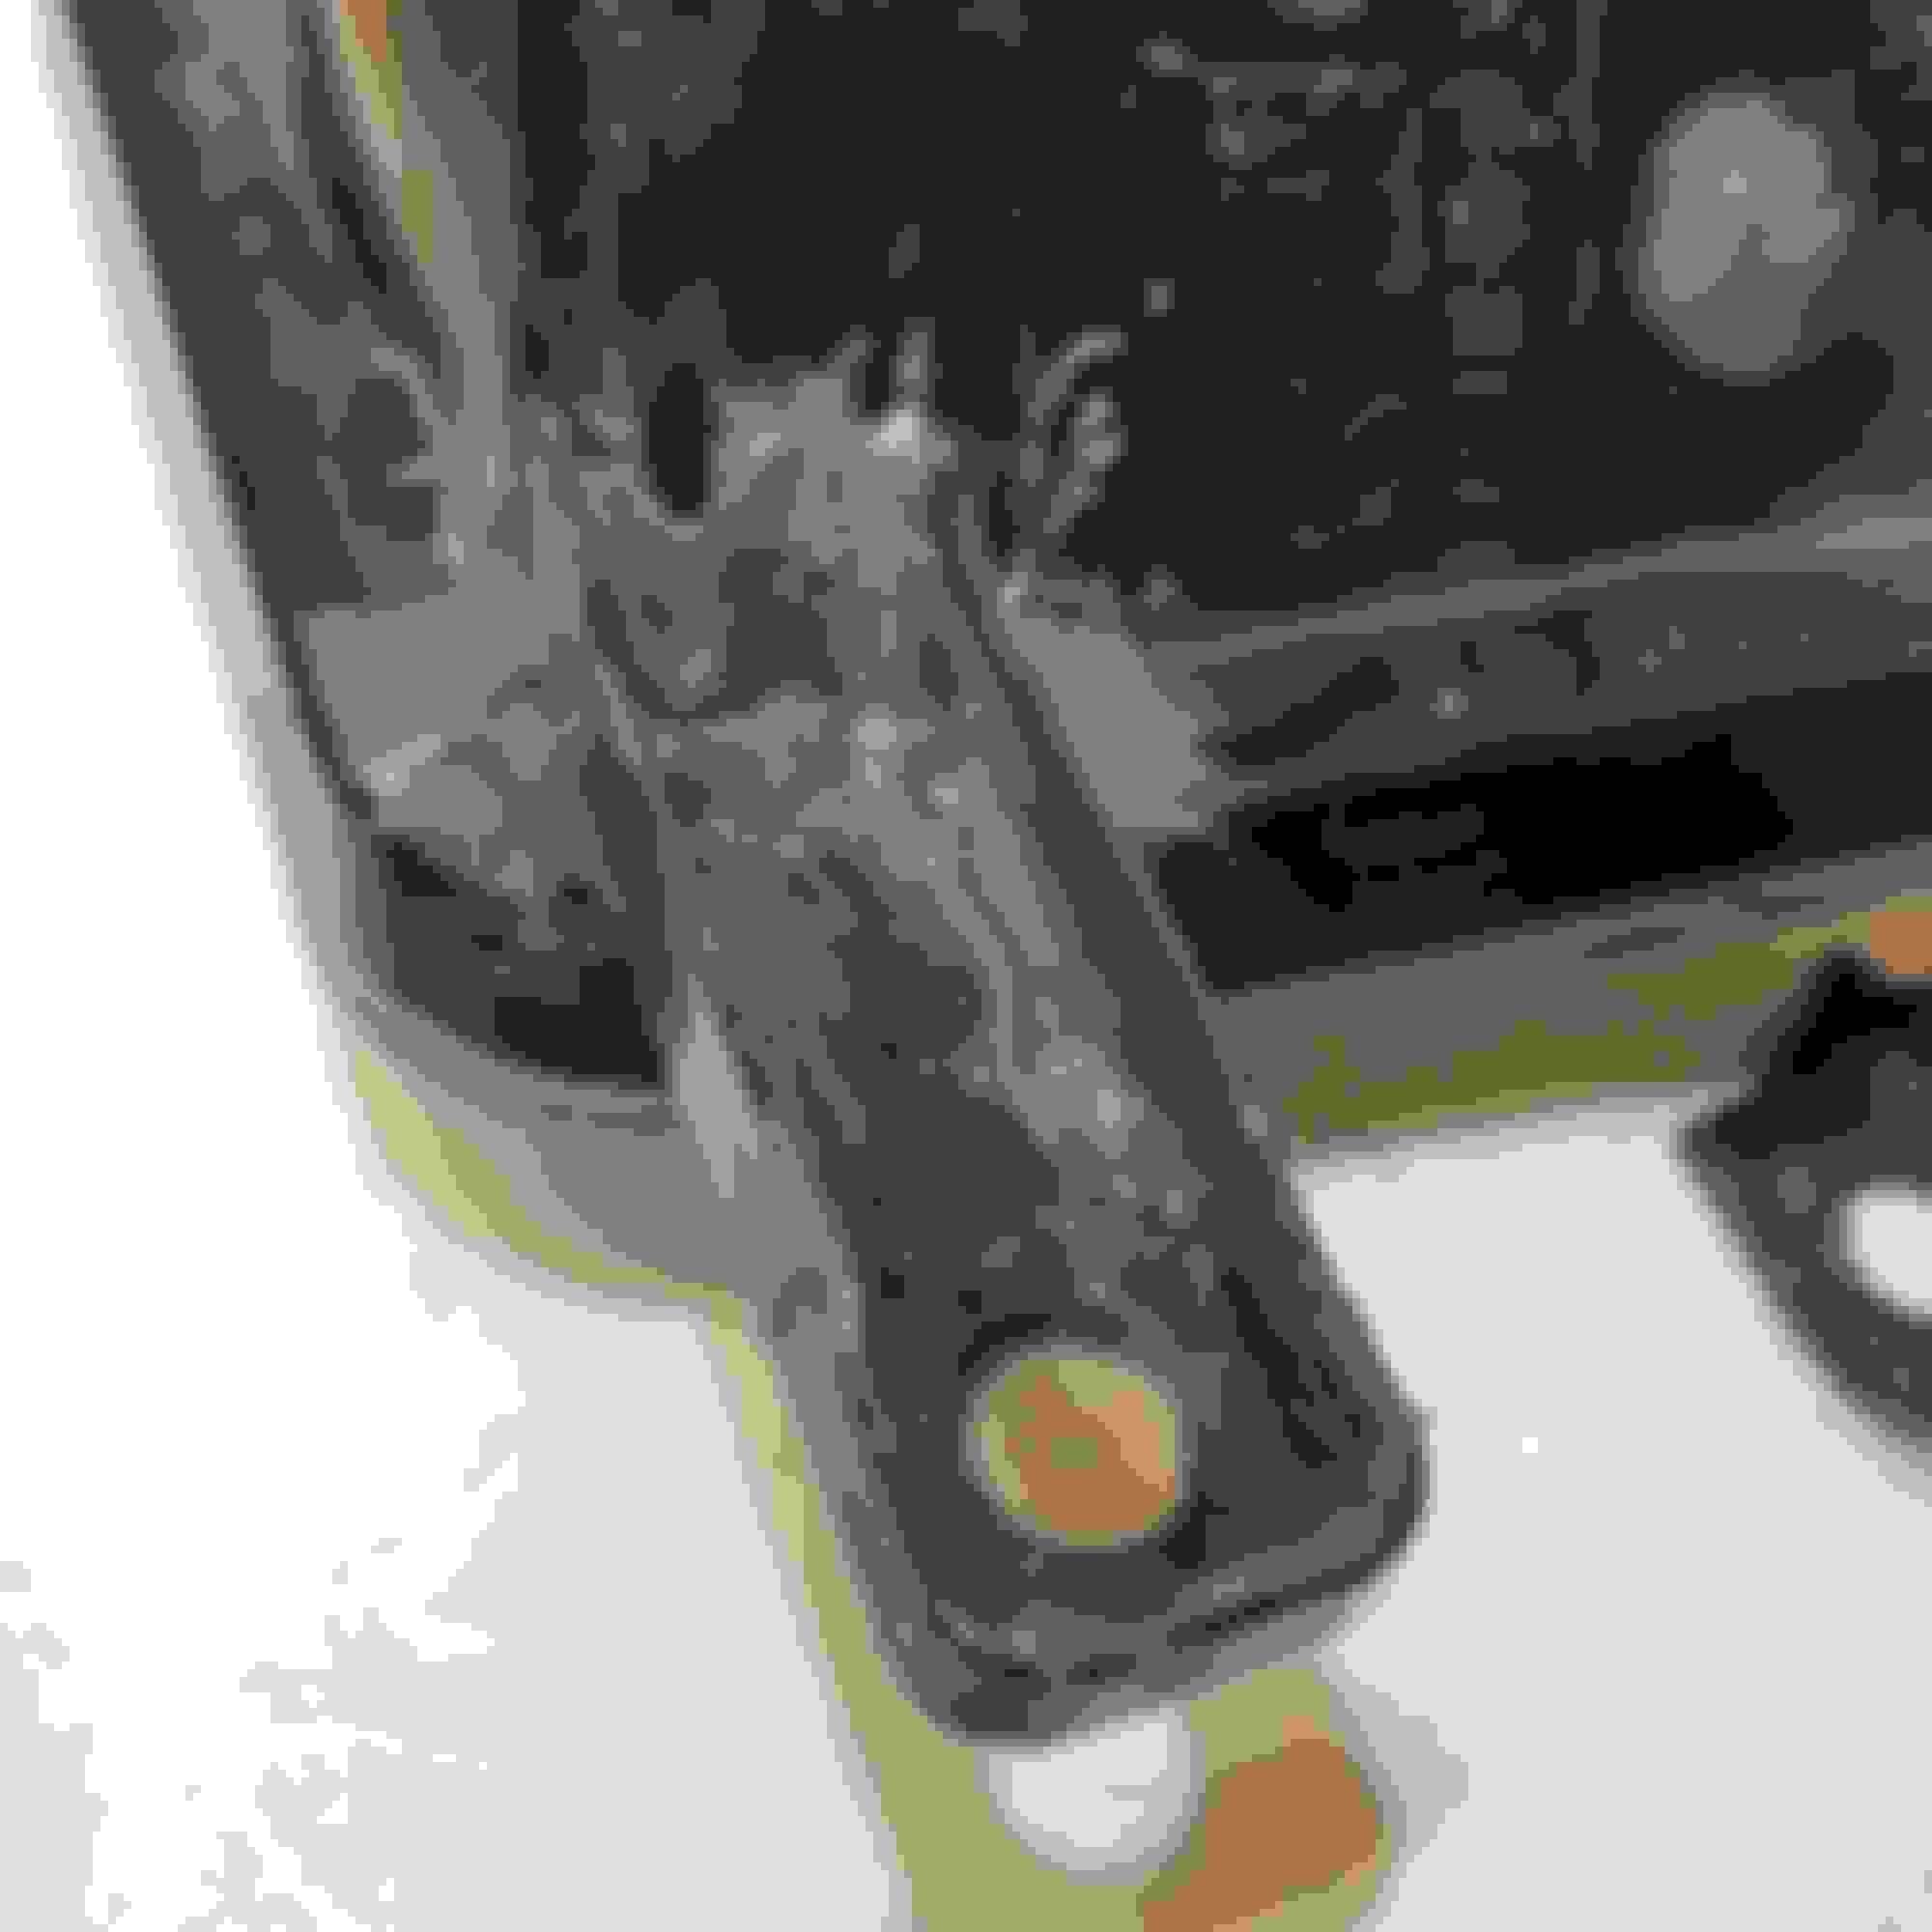
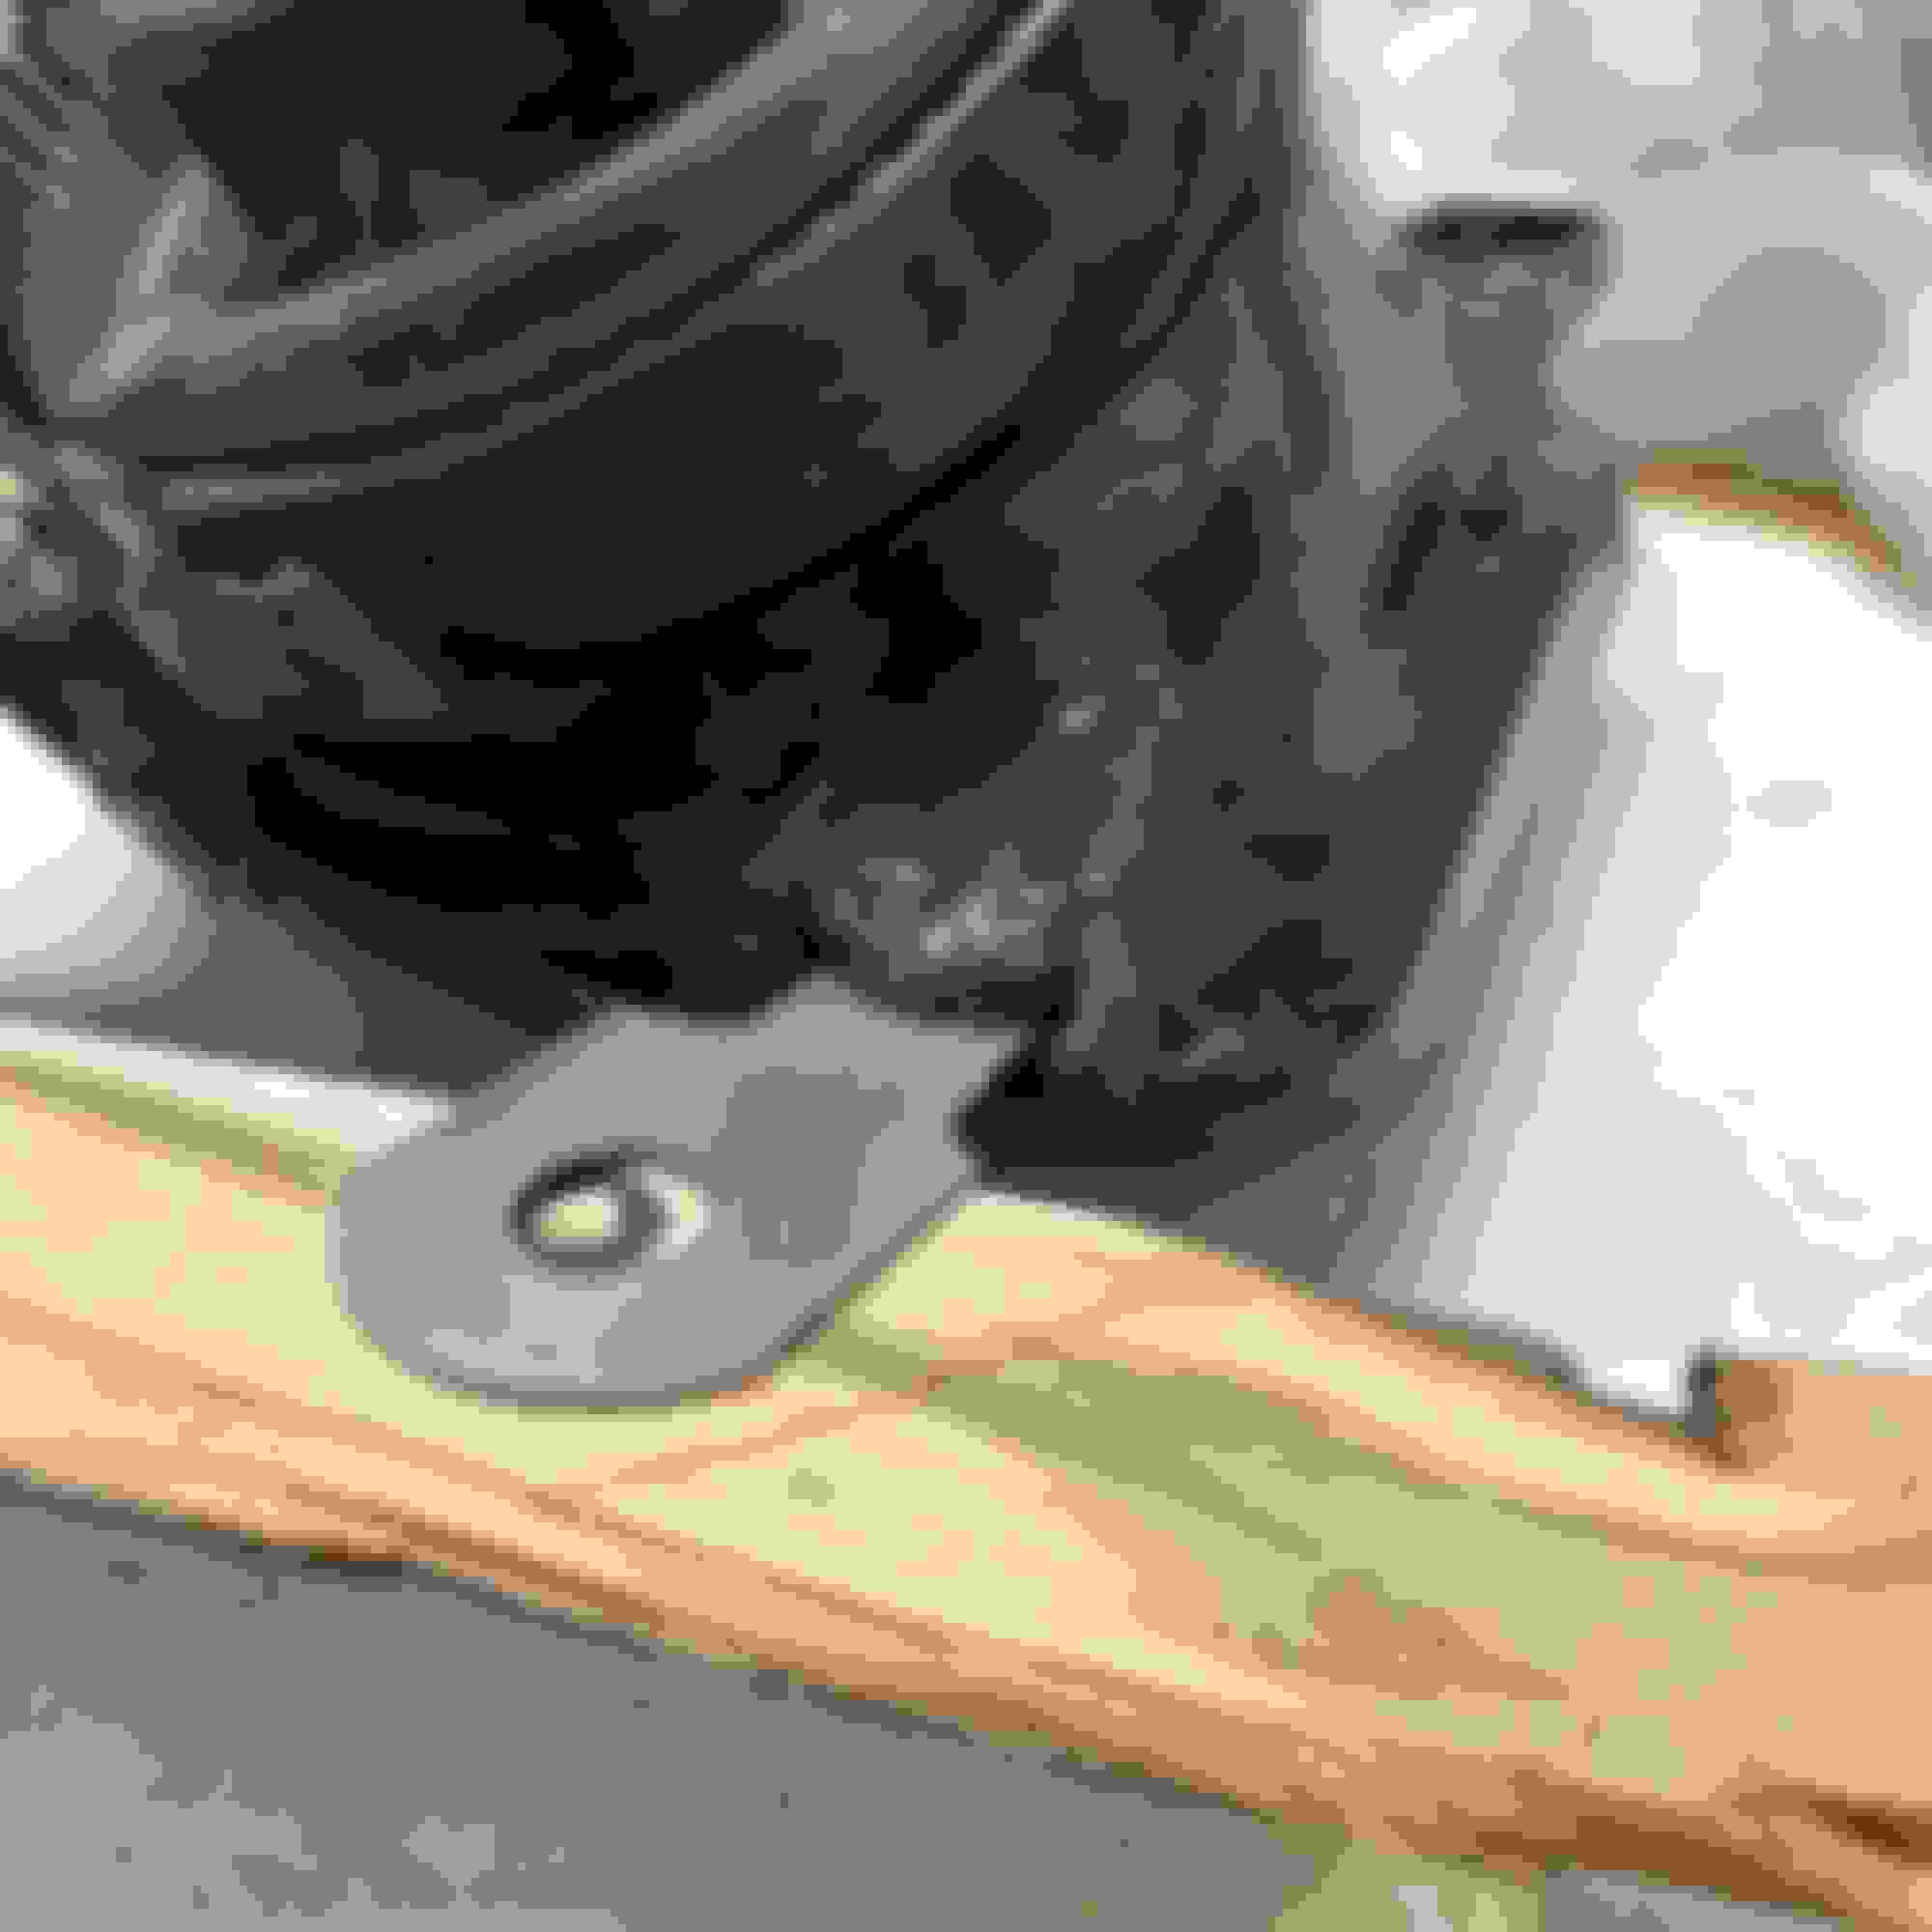
Ultimately I decided to fix it with JB weld. I have more time than money these days. First I reattached one arm that was salvageable. At the same time I reinforced the arm and the last remaining good arm with JB. The last arm had more or less shattered leaving little to work with. I found a small sheet metal strap that had the right size hole in it and so I modified it to fit. I had to find the hole distance and it’s rather difficult to see in there even with the tire off. So I put a piece of paper in and pressed in on the holes, which gave me the distance between them.
Here are a few pictures of the process. I just finished epoxying the metal tab, once it’s cured I will install and post a picture of it inside the bumper. I may go for the morimoto adapters in the future but this will be good enough for now.
Modified metal strap Reattached and reinforced Reinforced this tab a little This one wasn’t broken but reinforced now Positioning the tab View of all three An old sharpening stone and a random piece of wood were the correct height
Nothing wrong with that at all. 1/2 the crap I own has duct tape, electrical tape or epoxy on it somewhere. You'll probably never need to touch that light again with that fix. The only error I've ever made when using epoxy is trying to keep something looking clean or like new or original. Screw that! If it can't be seen and it doesn't interfere with anything lay it on thick and over-do it... Heck, burry and seal it it all in so much epoxy ya can't even see it anymore! Worst case ya have to replace a part but laying it on thick with no regard to what it looks like if it can't be seen is my way of fixing things these days with epoxy.
Last edited by Deepsea21; Feb 2, 2022 at 08:15 PM.
J B Weld is a good solution. Whenever possible, I imbed a wire (portion of paper clip) in the epoxy to give it extra strength. On some of the trim pieces, I have used a fender washer in the same way to bridge the break and provide rigidity.
There are better products out there than JB Weld. Most auto body supply shops will have 3m or SEM products designed specifically for the plastic needing mending and the metal adhesives are in some cases stronger than welds. Expensive, yes compared to JB Weld.
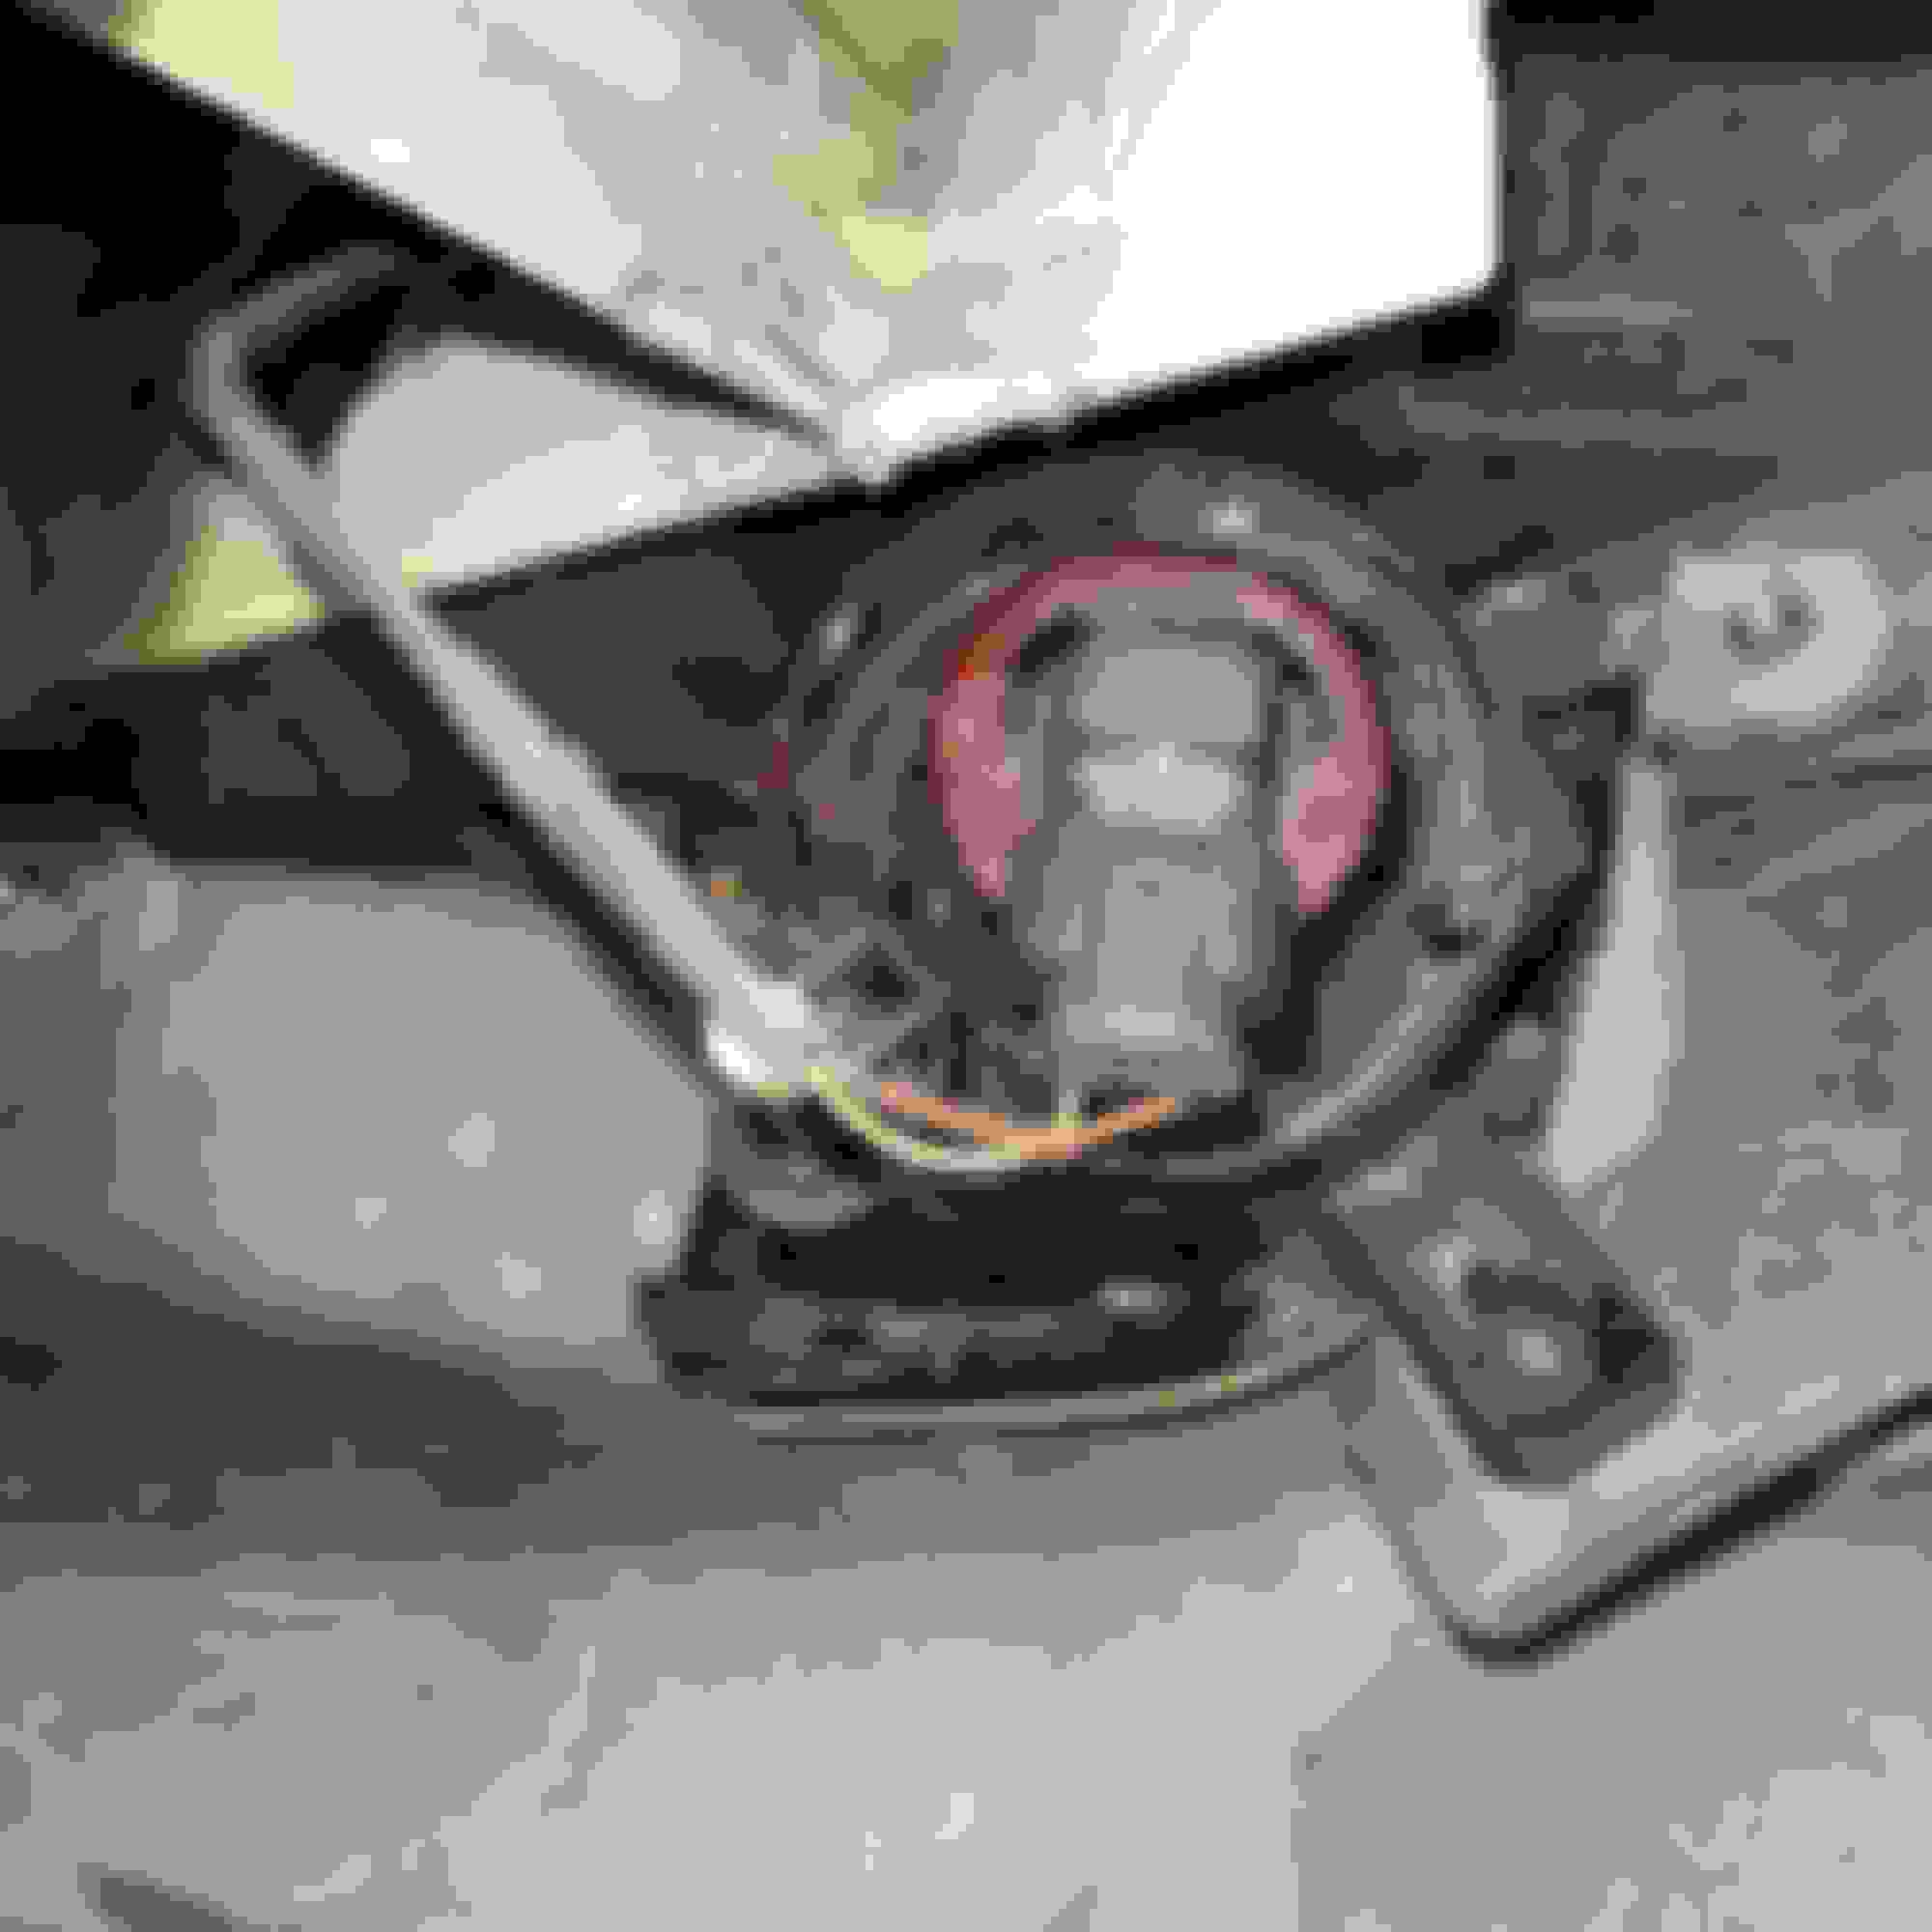
I like the idea of adding paper clips or whatever to reinforce the epoxy. Here is a pic of the fully cured light reinstalled in the bumper. One of the two tabs that hold the ceramic part in the plastic part is broken, I didn’t have anything I could use at the time to epoxy there so I put some gorilla tape on it and will address it later. Otherwise it is mounted and looks normal from the outside. Just wanted to document all this in case someone else has the issue and is looking for a fix.


 Fixing a broken fog light mount