LOG IN
REGISTER
Forums
Crossfire Forum
New Member Introductions
Crossfire Events and Meets
Members who have passed away
Site News
Cars
All Crossfires
Crossfire Coupe
Crossfire Roadster
Crossfire SRT6
Crossfire V8 conversions
MB SLK/SL/SLC
Car Shows
Technical
TSBs and How-To Articles
Crossfire build section
Troubleshooting & Technical Questions & Modifications
Engine, Exhaust, Transmission and Differential
Audio, Video and Electronics
Exterior & Lighting
Interior
Wheels, Brakes, Tires and Suspension
Detail Shop
Competition
Crossfire Awards and Trophies
Racing
Marketplace
Crossfire Marketplace
Commercial Sponsor Classifieds
Off Topic
General
Other Cars Etc
Other Vehicles
Regional Forums
North America
Other Regions
****Forum Functions**** / Test / Troubles / Suggestions etc
**WEBSITE** Functions / Questions/ Suggestions Etc
Testing Section Only
Marketplace
Vendor Directory
Become a Vendor
The Crossfire Marketplace
New Posts
Tools
Car Payment Calculator
Tire Rim Calculator
Recalls
Technical Service Bulletins (TSBs)
Members List
Live Feed
Gallery
View Dark Mode
Please register or login to enable Dark Mode.
Log In
Register
Threads
Google
Threads
Posts
Advanced
Dark Mode
Please register or login to enable Dark Mode.
Log In
Forgot your Password?
By logging into your account, you agree to our
Terms of Use
and
Privacy Policy
, and to the use of cookies as described therein.
Recent
Commented
Albums
My Pictures
waldig's Photos
View Profile
Sort:
Commented
Most Recent
Most Comments
Albums
Photos
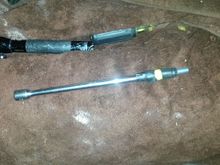
if your in a tight spot, you can TAPE the socket and or bolt to the wrench allowing you to keep it together and not drop it down into the car......
0
2015/08/14 16:45:01
waldig
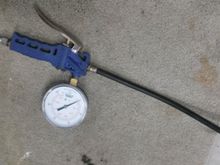
One of my tricks, I use the harbor freight air chuck and added a cheap ebay meter to really be able see the tire pressure easily.
0
2015/08/14 16:45:01
waldig
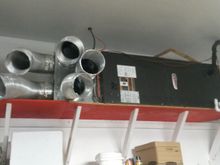
The duct work is adjustable so you can relocate the air if needed in different locations, just push the flex pipe and your done.
0
2015/08/14 16:40:54
waldig
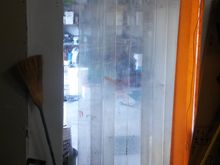
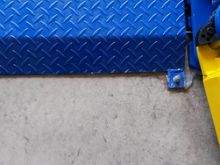
How I seal the air conditioned bay from the end units, and allow passage / light
0
2015/08/14 16:40:54
waldig
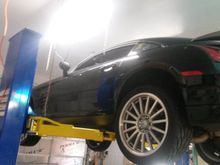
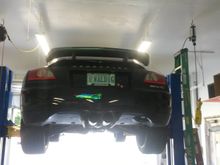
Rotary revolution lift with out ceiling bar.
0
2015/08/14 16:40:54
waldig
THe lift allows over 6 ' under car and misses 12' ceiling
0
2015/08/14 16:40:54
waldig
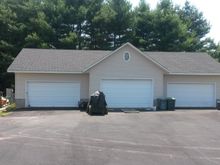
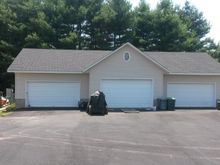
2100 ft garage for lift 12 high
0
2015/08/14 09:56:13
waldig
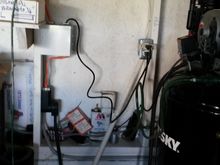
compressor power control to the lights, compressor shuts off it lights are powered off and the air line is shut off to prevent blowing a air line while Iam away. Woody
0
2015/08/14 09:56:13
waldig
Lift just installed and shop not messed up YET
0
2015/08/14 09:56:13
waldig
Caulking the floor / lift with RTV for water protection. Yeah
0
2015/08/14 09:56:13
waldig
The beginning of installation of my third ROTARY LIFT, yeah the garage will be whole soon
0
2015/08/04 13:03:19
waldig
This package weighs 1750 pounds and is a bit for an old guy to install and unload by myself
0
2015/08/04 13:03:19
waldig
14 months of work at 67 yrs of age, but its got 12 foot ceilings. Woof WW
0
2015/07/29 10:11:50
waldig
Relocated TBs to allow them to be cool = not pick up underhood heat,
0
2015/07/29 03:50:49
waldig
Raw data of testing TBs in front of radiator
0
2015/07/29 03:50:49
waldig
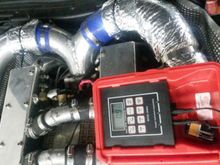
Temp meter with the probes under the aluminum tape spots on manifolds, just before the supercharger inlet throat,
0
2015/07/19 17:49:55
waldig
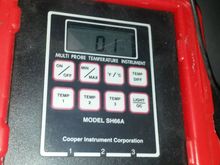
sitting overnight the temps show readings within 0.1 degree of one another left to right intake manifold
0
2015/07/19 17:49:55
waldig
sensors mounted on intake pipes, passenger side not insulated , Driver side insulated for testing, with dual throttle bodies
0
2015/07/19 17:21:10
waldig
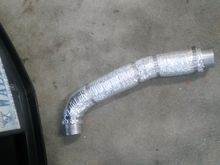
Insulated intake pipe ready for installation.
0
2015/07/19 17:21:10
waldig
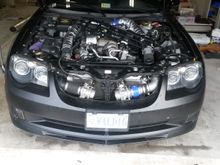
Overall test set-up and how it looks in my car at this time. Dual throttle bodies now working after 3 years of piddeling around with them. 7/19/2015 YEAH at last.
0
2015/07/19 17:21:10
waldig
20130730 162332
0
2013/07/30 14:25:54
waldig
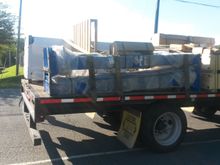
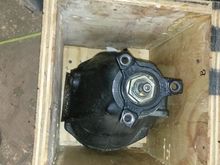
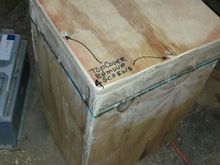
Rear case for shipping
0
2013/07/30 14:24:07
waldig
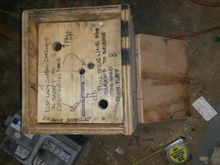
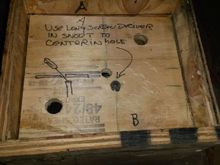
How i did it
0
2013/07/30 14:24:07
waldig
interior cover to hold rear
0
2013/07/30 14:21:48
waldig
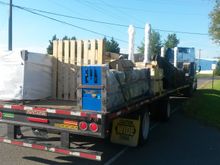
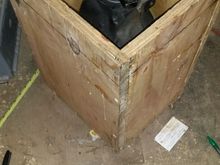
Boxing it up
0
2013/07/30 14:21:48
waldig
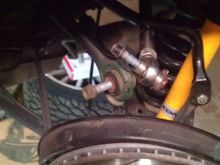
How to pull out the axles
0
2013/07/17 13:43:15
waldig
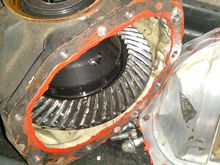
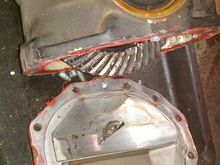
Failed rear gear
0
2013/07/17 13:43:15
waldig
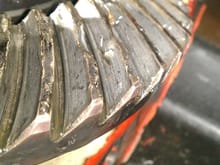
Broken off pinon tooth
0
2013/07/17 13:43:15
waldig
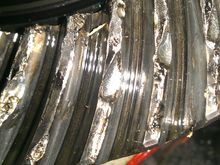
Chewed up ring gear
0
2013/07/17 13:43:15
waldig
Opened up rear gear.
0
2013/07/17 13:43:15
waldig
Wallered out ring gear #2.
0
2013/07/17 13:43:15
waldig
House in process
0
2013/06/15 04:57:42
waldig
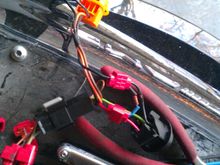
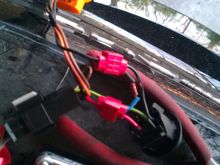
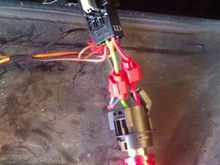
View of crimp connectors
0
2013/02/12 14:27:43
waldig
View of crimp connectors
0
2013/02/12 14:27:43
waldig
Connector close up
0
2013/02/12 14:25:36
waldig
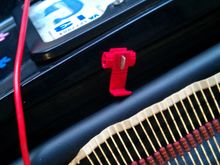
Sleeving and connector end view
0
2013/02/12 14:25:36
waldig
How I added resistors
0
2013/02/12 14:25:36
waldig
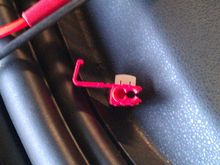
crimp connectors
0
2013/02/12 14:25:36
waldig
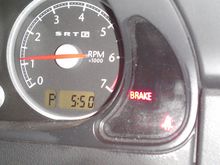
No bulb out indicator
0
2013/02/12 14:21:05
waldig
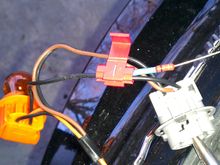
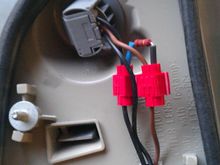
Adding resistors and crimp connectors
0
2013/02/12 14:21:05
waldig
First
Page
6 of 29
Last
Go To
Page
1
...
4
5
6
7
8
...
29
6 of 29
Go To
GO
Go to page
of 29
pages
1
...
4
5
6
7
8
...
29