When you click on links to various merchants on this site and make a purchase, this can result in this site earning a commission. Affiliate programs and affiliations include, but are not limited to, the eBay Partner Network.
Nice work! Some verification that the paint we see listed on eBay by this source for the various interior colors looks to be the real thing.
Yeah, I'm satisfied it's from the original supplier, as they claim. I'm a stickler for keeping light-colored surfaces clean, as unlike with black or near-black colors you can actually see the dirt/grime that builds up. Both the Vanilla seat leather and the Vanilla dash/console/door paint are very fragile to the cleaning regimen used. Even the softest brushes that attach to your drill and are sold online for use on leather CANNOT BE USED!!! Also use only the mildest of cleaners or you'll strip the surface away from either. Leather wipes are OK for the actual seat leather, but when cleaning larger areas or the painted surfaces I only use Griot's Garage 3-in-1 Leather Cleaner
I'm more than 2 months behind on posting this, but at least I'll get started tonight. Both breather covers leak oil... Remove & Repair
I paid $12 to get the video off of the EBAY channel 'MercedesSource'... off his own webPage actually. Most importantly he tells you the chemicals to use for cleaning & prepping the sealing surfaces & how to remove the old sealant without pitting the soft magnesium alloy. He suggesting ordering all new breathing hoses since the rubber hardens over time and you can almost count on damaging some in the removal process; so I ordered all new ones. In the first 3 pics below I was just checking the routing of the hoses to ascertain the minimum number of components I'd be forced to remove.
You can assemble the new breather hoses together on your workbench as Mercedes has placed TRIANGLES, SQUARES or CIRCLES on the ends and simply aligning them gives you the correct hose orientation. Good going Mercedes!
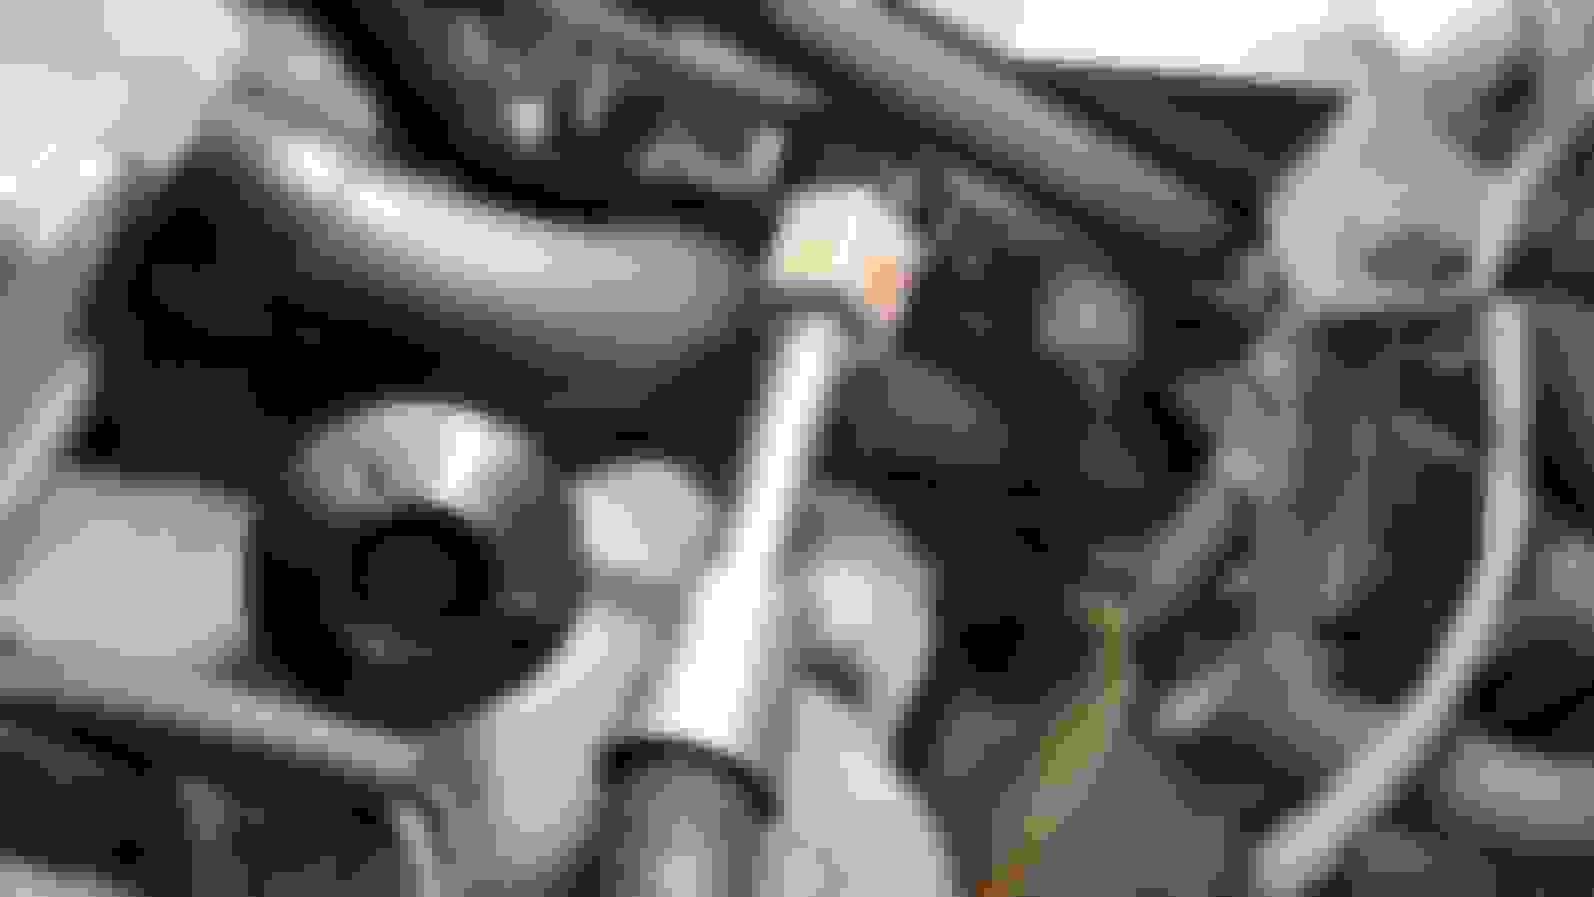
OK, so here I am about to remove the 2 breather covers. This shows everything I had to remove, including the MAF as the breather hoses route the air back into the intake manifold via a fitting that's impossible to get to without removing the MAF.
I plugged the open holes with blue shop towels so nothing would fall onto the camshafts while I cleaned the sealing surfaces.
Here are the 2 breather covers all cleaned up & ready to be reinstalled.
If you soak your sealant in near-boiling water for about 10 minutes it'll come out of the tube much more easily. You'll be very glad you did as the thin "valley" you have to squeeze the sealant into means you can only snip off the very end of the tube's funneled outlet, the very narrowest part. That means sealant cannot flow out of the tube quickly. Squeezing out the sealant therefore takes a long time and is the most physically demanding part of the entire process!!!
Here we are with the breather covers reinstalled...
And the rest of the job is merely putting what you took off back on, but with brand-new breather hoses.
And voilà, no more oil leaks onto the exhaust manifolds, AC compressor, etc.!! I jacked up the car outside and properly cleaned away any evidence that there had ever been a leak to begin with.
Hey WD40, I noticed you have not done the MAF descreening (and adding to that, the elbow debaffle?). You can pick up a few HP doing that mod! There is a tutorial somewhere in the document collection, look for it and see if you want a few extra HP.
.
Last edited by GraphiteGhost; Jun 4, 2022 at 09:30 AM.
Reason: Corrected a spelling error.
. Hey WD40, I noticed you have not done the MAF descreening (and adding to that, the elbow debaffle?). You can pick up a few HP doing that mod! There is a tutorial somewhere in the document collection, look for it and see if you want a few extra HP.
.
Throughout my life I've always MECHANICALLY (NOT cosmetically) "improved" my vehicles to a great degree. In 2005 an old full-size American car ran into & totaled my Lotus. In the payout I asked the insurance agent if I'd be compensated for said improvements. He said, "sure, just show us the receipts." However when I handed him receipts for parts alone totaling $16,000 he, for 'some' reason, changed his mind about reimbursing me!!!
Anyway, except for reliability related changes like sticky key & re-soldering the RCM I've left the Crossfire entirely stock, proving that even old dogs can change!
Post #1 PAINTING THE DRIVER'S SIDE INTERIOR
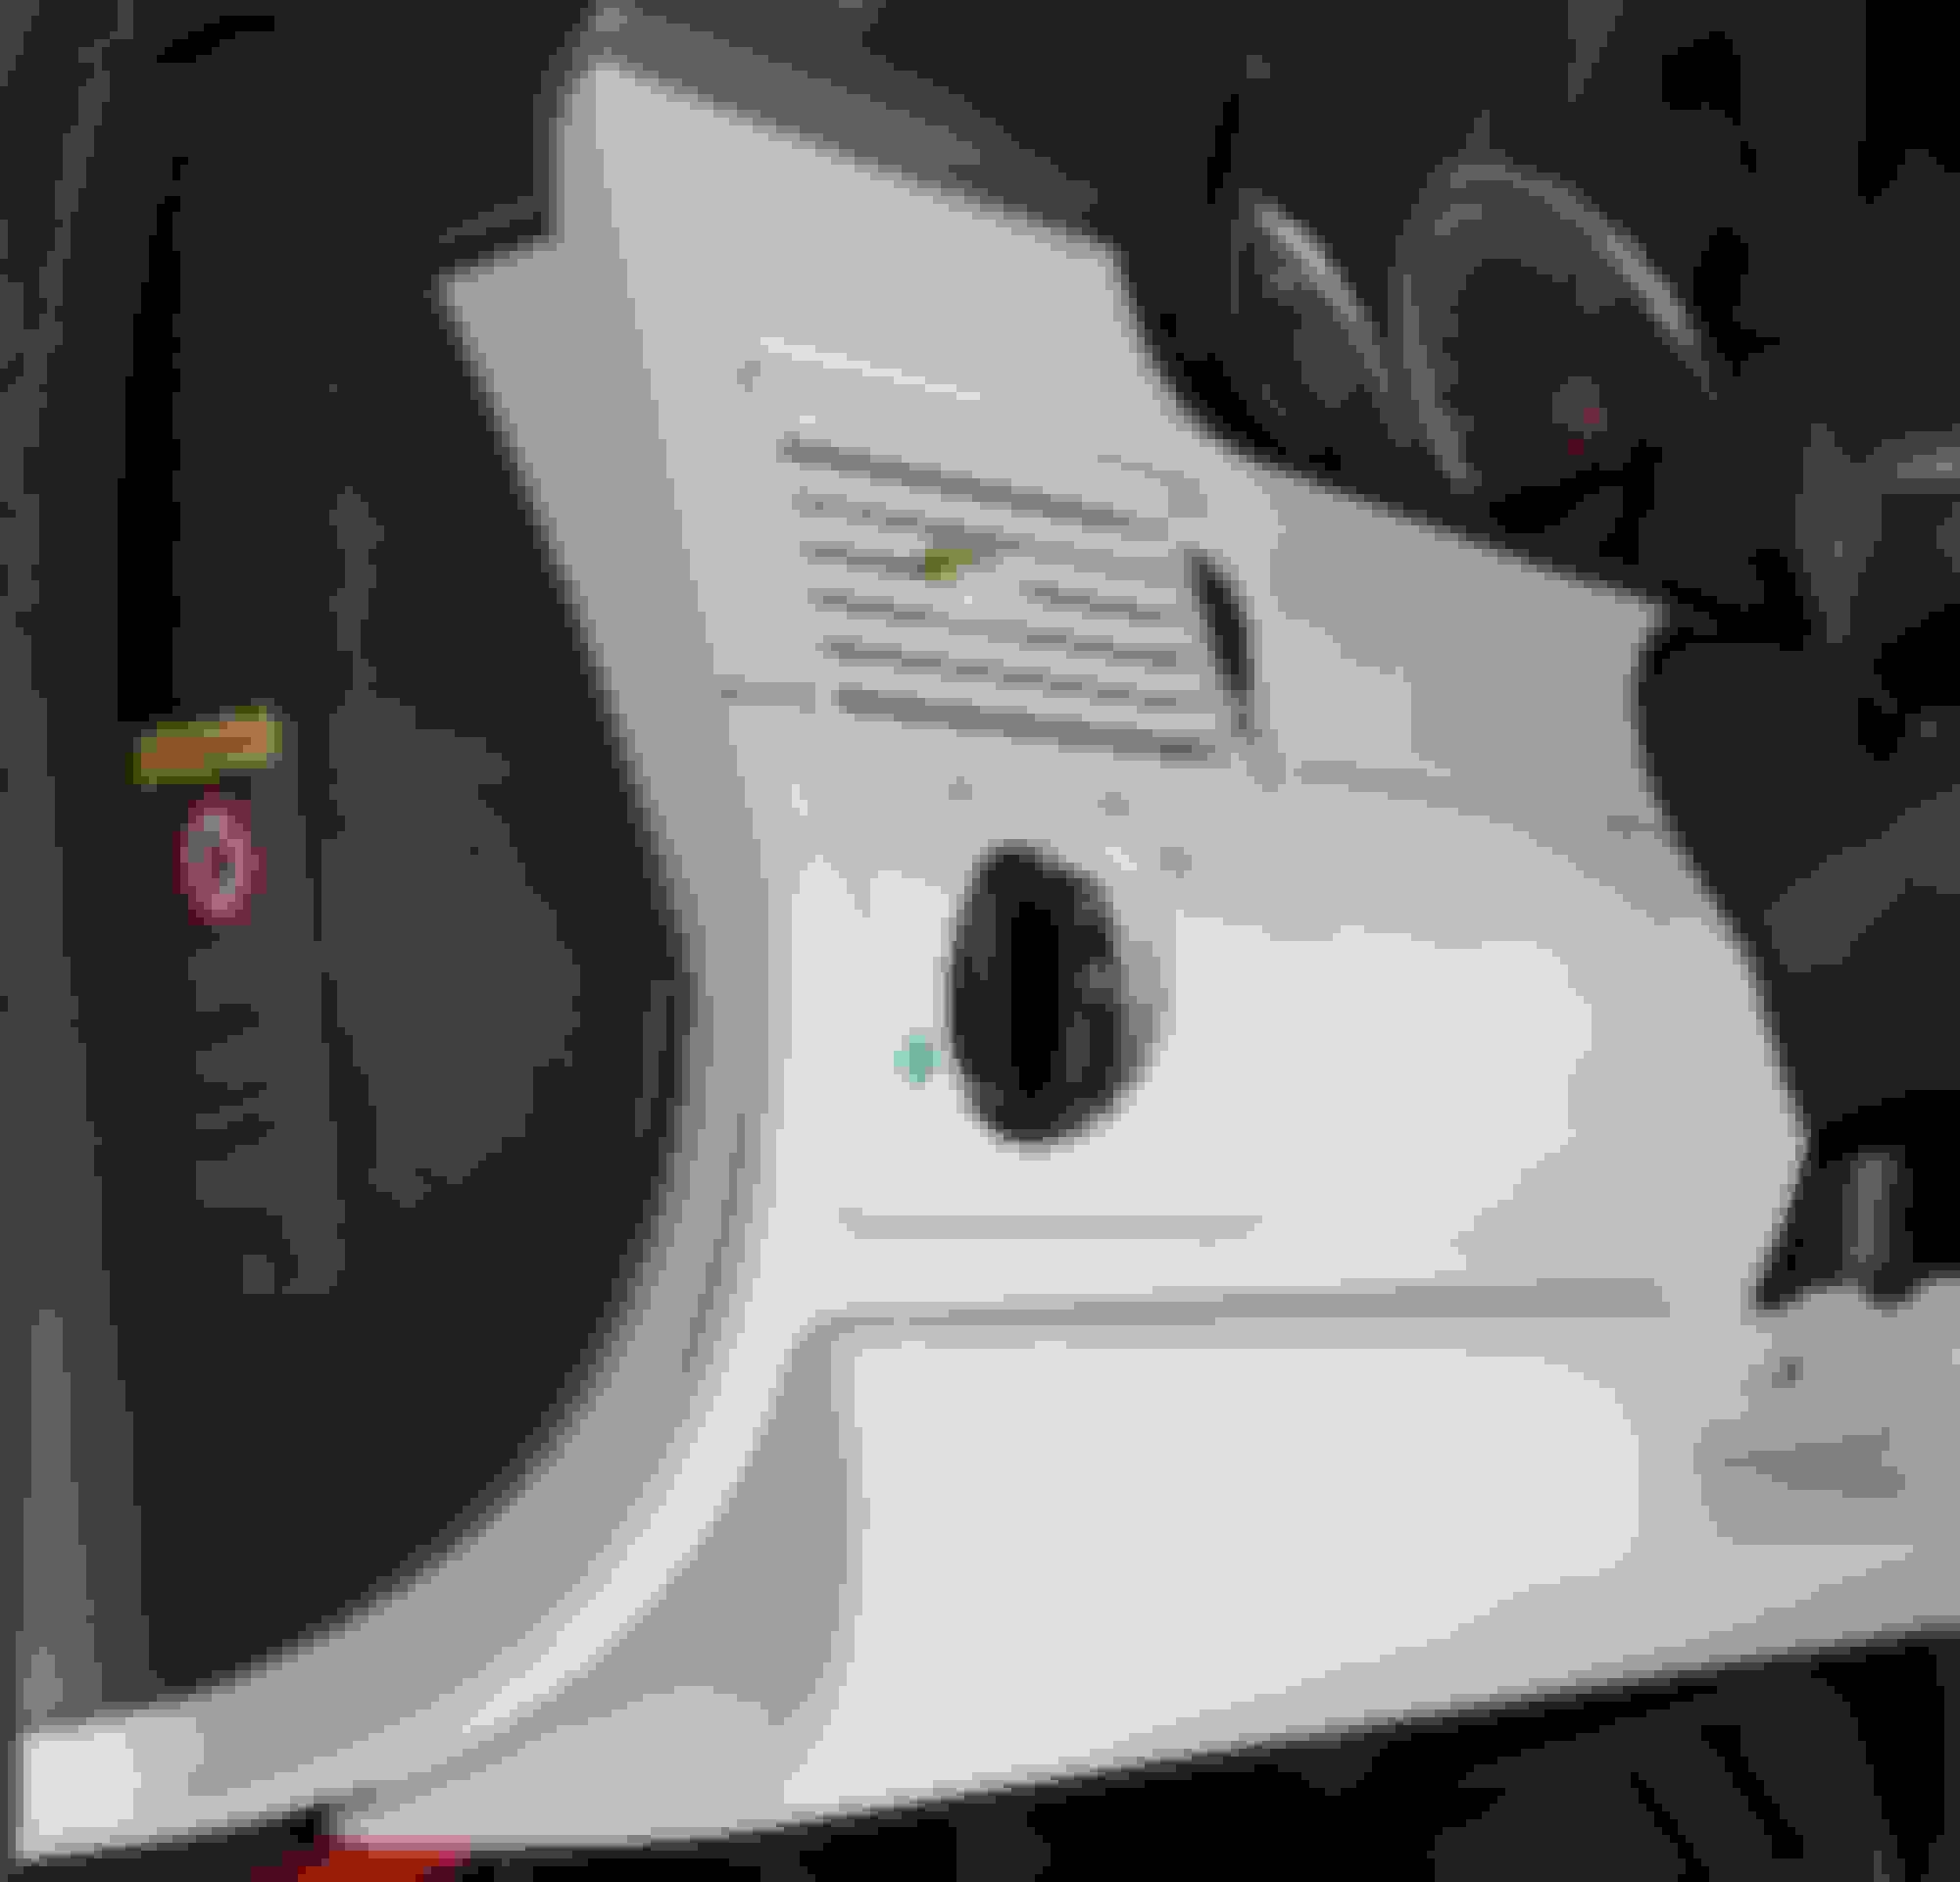
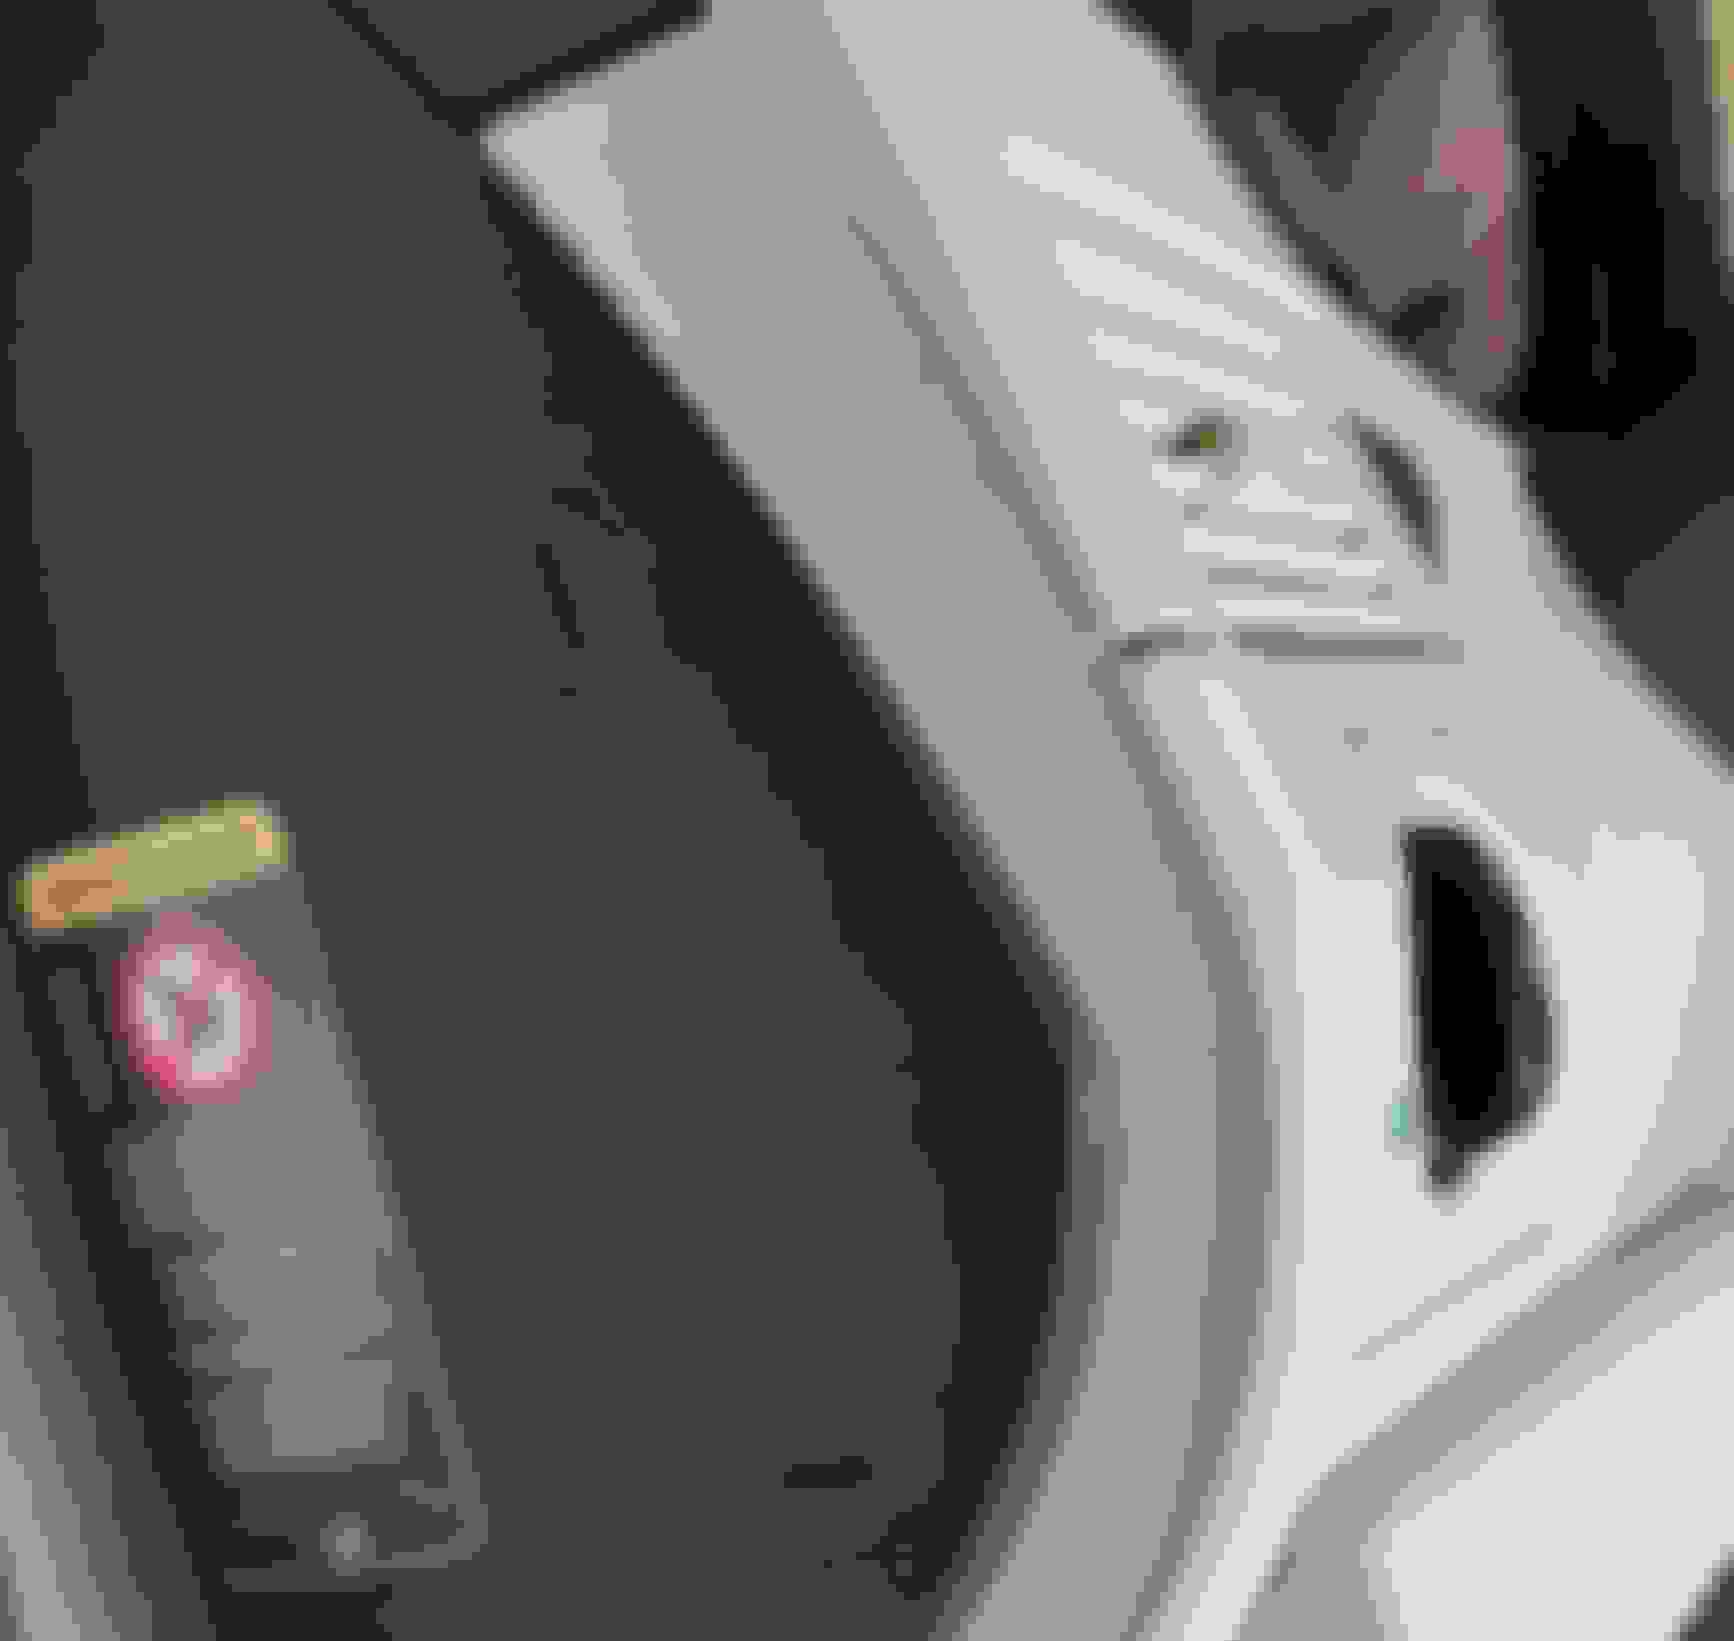
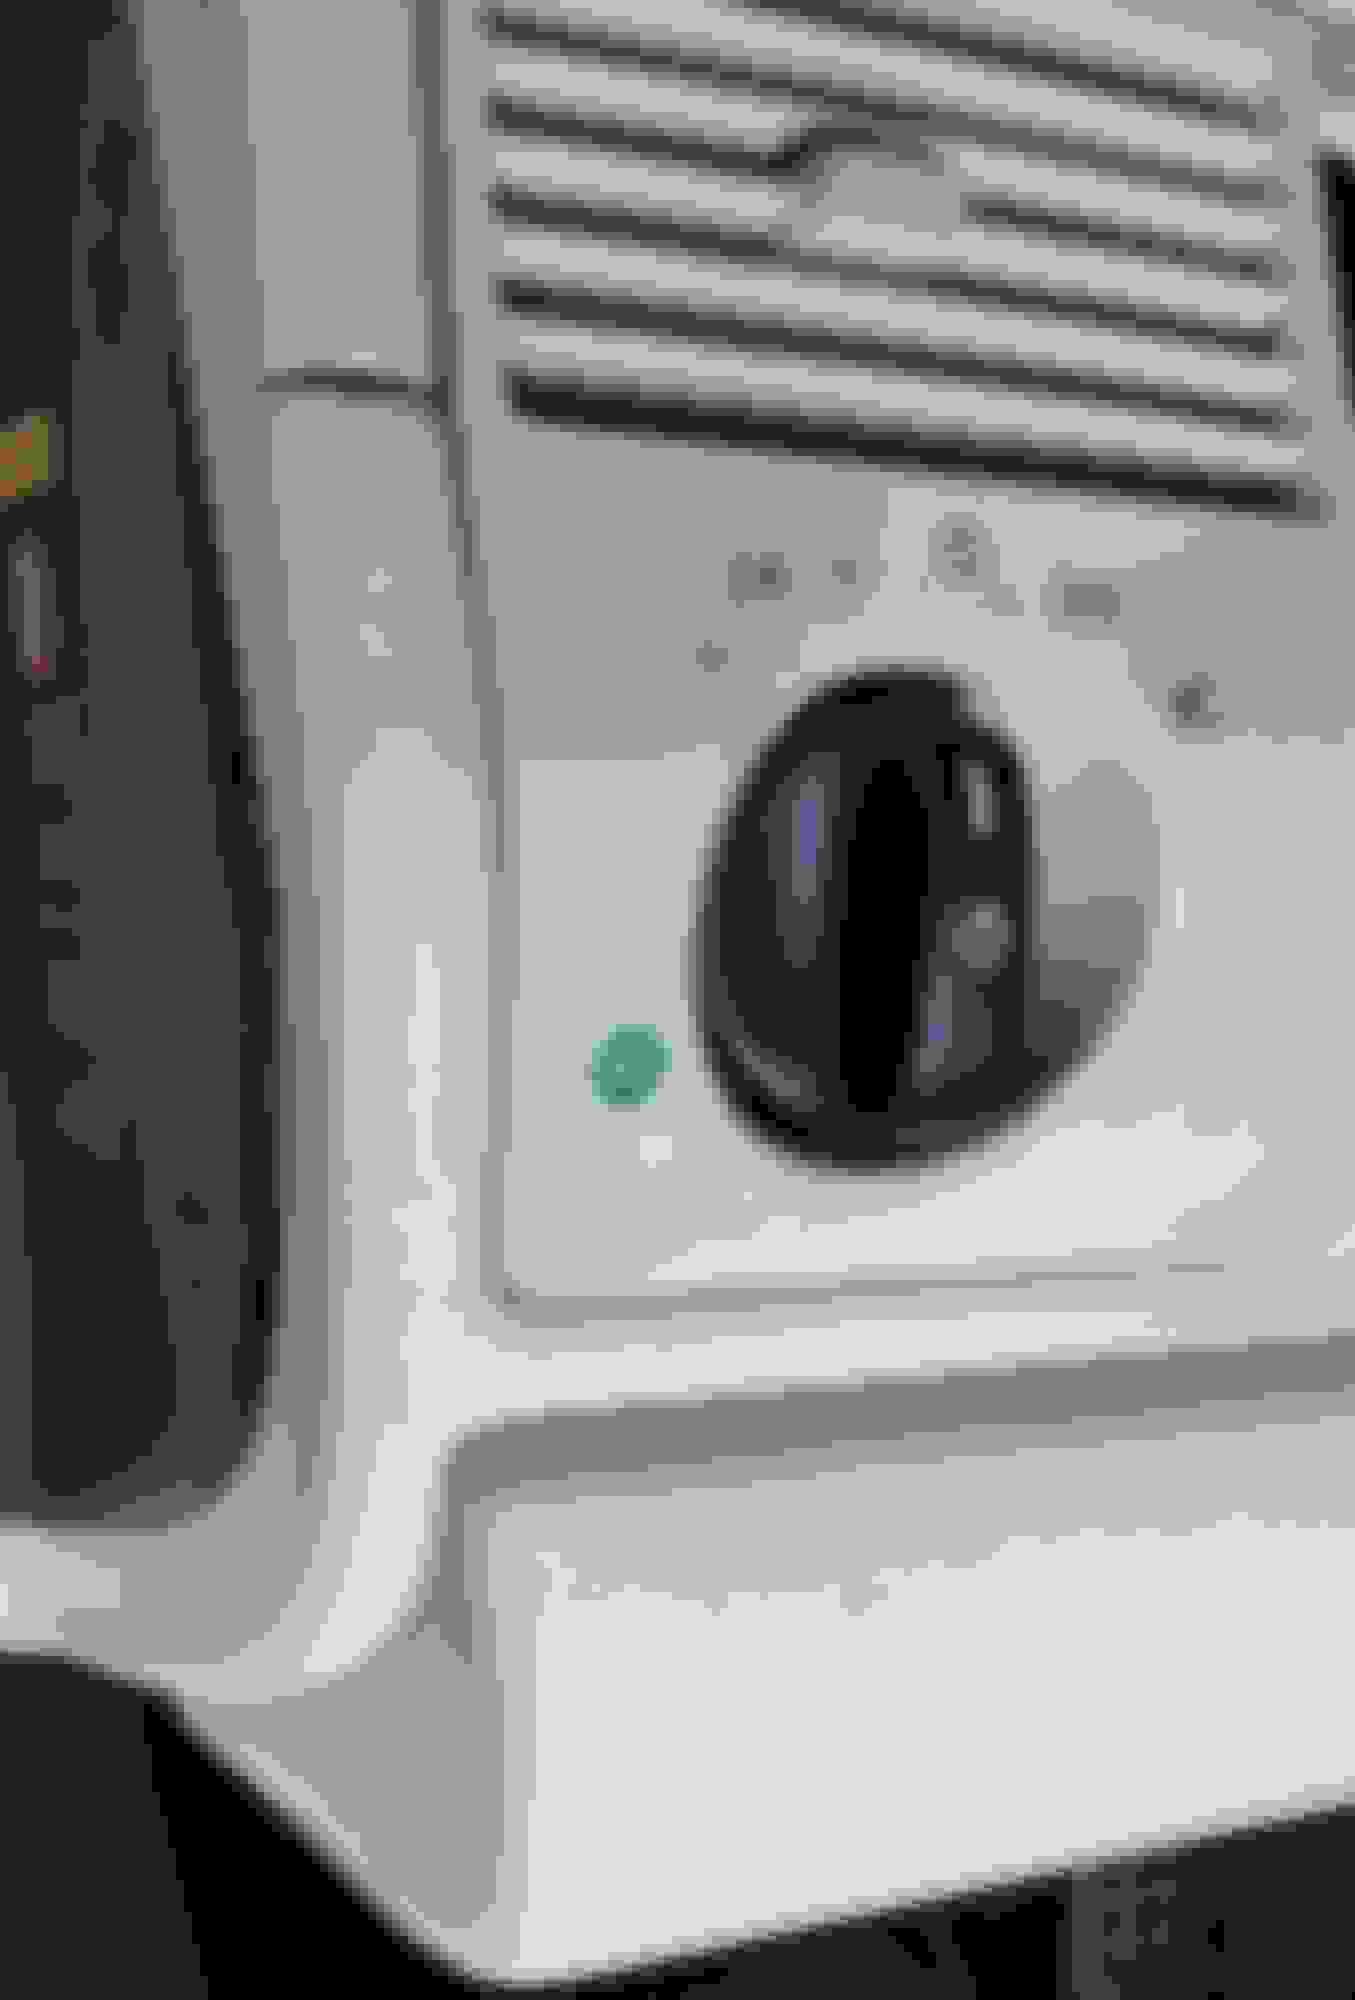
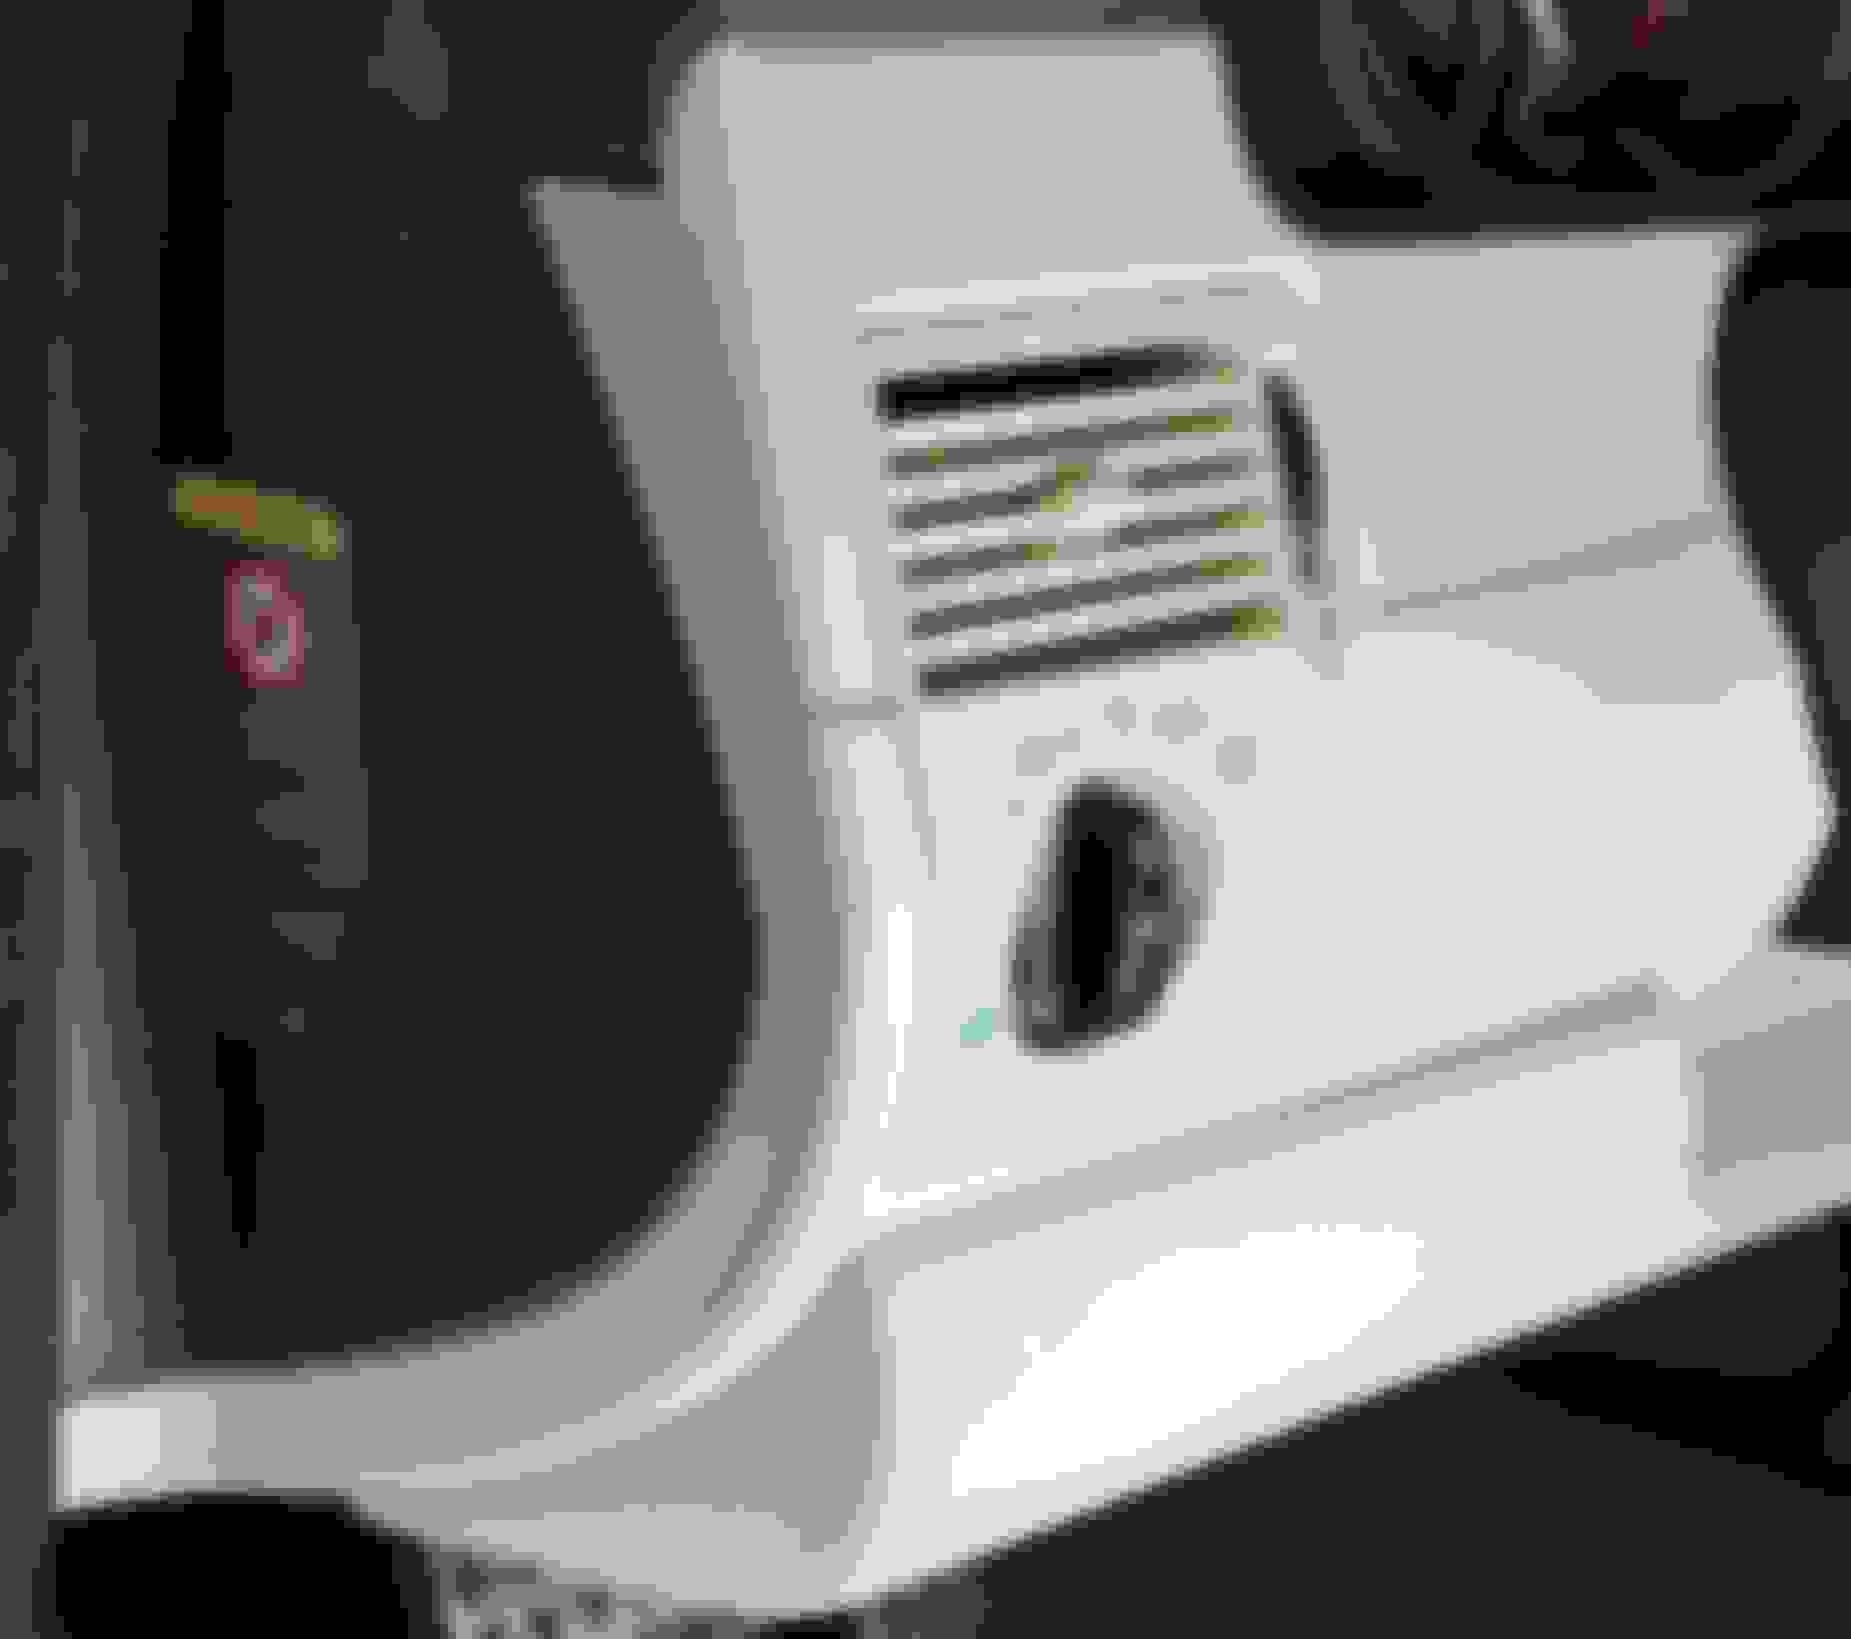
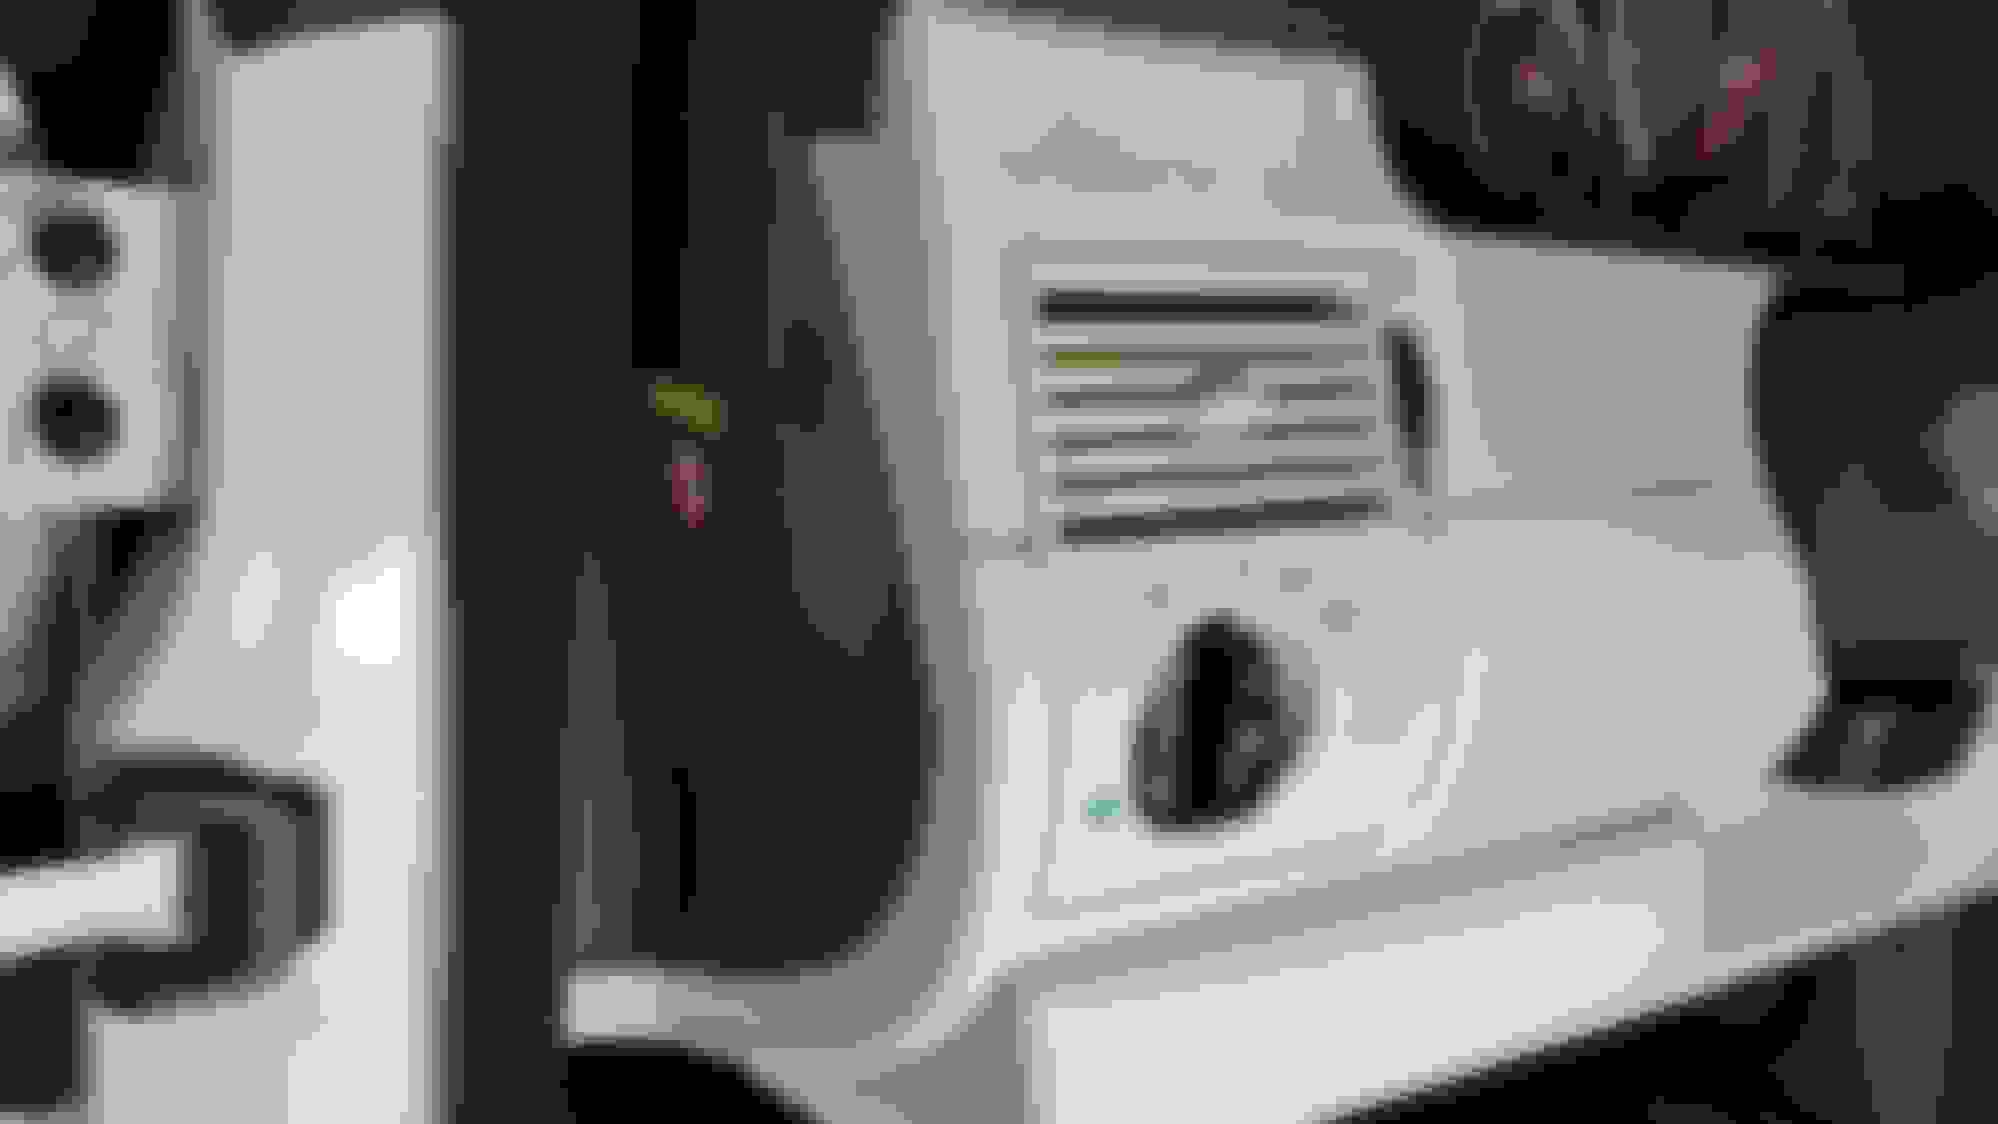
A couple weeks ago I touched-up interior paint damage on the passenger's side. It turned out so nice that I decided to proceed with the driver's side.
In this first post I am attempting to display some of the damage I want to repair.
(You can enlarge any of these)
Really nice work! I probably would have pulled the fuse cover & the HVAC vent to save on the overall taping. Just a thought. Still really nice results!
Last edited by dedwards0323; Jul 5, 2022 at 08:37 AM.
Really nice work! I probably would have pulled the fuse cover & the HVAC vent to save on the overall taping. Just a thought. Still really nice results!
Dog, I taped off the ENTIRE GARAGE that the car is in! It took DAYS & hundreds of dollars in tape! Are you saying... I didn't have to?
(The U-shaped piece that goes beneath and up both sides of the steering column was bought from QUIRK Parts 2 or 3 years ago. They had a sale and my old one had broken tabs so it wasn't level with the dash anymore. So I bought the new part and it turned out to be just a slightly lighter shade than the rest of the interior pieces. But the paint is perfect so it was never in my plans to repaint it. If the factory can't get it right it's not my fault!)
OK, so here I am about to remove the 2 breather covers. This shows everything I had to remove, including the MAF as the breather hoses route the air back into the intake manifold via a fitting that's impossible to get to without removing the MAF.
I plugged the open holes with blue shop towels so nothing would fall onto the camshafts while I cleaned the sealing surfaces.
Here are the 2 breather covers all cleaned up & ready to be reinstalled.
to be continued...
When I did this repair back in 2010, I filled the breather covers with the RTV (I did use a different product than most folks have used & we'll leave it at that) and then used the blade on my pocket knife to smooth out the amount of product within the groove, removing any excess. I didn't want a large amount of RTV showing after the breather covers were installed & torqued down. And I check the mounting screws, along with the valve cover screws, every 2 years for proper torque. I've found out that these mounting screws loosen up somewhat over time, which I believe contributes to the leaking issue. Ever since that repair and the Preventive Maintenance I perform, no signs of any leaks. I've never changed the valve cover gaskets.
Last edited by dedwards0323; Jul 6, 2022 at 12:56 PM.
When I did this repair back in 2010, I filled the breather covers with the RTV and then used the blade on my pocket knife to smooth out the amount of product within the groove, removing any excess. I didn't want a large amount of RTV showing after the breather covers were installed & torqued down. And I check the mounting screws, along with the valve cover screws, every 2 years for proper torque. I've found out that these mounting screws loosen up somewhat over time, which I believe contributes to the leaking issue. Ever since that repair and the Preventive Maintenance I perform, no signs of any leaks. I've never changed the valve cover gaskets.
I think that method is a good way to even out the RTV in the groove. Too many pictures show a very uneven layer of RTV and in some places I expect there is hardly any and that is where it blows.
As per my discussion with someone today, in my opinion a paint brush is the best type of brush to use when cleaning the Crossfire's interior, whether the car's leather surfaces or the dash/doors and center console. Nylon brushes, both machine or hand-held, are just too coarse and aggressive, and even a rag can remove too much of the delicate factory interior paint. But cutting down the bristles of a paint brush only to the point of adding enough stiffness to allow the ends of the bristles to be used for light agitation, is the best tool I've found for cleaning delicate surfaces without damaging or simply removing them. Used in conjunction with a MILD leather cleaner it's the only way I've found to effectively deep-clean my Vanilla interior surfaces.
On the left is a brush like you can buy at any store. On the right is my sorry attempt to cut a brush's bristles straight across!! Go ahead, I probably deserve to be laughed at. When you cut them with scissors the bristles try to "escape" so it's hard to get a straight cut. Perhaps someone can figure out a solution to that.




 Re: What has WD40 done now???















 Hey WD40, I noticed you have not done the MAF descreening (and adding to that, the elbow debaffle?). You can pick up a few HP doing that mod! There is a tutorial somewhere in the document collection, look for it and see if you want a few extra HP.