

View Poll Results: New Crossfire Emblem Survey
A


0
0%
B


1
1.59%
C


0
0%
D


15
23.81%
E


9
14.29%
F


38
60.32%
Voters: 63. You may not vote on this poll
NEW Crossfire Emblem Survey

Thread Starter
|
Senior Member
Joined: Aug 2006
Posts: 1,053
Likes: 0
From: Colorado Springs, CO
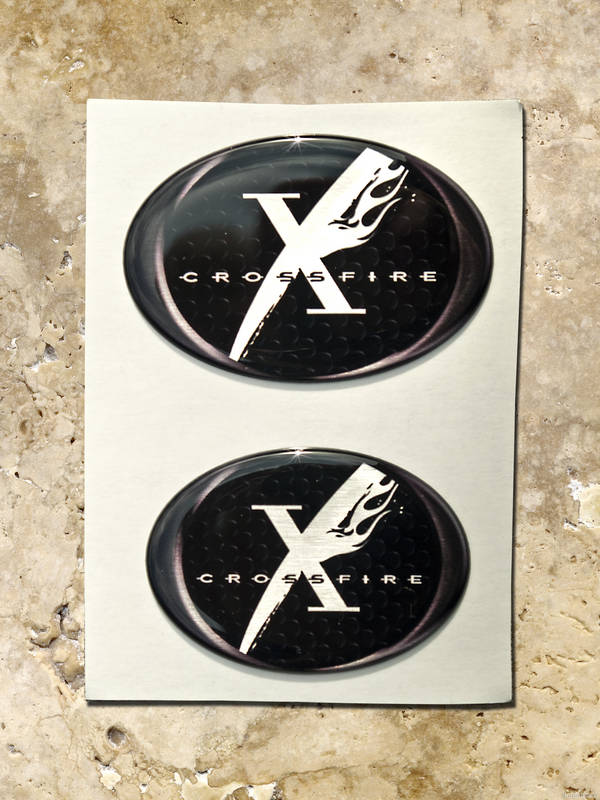
These are different than Andrews emblems. I sent these files to Andrew back in the spring to see if his printer could work with them. Turns out they could not hold registration with the amount of detail. Long story short - these are solvent ink printed on poly, they have a heavy-duty automotive adhesive on the backs.
Here is how its done:
1 - Clean the wing - OEM emblem surface with alcohol.
2 - Remove X-Fire emblem from backing paper. Align/Center your new emblem where you want it. If applying to the stock wings, you do not have to remove the stock emblem. I recommend lining up the top edge flush with the OEM emblem, making sure the �Crossfire� lettering is straight.
3 - Place pressure in the middle of the emblem and work your way outwards in a circular motion. These emblems are pressure sensitive.
It's a little trickier but if you get the top edge on right, and the lettering straight, it drops into place, piece of cake.

Thread Starter
|
Senior Member
Joined: Aug 2006
Posts: 1,053
Likes: 0
From: Colorado Springs, CO
Man that sure looks nice with you color! Thanks for sharing your pics! Enjoy.
Last edited by H82BL8; Jul 31, 2009 at 11:17 PM.
Joined: Nov 2008
Posts: 230
Likes: 2
Here's my impression of these new emblems:
1. I really feel fortunate that someone decided to do this and that someone had the appropriate skills.
2. The "installation" was very quick and easy. I cleaned up the original emblems with alcohol wipes. Let them dry. Then, exactly as instructed, I placed the top of the oval into the groove of the top of the original emblem. It fit right in. I just let the rest fall right in. Finished it up with nice pressure on it. It was a no brainer. Even a caveman can do it. Yeah, seriously.
3. Personally, to nit pick a bit, the emblem didn't need to be as thick as they are.
4. Overall, I'm very satisfied with them.
Thank you.


Senior Member
Joined: Feb 2008
Posts: 4,084
Likes: 4
From: Tennessee
Originally Posted by BlazingSaddle
Red on Red. Nice. Works well. And hot dang, that's a nice sheen on your XF.

Thread Starter
|
Senior Member
Joined: Aug 2006
Posts: 1,053
Likes: 0
From: Colorado Springs, CO
Big Al - Your Red X-Fire emblems shipped today. Congratulations, you now own one of the hippest Crossfires any "70 year young" owner has!
Enjoy - H82BL8

Enjoy - H82BL8

Thread Starter
|
Senior Member
Joined: Aug 2006
Posts: 1,053
Likes: 0
From: Colorado Springs, CO
Its OK blackxfire, these may not for everyone, I respect that. Designing to appeal to everyone is like sitting in the middle of the road, eventually you will get run over. I see beauty where others see ugliness. That either makes me an artist, or a person of very poor taste.
Administrator
Joined: Nov 2003
Posts: 7,525
Likes: 18
From: Columbus, Ohio
-C-I-C-C-I Associate Member
Originally Posted by H82BL8
Its OK blackxfire, these may not for everyone, I respect that. I see beauty where others see ugliness. That either makes me an artist, or a person of very poor taste.

