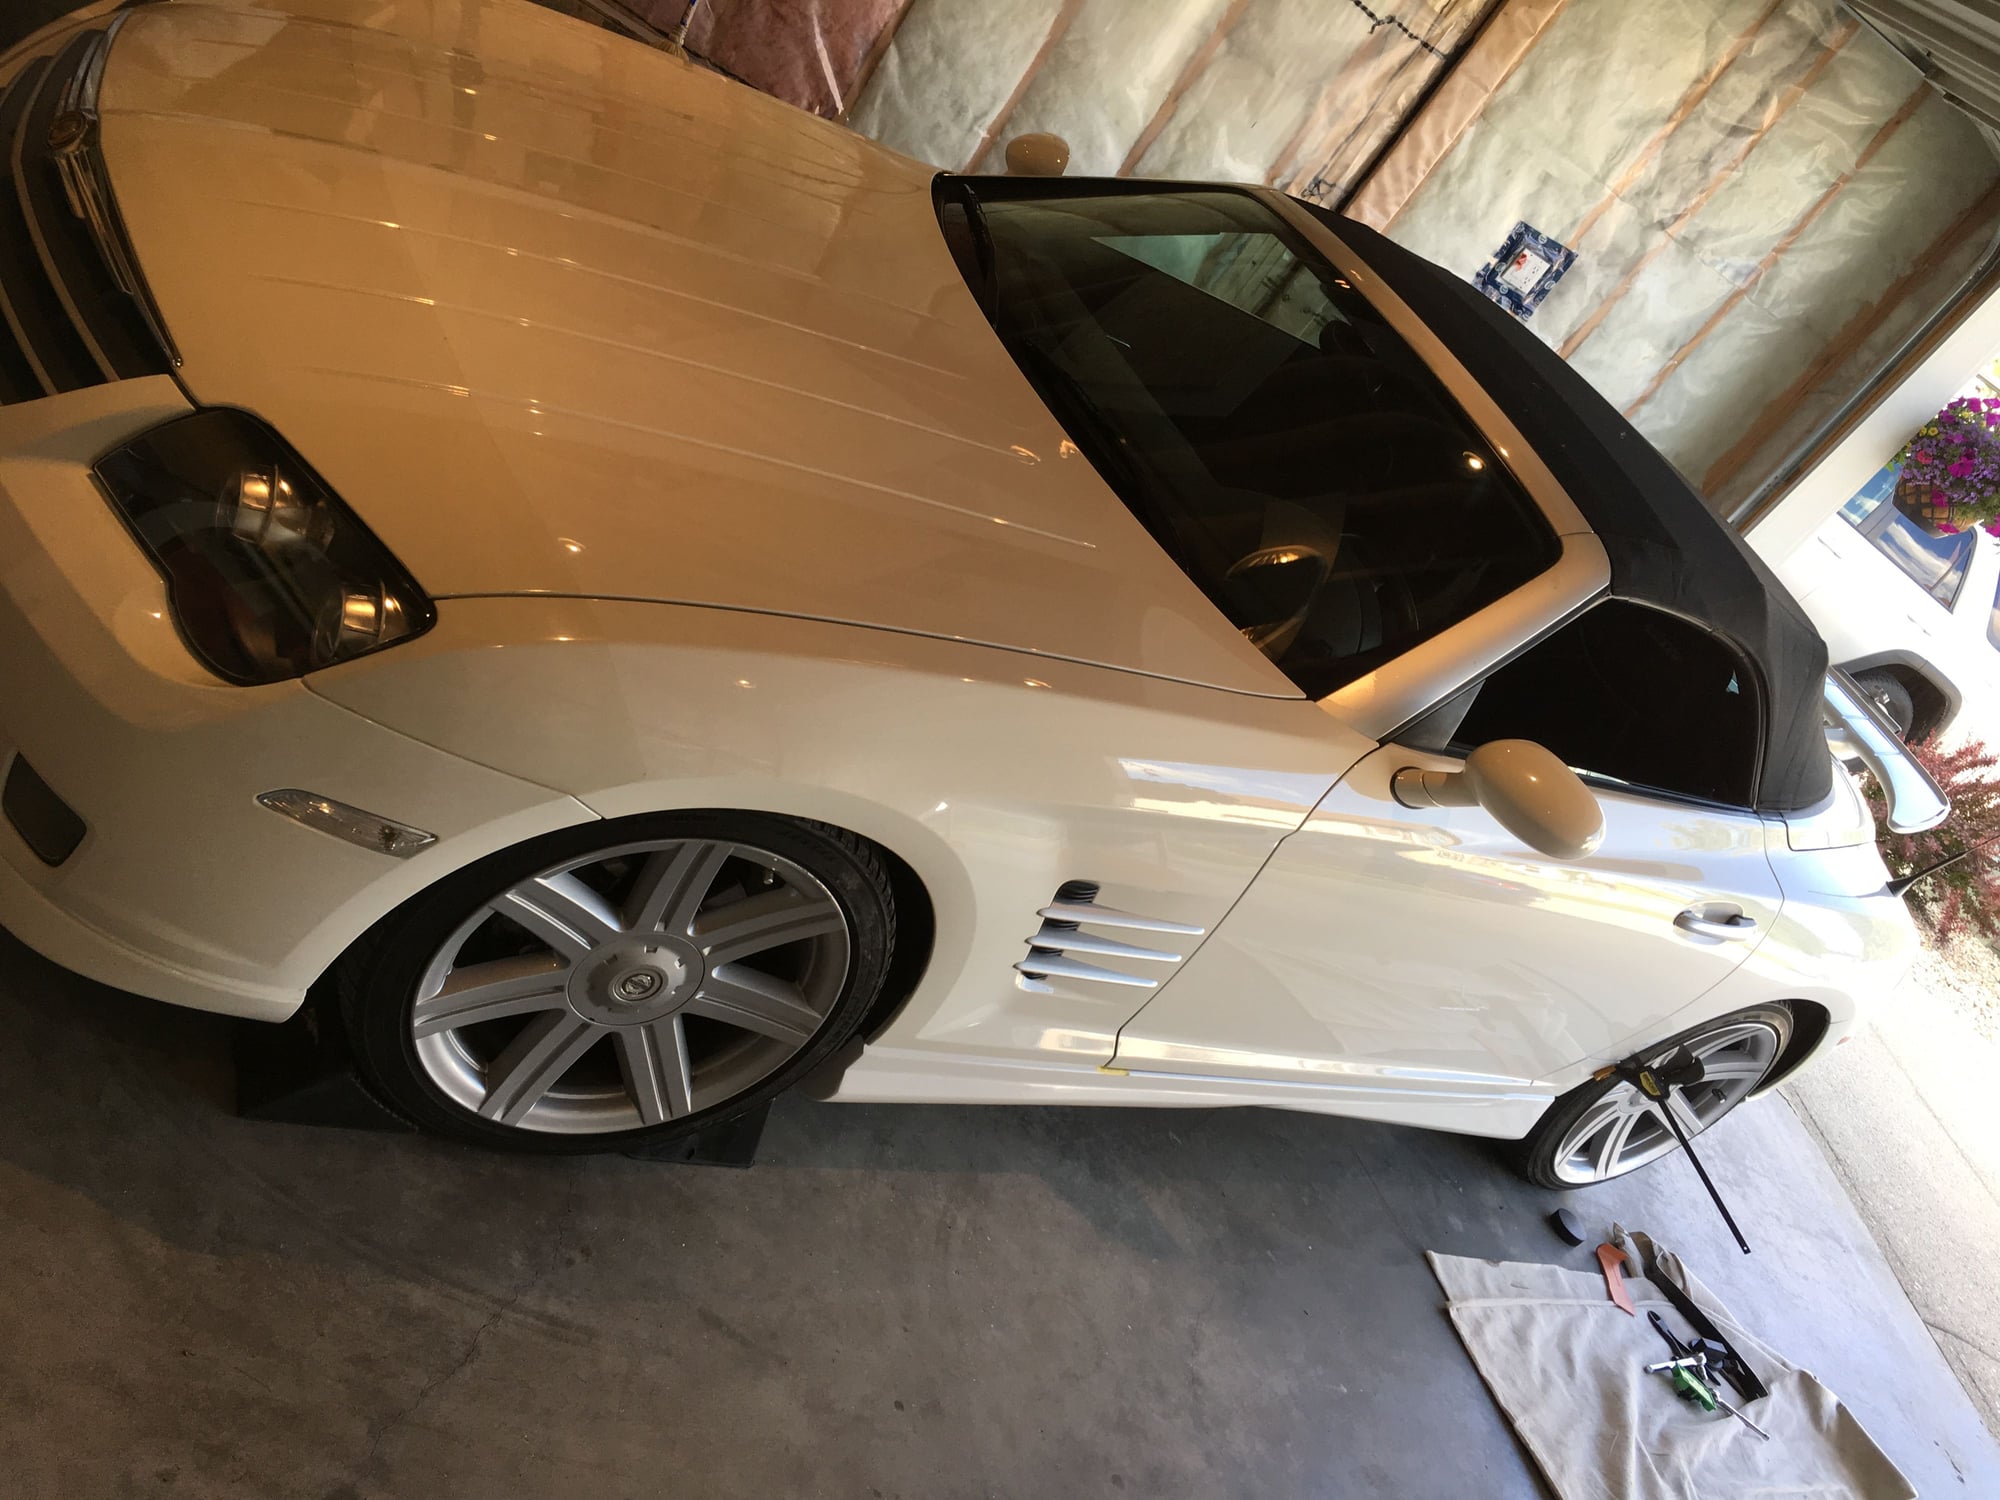
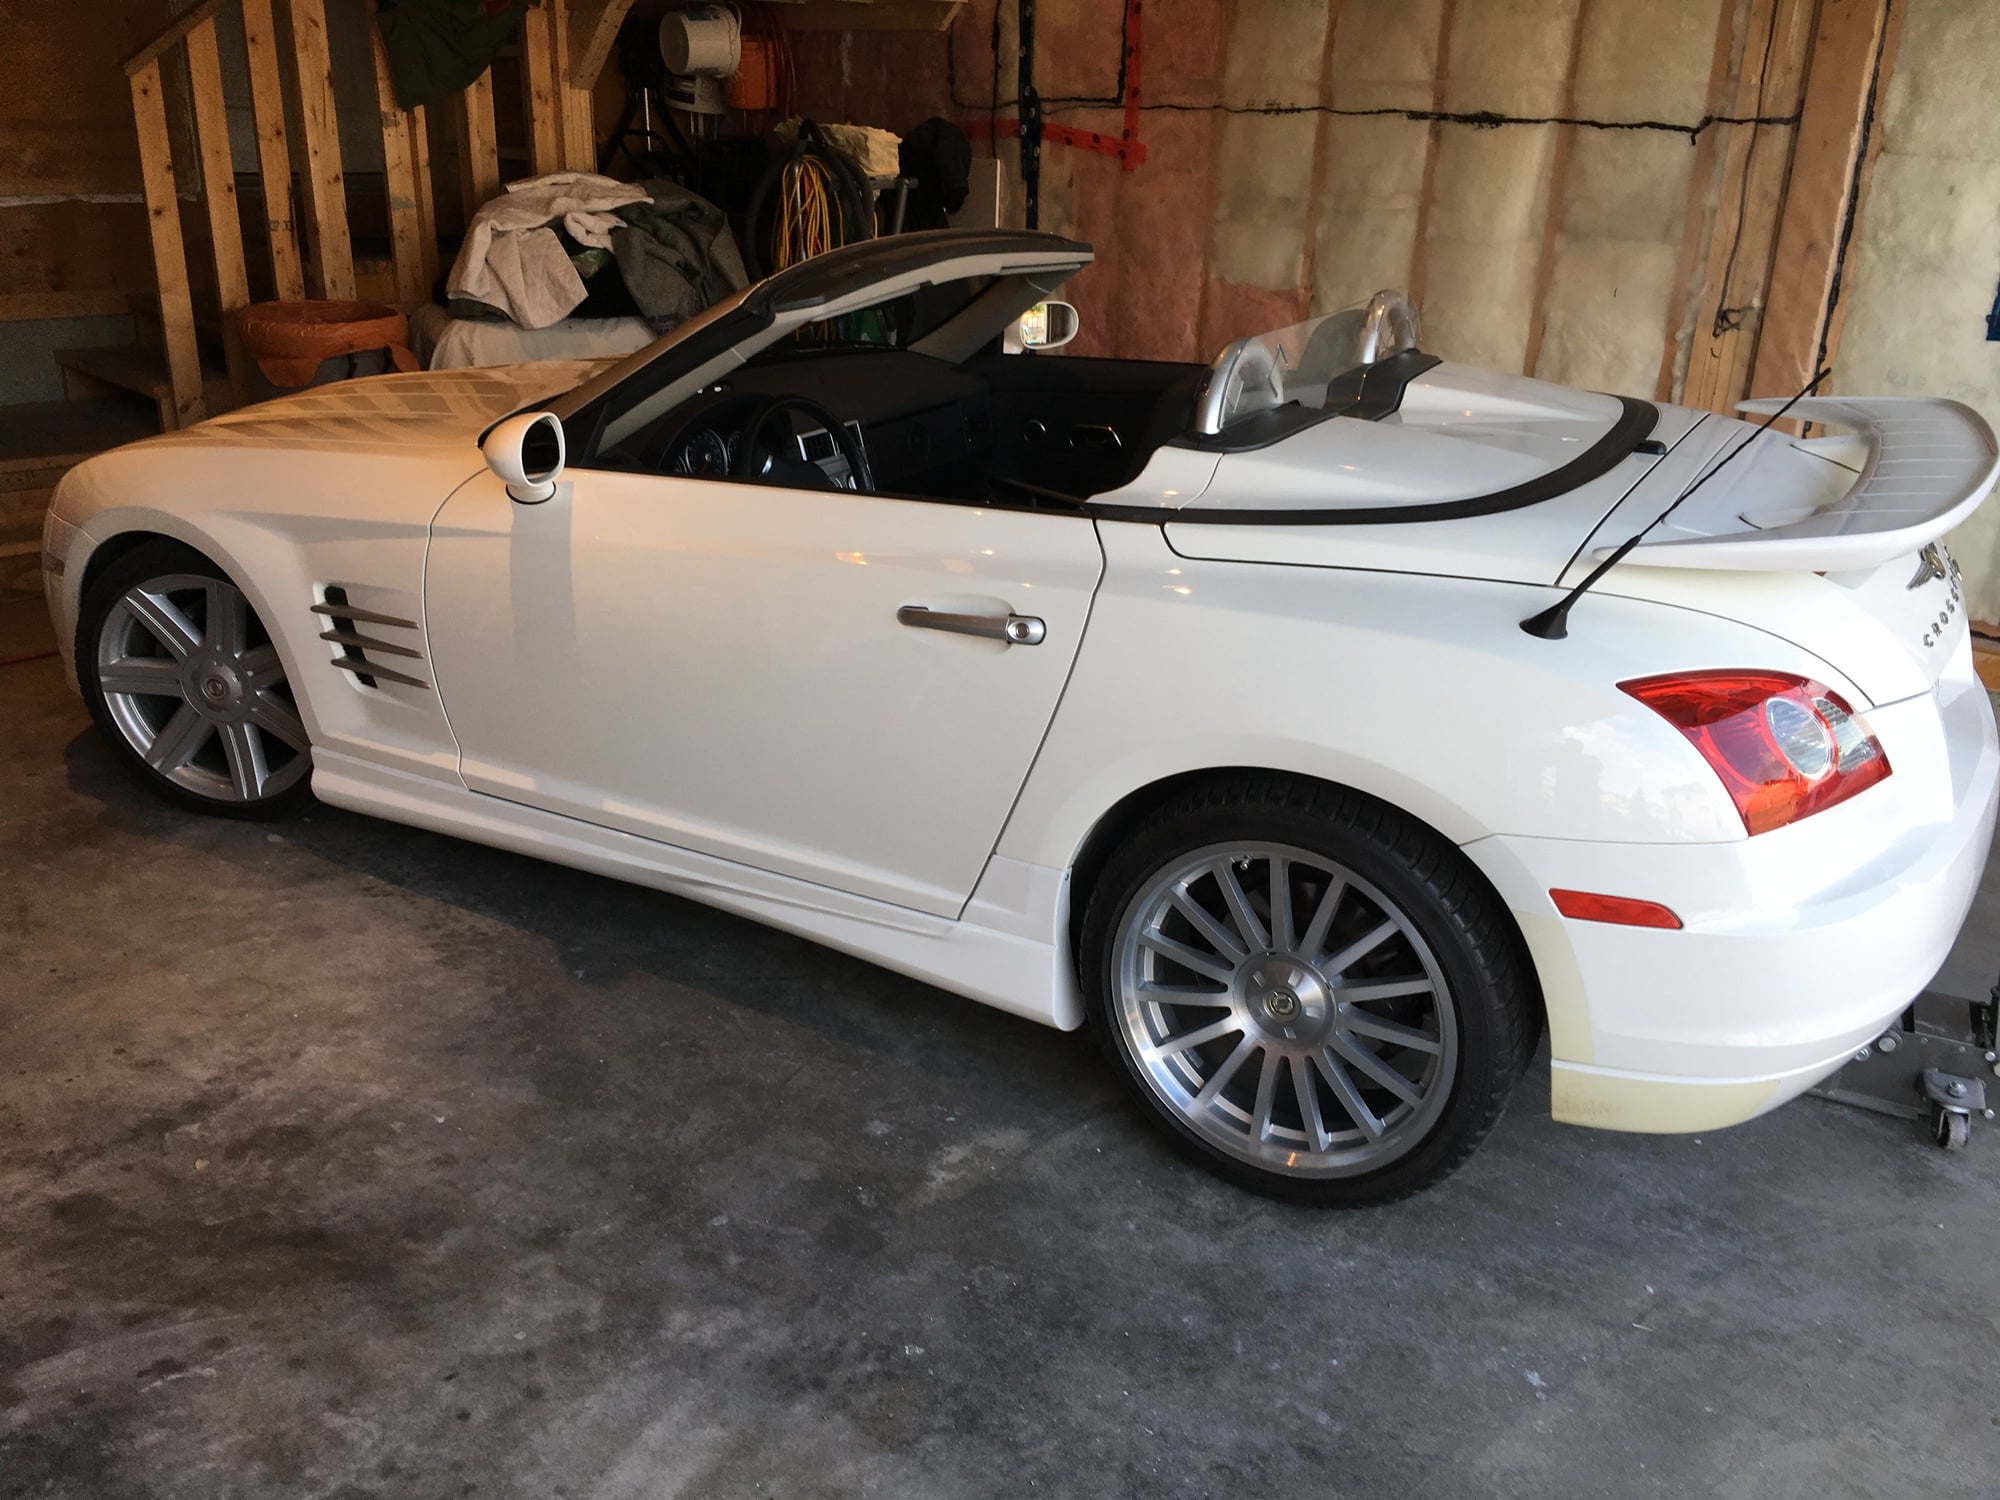
Rocker Panel Removal and Detail.
180
In an earlier post #16, you had indicated that the white sill clips should be installed on the rocker and not in the sill for installation. Could you or anyone else on the forum please confirm.
It it appears to be almost impossible to install the rockers with the sill clip on the rockers.
In an earlier post #16, you had indicated that the white sill clips should be installed on the rocker and not in the sill for installation. Could you or anyone else on the forum please confirm.
It it appears to be almost impossible to install the rockers with the sill clip on the rockers.
You have been busy on your car parts, my get up and go has got up and gone.
It looks good, how did the colour come out, good or good enough?
Last edited by onehundred80; 06-15-2019 at 09:19 AM.
Those white clips must be on the rocker panels and then the panel is put in place on the car. I have done mine several times. I do not see how it is possible to attach the clips to the car and then get them to attach to the rocker panel. If you remove a white clip from the rocker panel you will see the angle at which it most easily attaches/clips into place on the rocker panel. How could you do that if the clip was inserted into the hole on the car and then place the rocker panel in such a way as to get the clip to seat on the rocker panel? The hardest part getting everything lined up is to first get the front part of the rocker panel in it's proper place in front of the door and the rocker up and into a position to get the white clips into their holes on the car frame. The clips should slide about 1/4" fore and aft, so be sure they are close to the spot in which they will engage the hole in the car frame. Get the front of the panel into it's proper place forward of the door, then force it up into the area under the door and setting on the frame were it will be in position to mate with the frame. That's the hard part. Work your way to the rear snapping the white clips into their respective holes.
Thread
Thread Starter
Forum
Replies
Last Post
o55ie18
Troubleshooting & Technical Questions & Modifications
9
10-05-2015 05:50 PM
Currently Active Users Viewing This Thread: 1 (0 members and 1 guests)


