When you click on links to various merchants on this site and make a purchase, this can result in this site earning a commission. Affiliate programs and affiliations include, but are not limited to, the eBay Partner Network.
1. Carefully remove your interior
2. Prep your interior
3. Get a $4.00 "Prevail" paint sprayer from Lowes
4. Get some interior paint from your local paint supplier
1. Carefully remove your interior
2. Prep your interior
3. Get a $4.00 "Prevail" paint sprayer from Lowes
4. Get some interior paint from your local paint supplier
You do mean car interior paint right? Not latex wall paint.
We'd hate to confuse the issue here.
I like it, what color exterior do you have? Did you repaint just to change color, or was there an issue that you were fixing, and decided to repaint with a new color. I like how you accented a couple other parts like the vent in the passenger footwell, and the mat tabs. Not sure on the shifter surround though. I'd love to see more pictures.
Looks nice.
Anyone ever wonder if it was another design screw-up on the glove box door ?
The accent spine lines up OK, but there is always about an 1/8" gap at the top.
Mines the same way.
Looks like the door should be about 1/8" higher to align with the two side pieces .......
Looks nice.
Anyone ever wonder if it was another design screw-up on the glove box door ?
The accent spine lines up OK, but there is always about an 1/8" gap at the top.
Mines the same way.
Looks like the door should be about 1/8" higher to align with the two side pieces .......
Interior color change actually looks really good. You did a nice job of prepping the pieces (which is a critical step) and then painting the trim. Re-assembly looks like it went well. I'm always a little reluctant to start removing trim after several years of exposure to ever changing temperature swings.
Looks nice.
Anyone ever wonder if it was another design screw-up on the glove box door ?
The accent spine lines up OK, but there is always about an 1/8" gap at the top.
Mines the same way.
Looks like the door should be about 1/8" higher to align with the two side pieces .......
Gorgeous.. I love the brown.. I used to have a BMW with brown interior. It would get so many compliments.. I just bought a Crossfire today.. I've been on this site for at least a year- salivating over everyone's and I've always wanted one. I got serious about purchasing one about 4 months ago, but could never find the right one. Over the past two days, I've traveled up/down the East Coast and finally found my baby...
This may be the slickest interior in a Crossfire that I have seen! Very unique and nicely done, definitely eye catching, not that our cars need anything more to get attention. Who's Crossfire is this interior in? Whomever, KUDOS.
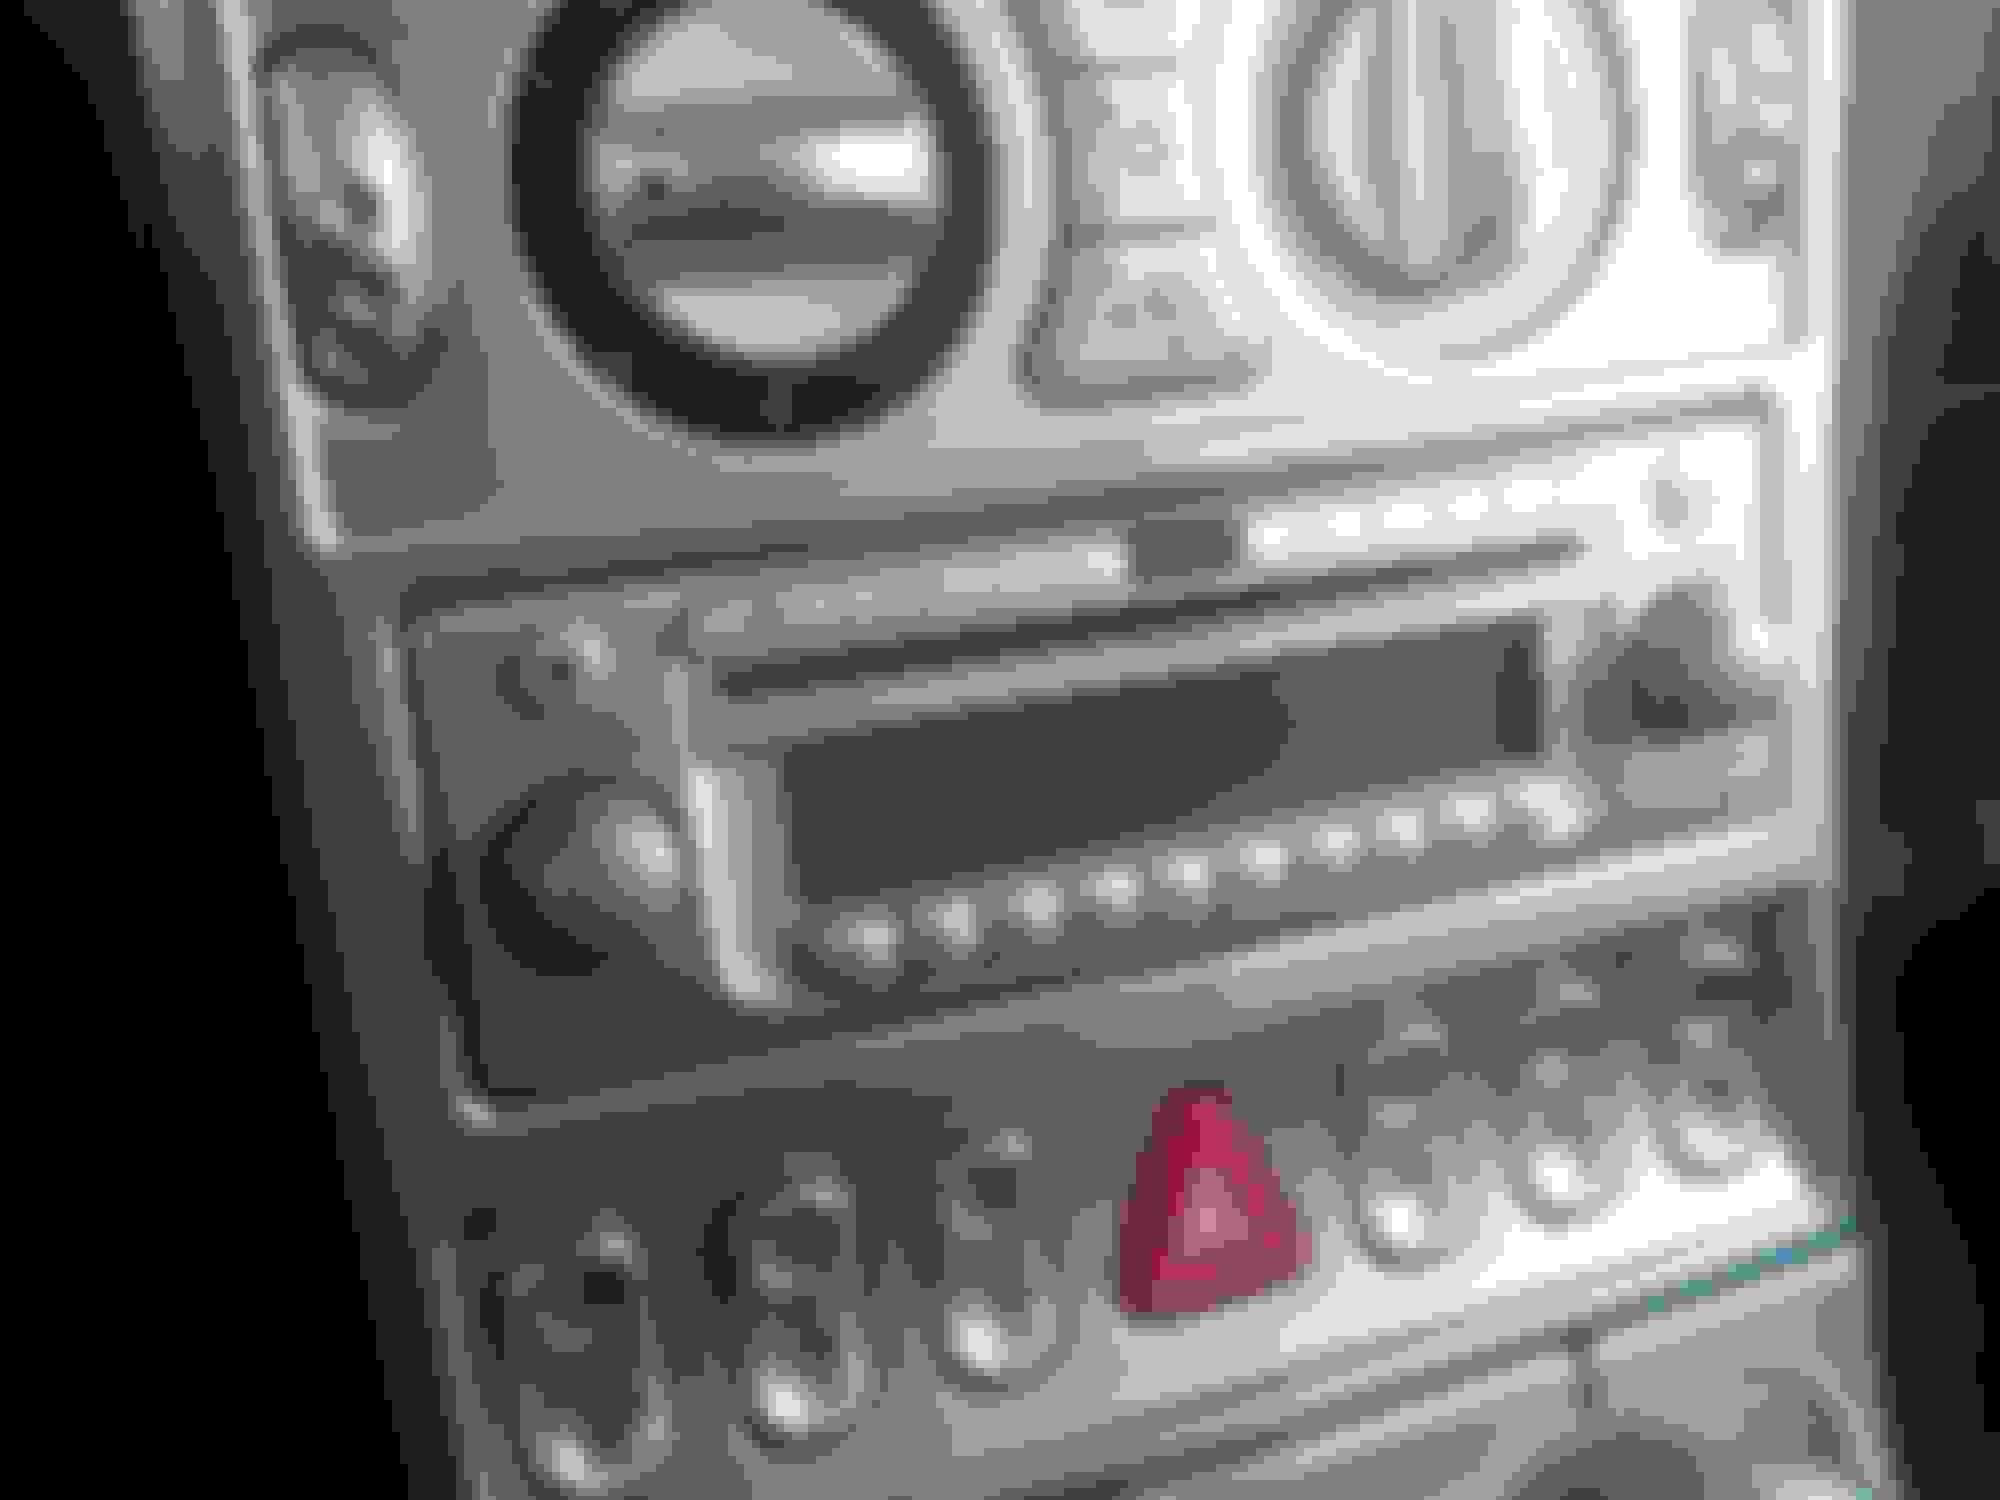
wtf! How could he paint the ***** on radio and other ***** on dash? I dont understand
The ***** on the radio are easy to paint. They just pry off of the spindles. Use an interior pry bar. I repainted mine early last year after the ***** started discoloring from use.
Now painting the buttons & controls of the HVAC & Switches below is a trick. The face plate comes off somewhat easily. That would expose everything. Then it takes a really good tape job or removal of the hardware to paint separately. Or some other technique that I can't even imagine right now. Painting all the individual ***** & controls, which all have some kind of lettering or graphic on them to indicate the purpose, would cover up those markings. Can't see whether this is the case on this redo. That would be a "show stopper" for me. In any case, quite an impressive redo. Somewhat overbearing from my perspective, but an impressive redo nevertheless.
Last edited by dedwards0323; Feb 20, 2020 at 07:55 AM.
The ***** on the radio are easy to paint. They just pry off of the spindles. Use an interior pry bar. I repainted mine early last year after the ***** started discoloring from use.
Now painting the buttons & controls of the HVAC & Switches below is a trick. The face plate comes off somewhat easily. That would expose everything. Then it takes a really good tape job or removal of the hardware to paint separately. Or some other technique that I can't even imagine right now. Painting all the individual ***** & controls, which all have some kind of lettering or graphic on them to indicate the purpose, would cover up those markings. Can't see whether this is the case on this redo. That would be a "show stopper" for me. In any case, quite an impressive redo. Somewhat overbearing from my perspective, but an impressive redo nevertheless.
I underStand that it ia easily painted but i meam if u paint ***** in black for example then the signs on ***** will just disappear and nothing will be visible. So everything will be black!


