When you click on links to various merchants on this site and make a purchase, this can result in this site earning a commission. Affiliate programs and affiliations include, but are not limited to, the eBay Partner Network.
The 1st and only Bluetooth mod with the latest high definition, music only version has been completed and installed onto my factory sound system. I've read on this site that it could not be done with our factory system. Got it done around the time when Star Wars: The Force Awakens was released on Blu-Ray/DVD. It sounds great and enjoying all my music now!
The non-nav factory radio stayed but I can now enjoy my recorded music from the cloud, from my smart phone, from my iPod or mp3 and listen to internet radio without spending at ton on a new hu. Listening to CD's are great especially on long drives, like the Tail of the Dragon, but who wants to carry around that many CD's everywhere you go? F-Fwd to now...my large music playlist has now made it to the car and I still have plenty of storage in the console!...and that's always a good thing.
This mod is not one of those little dongles you plug in between your FM antenna and the radio. No, this is the line level variety using the latest technology that provides better sound quality than any of the previous Bluetooth versions.
As I installed the Bluetooth A/B source switch, I went ahead and added a few more things while I had the center arm rest/storage console taken out of the car. Extras added were an auxillary power outlet for additional personal electronics, a digital volt meter so I can now monitor the battery/charging system, a dimmable console lighting so I can see stuff in that storage console at night and an iPod/mp3 audio cable with the 3.5mm plug for ease of connectivity.
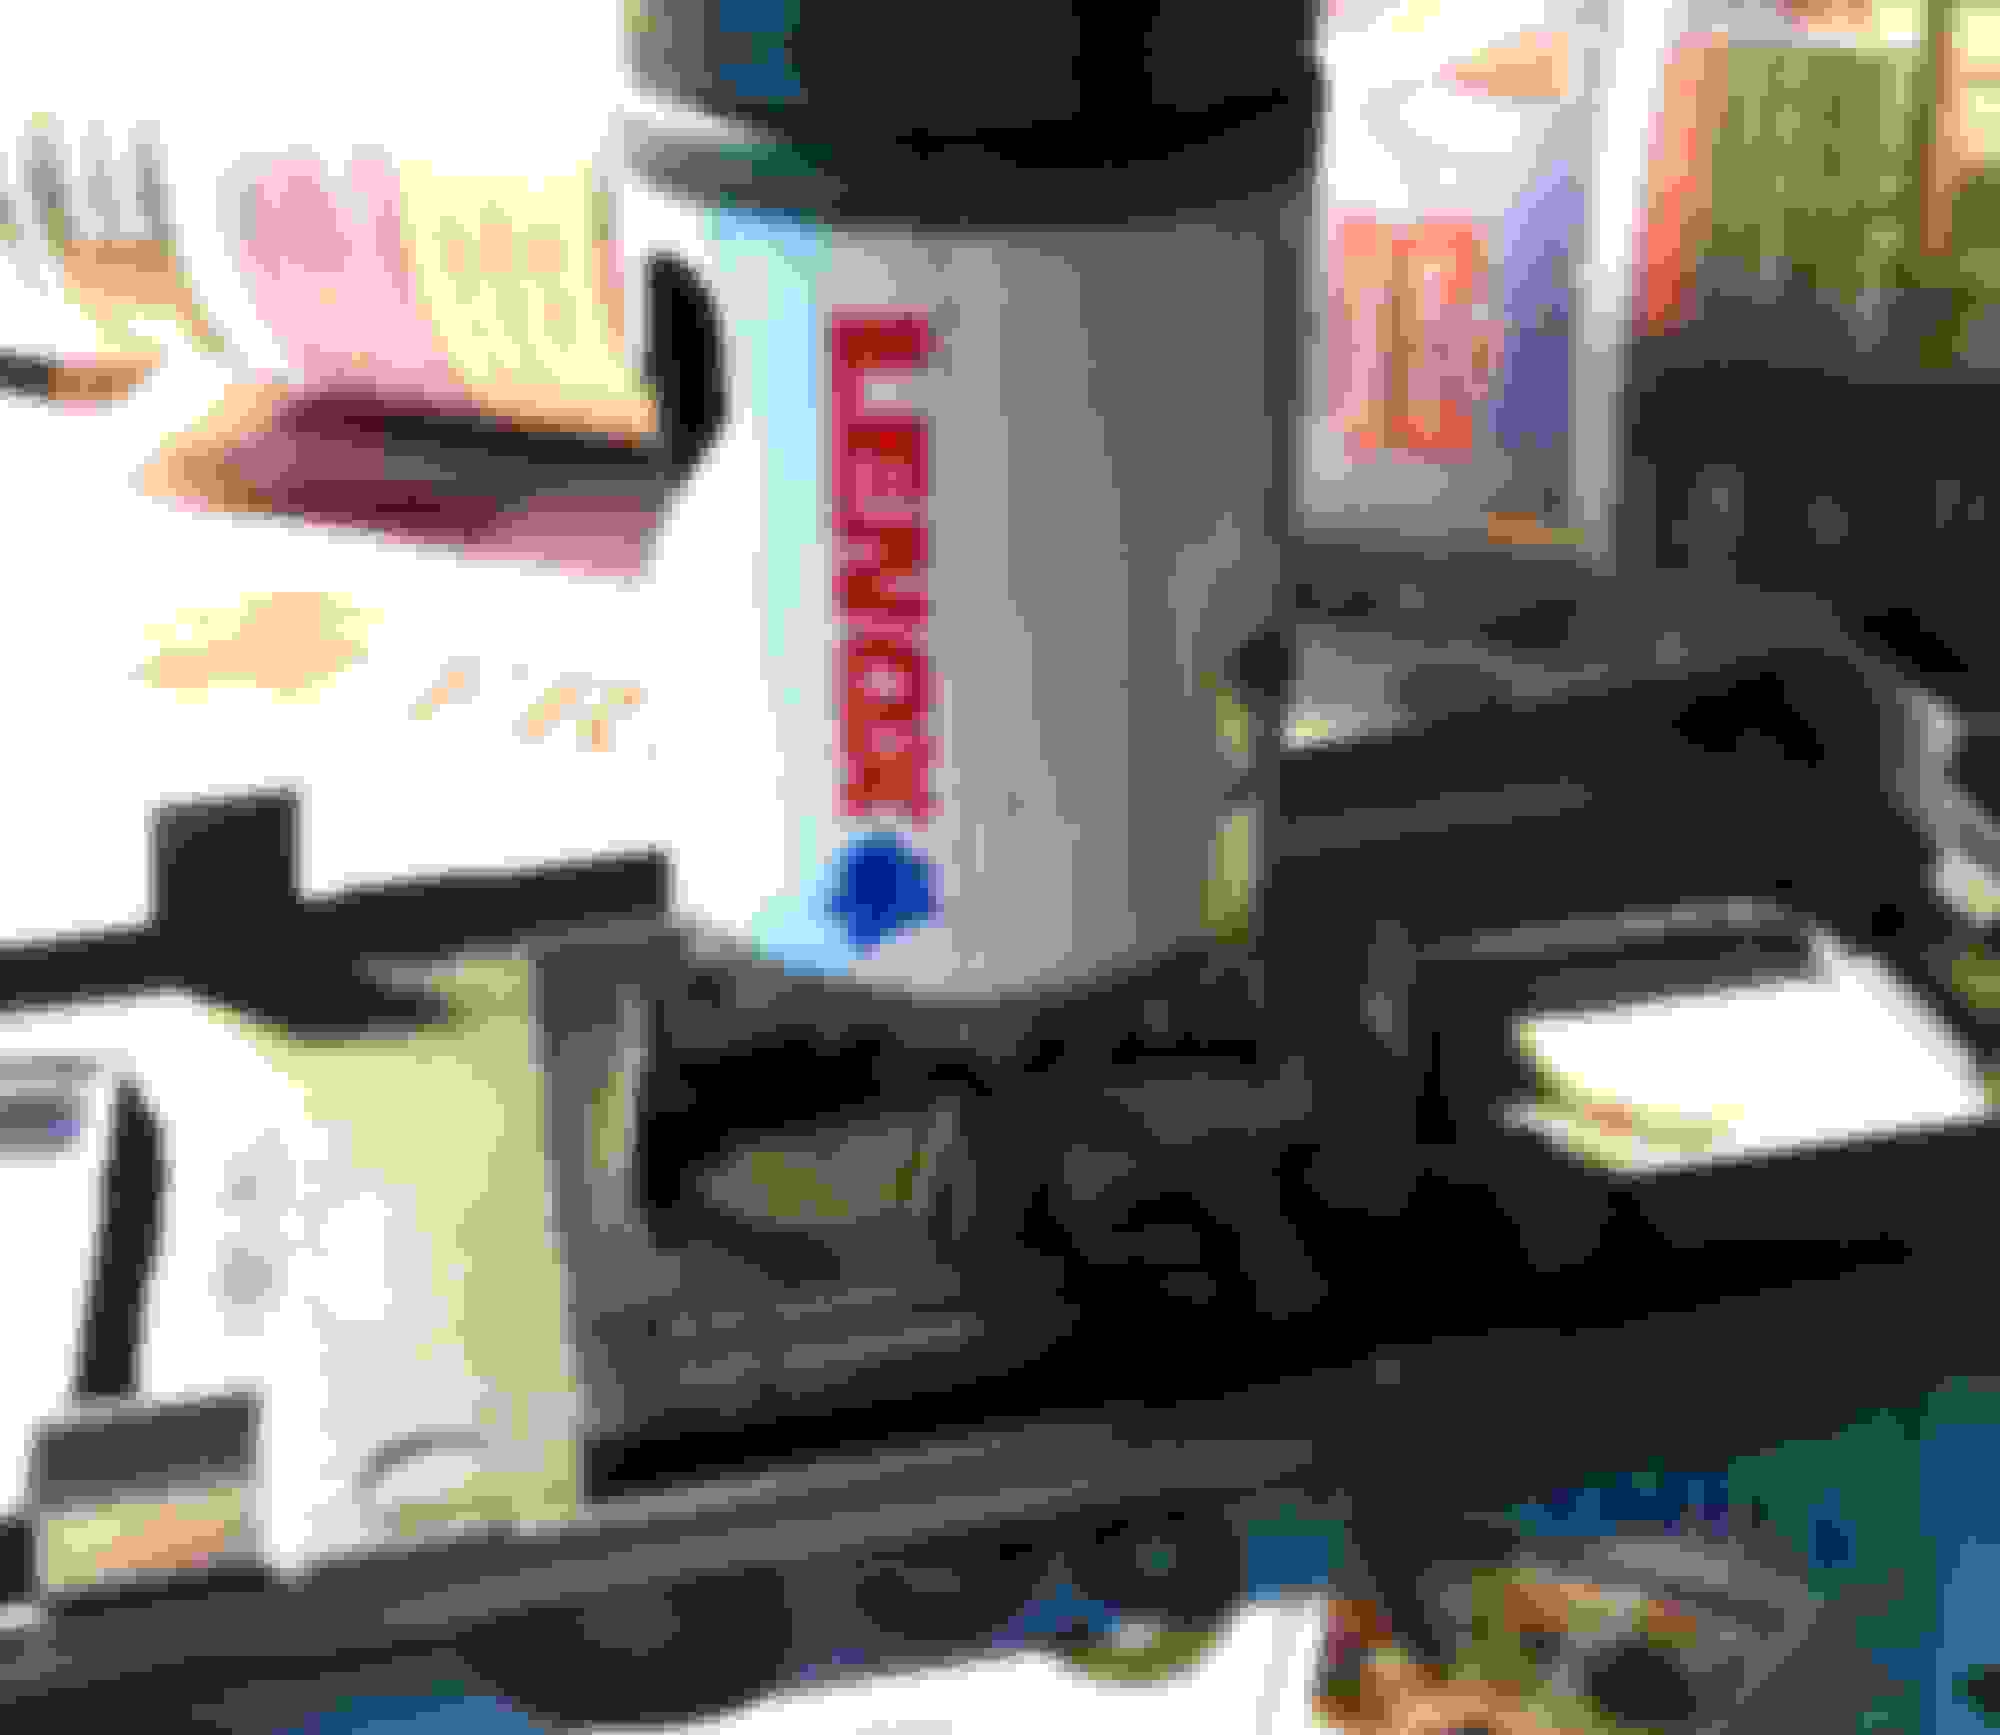
Here is a teaser pic of the Bluetooth to radio A/B switch mounted to the cupholder panel.
.
Last edited by MAGNATUDE; May 17, 2016 at 12:03 PM.
Anyone can replicate this mod on a smaller budget but I went with a slightly more advanced design for the reason that I already had most of the parts just sitting around in my workshop.
Before I show you how the mod was accomplished, I would like to thank Crossfire Forum for the best and most informative site for helping Crossfire owners maintain and keeping our "passion" stay on the road and to specifically give credit to Musclefan21, pioneer4x4, JesseJamessrt6 for their previous and helpful audio system contibution and ala_xfire for links to the amp's schematic diagram. You guys were instrumental in getting my project started. Thank You!
For reference, see: CrossfireForum - The Chrysler Crossfire and SRT6 Resource > Technical > Audio, Video and Electronics > New radio head unit wired to factory stock amp amplifier
See also: CrossfireForum - The Chrysler Crossfire and SRT6 Resource > Cars > Crossfire Coupe > How to remove center console / How to replace side mirror switch
Last edited by MAGNATUDE; May 17, 2016 at 11:49 AM.
I had set aside about four weekends to get this project done, knowing I did not have the luxury of having as much free time behind me, being a busy, new dad and all.
Otherwise, I think one can get this project done in one weekend.
The shopping list:
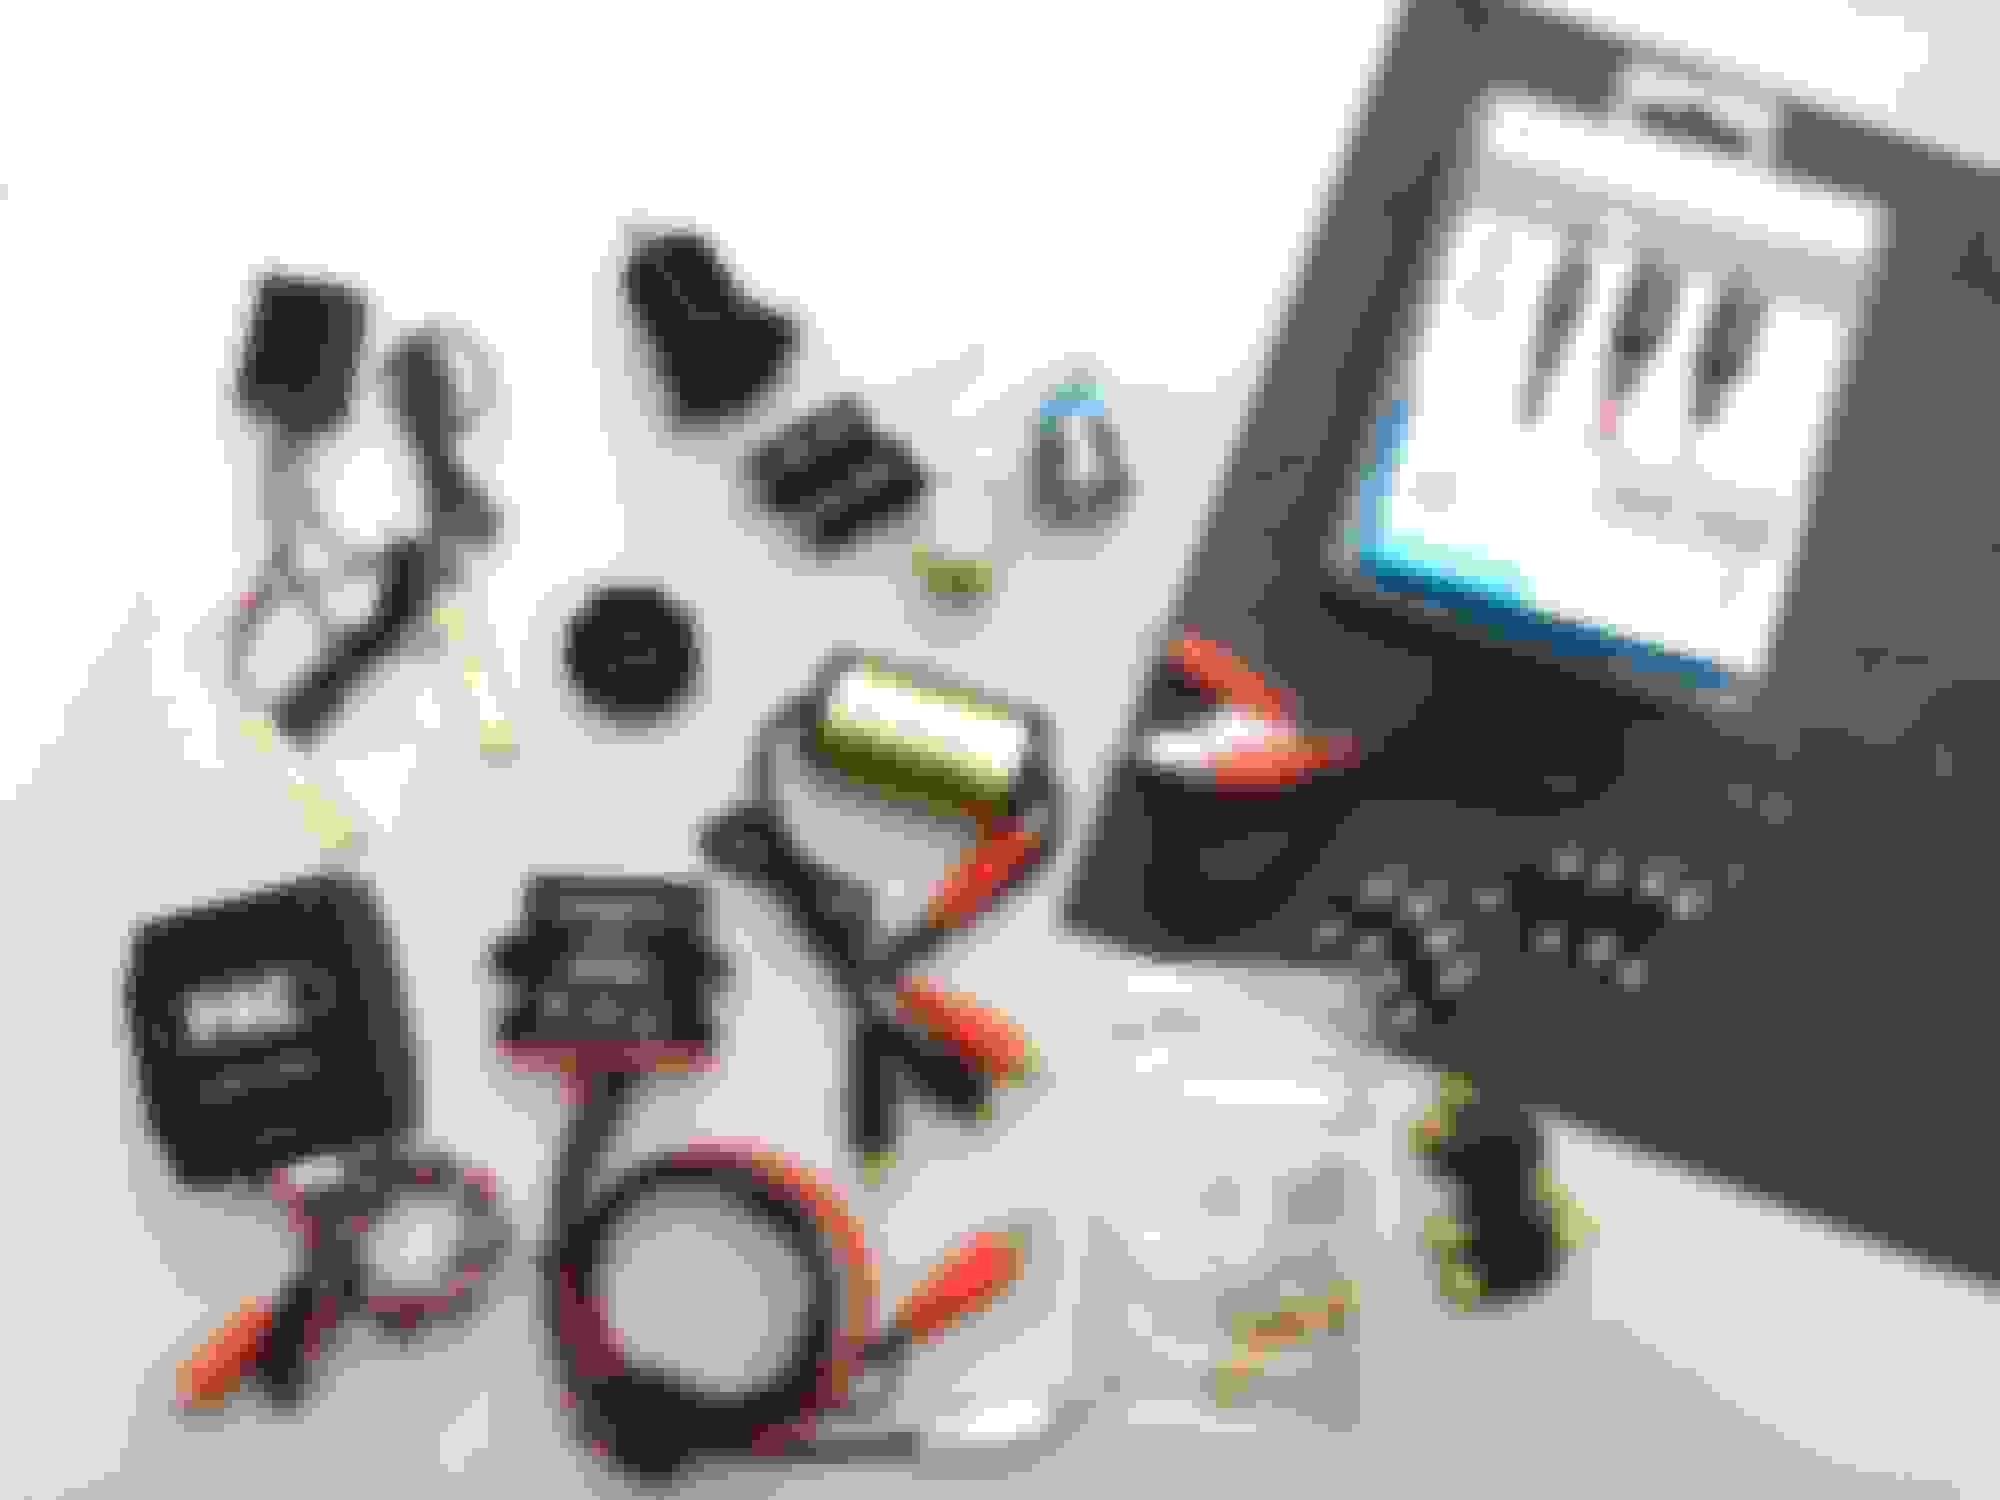
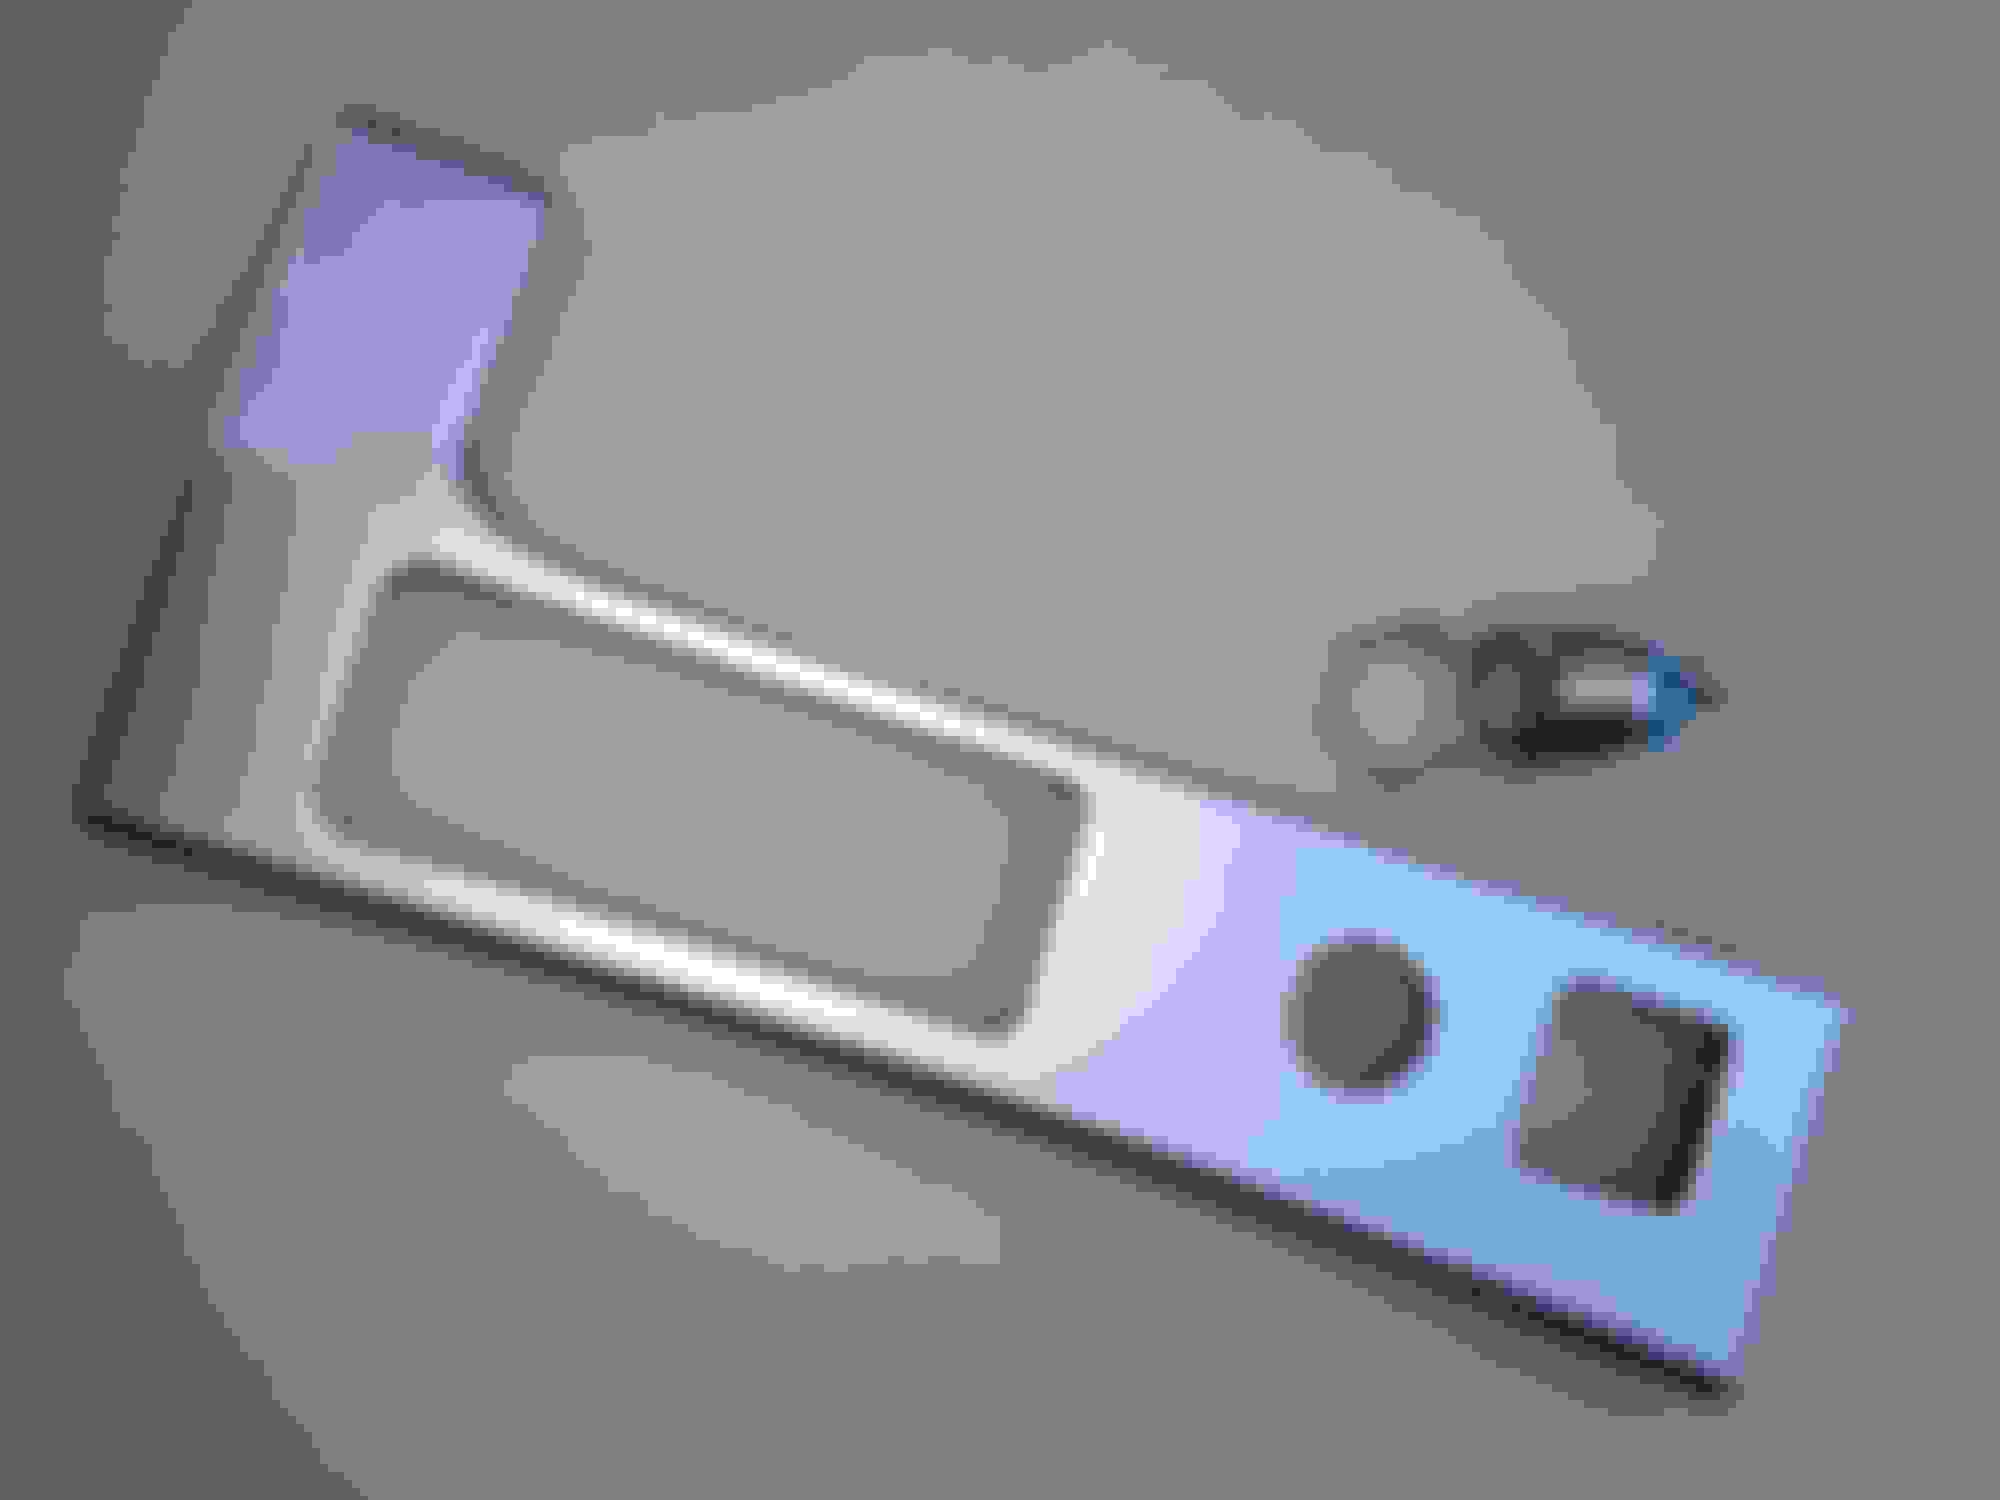
Pictured below are the major players for my Bluetooth/console mod. Looking at the photo from left to right, top to bottom are the dimmer switch with a few LED strips for console lighting, Auxillary 12volt power connector, a pair of bipolar 100 microfarad DC coupling capacitors, a discontinued 275-218 dual post dual throw 12volt DC relay, a 22mm round stainless steel blue LED lighted latching DPDT switch, a 12"x24"x1/8" ABS sheet, miscellaneous RCA patch cord, 3.5mm stereo split to RCA cable for my iPod and mp3 players, 12v-24v digital voltmeter with red LED display, groundloop isolator aka noise suppressor, male and female RCA barrel connectors, an adjustable 2v-8v signal line driver, the 100ft range Bluetooth version 4.0 module, misc 1/2 watt carbon resistors for the console lighting and the Bluetooth A/B switch LED light and a pair of 2 RCA-F to 1 RCA-M signal combiner.
Not pictured is a small 50-turn, 12-volt potentiometer for brightness adjustment for the console LED lighting, 16" warm white LED strip, a 2 piece normally open magnetic reed switch from Directed Electronics, extra RCA patch cords, color designated male and female bullet connectors, 8th inch and 1/4" spade connectors, 24' various colored 16ga wire, 1' thin floral wire to mount the groundloop isolator, 2-part epoxy glue, nylon wire ties, shrink tubes, 1/2" and 3/4" machine screws, red and black male and female RCA connector ends and Scotch 3M electrical tape.
For the budget-minded Bluetooth mod, you can get away without the LED console lighting, the reed and dimmer switches, the auxillary power connector, voltmeter, the line driver, groundloop isolator, iPod cable, coupling capacitors, RCA combiners, floral wire, epoxy, resistors and the potentiometers.
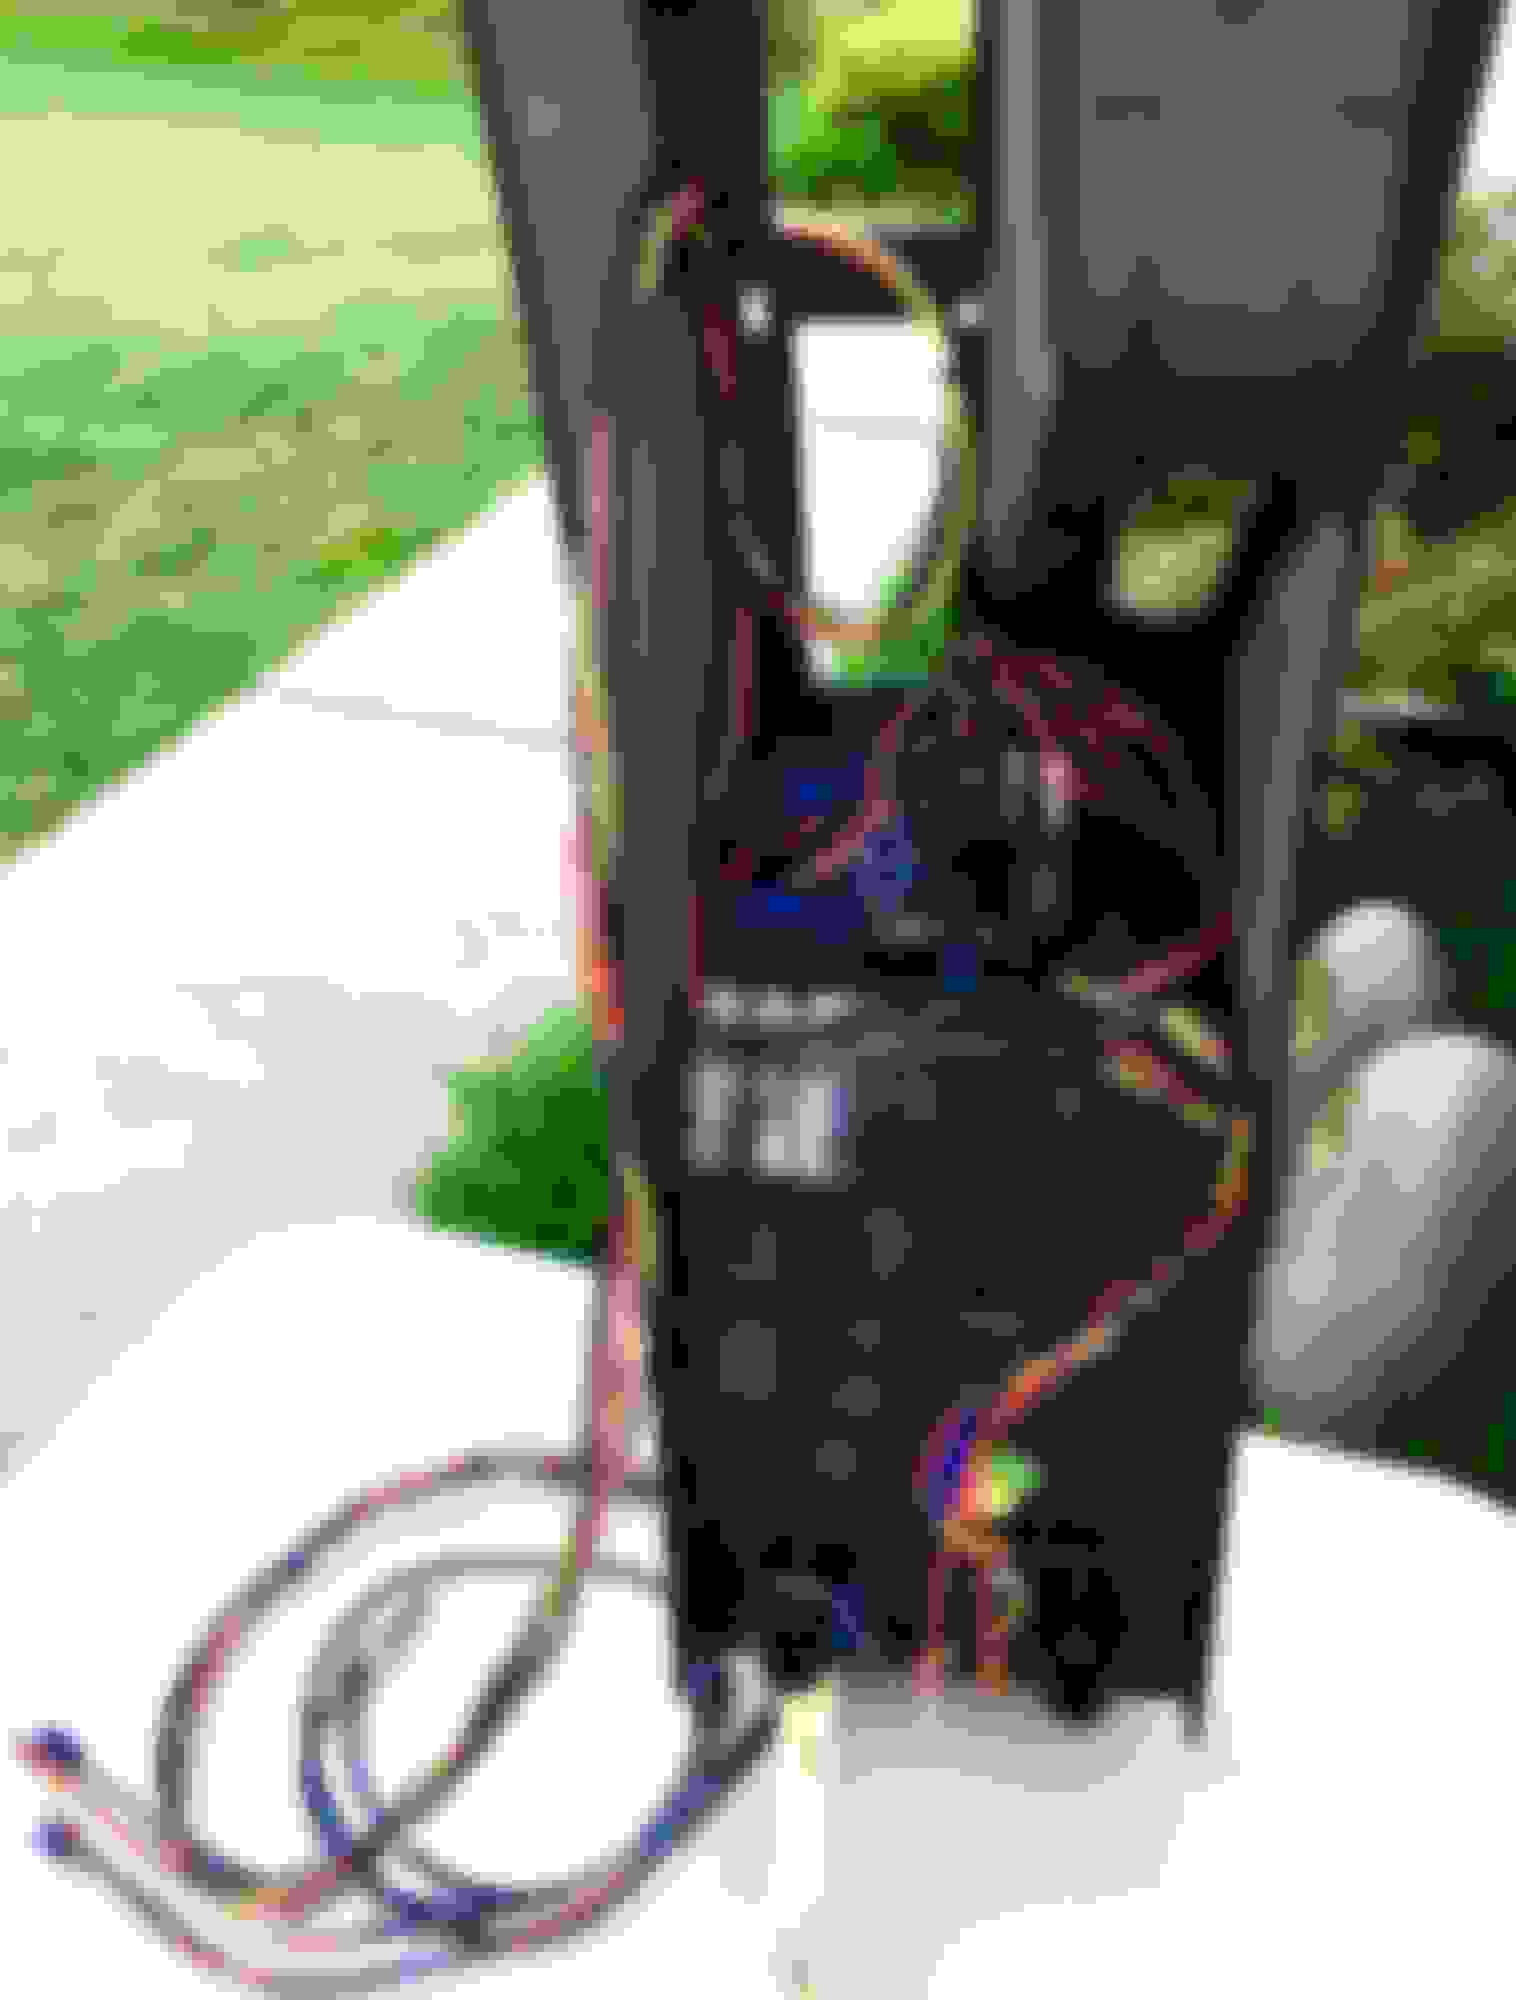
After gathering all the supplies I needed, I started step-1 by prepping the amp's audio signal for RCA-M output from the factory radio and RCA-F input going into the factory amp.
Audio Signal wires:
The yellow wires are the positive right channel (pins 7 & 10, connector A to the amp).
The yellow wires with violet stripe are the negative right channel(pins 6 & 9, A).
The blue wires are your positive left channel (pins 1 & 8, A).
The blue wires with brown stripes are your negative left channel (pins 2 & 3, connector A on the schematic).
These RCA connectors are where the new Bluetooth and iPod/mp3 signal source will mate to the factory system. With the male and female RCA's connected, as pictured below, system operation can be reversed back to original if I decide to remove the BT system.
Ground, Power and Trigger wires:
Taps to power and ground were made close to the amp to avoid most common noise issues associated with poor ground potential, that may appear in the sound system. The maximum power drain by all the new components is expected to be only 2 amperes or less when in use.
Black 16ga, pigtail leads with color designated, female bullet connectors were soldered to the brown ground wire (pin 4 & 11, connector A on the schematic diagram).
Yellow 16ga, pigtail leads were soldered to the blue with dark green stripe, amp turn on or trigger wire (pin 5, same connector).
And red 16ga, pigtail leads were soldered to the red with yellow stripe +12 volt wire (pin 1 or 9, connector B).
In practice, you should always use female connectors on wires where power source originates from to avoid accidental shorts should it touch exposed bare metal.
All wire splices and connections were soldered for best and reliable performance and all wires were either shrink tubed or wrapped with 3M electrical tape and bullet connectors crimped with proper crimp tools.
Extra precaution was applied to keep + & - inside the RCA connector barrels by placing a separator barrier between both wires.
Once step-1 finished, I was able to listen to the factory system as normal during the next couple of weeks until everything was ready for final hookup. So, if you were wondering, there never was a system down-time during the Bluetooth build process.
.
Last edited by MAGNATUDE; May 17, 2016 at 12:11 PM.
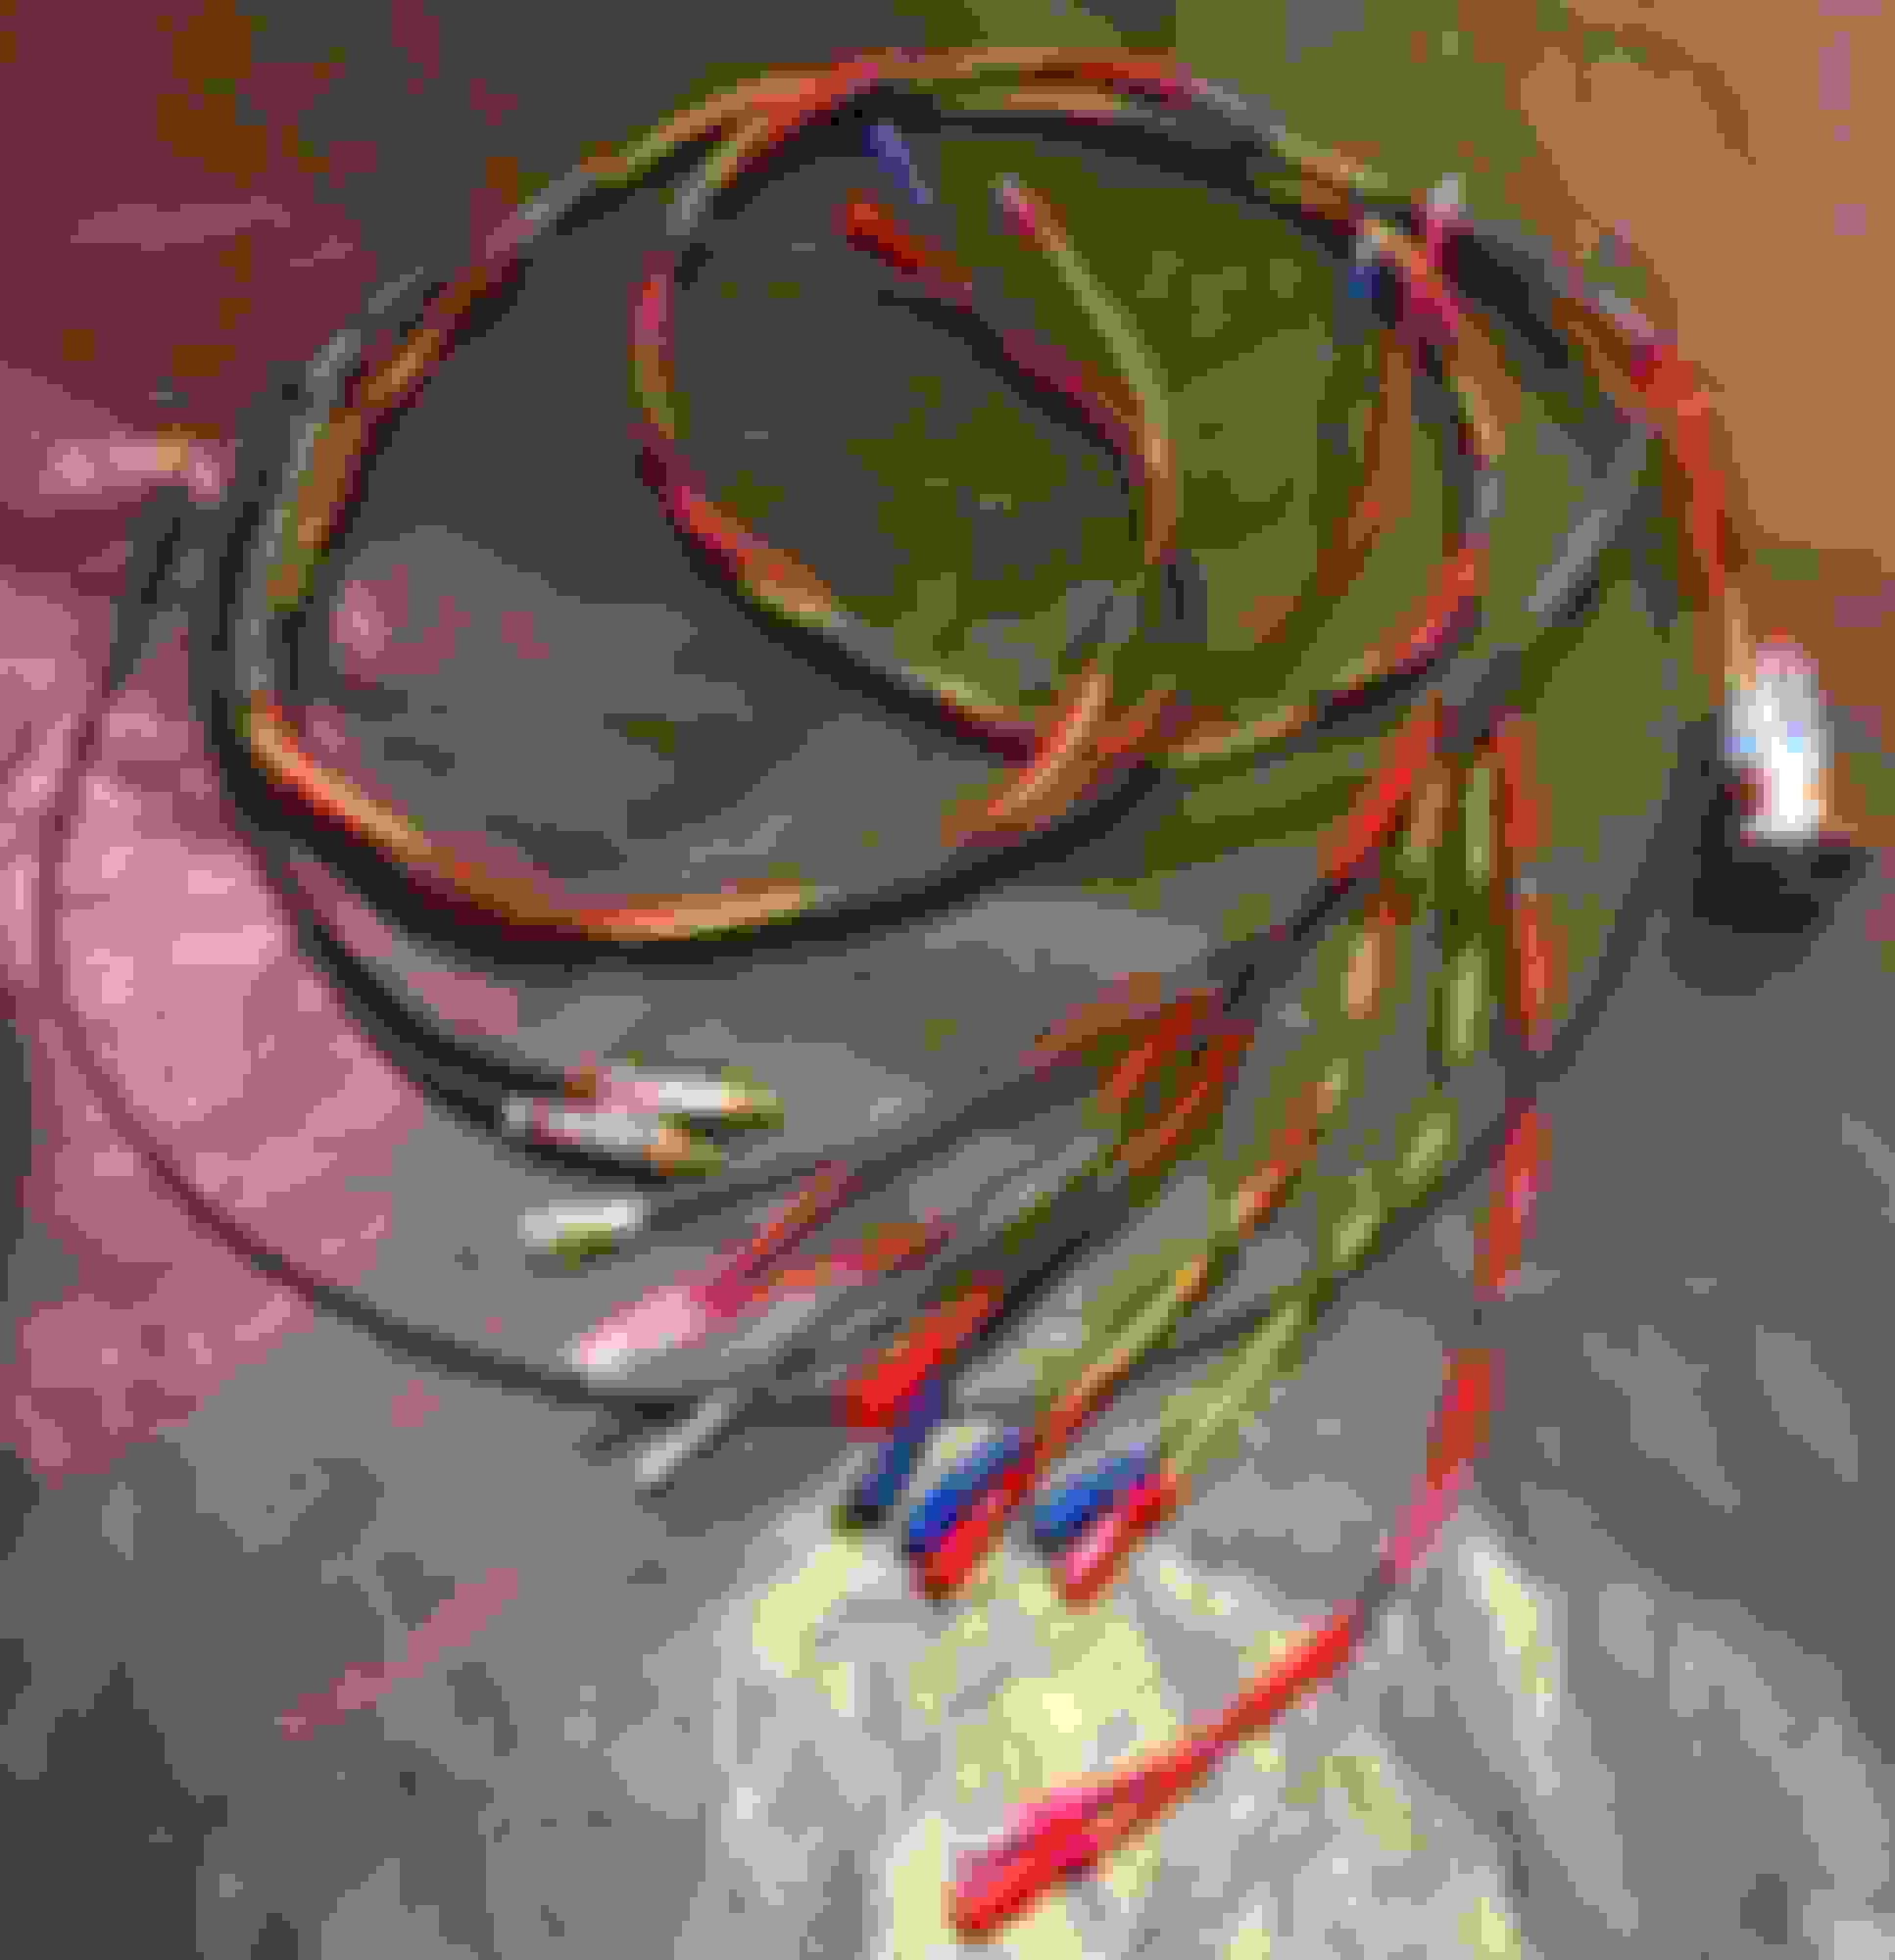
The few available days I have working on this project was spent on building a single-run-wire harness that connects the new console electronics to the power source at the amplifier location. You can tell the directional flow of the electrical power if you notice the type of bullet connector used at the ends of each wire leads.
During the R&D stage, I found the brightness of the switch's built-in LED to be extremely bright and would have lit the entire car's cabin blue while driving at night. I wanted the blue LED ring around the stainless steel Bluetooth switch to match the brightness of the green LED ring around the factory radio volume-****, so one night I brought the Bluetooth switch with me in the CF, along with a few resistors and temporarily connected to battery power. After about 30 minutes, I found the right resistor value that dimmed the blue LED ring to perfectly match that of the radio volume control. You will see what appears to be a black wire attatched to the BT switch. Well, that is actually the correct value, 90K ohm resistor imbedded inside that black shrink tube.
Various shrink tube sizes were used throughout to tie and bundle the wires together. This makes for snaking the harness a lot easier and eliminates jambing under the carpet and other obstacles during installation.
Several measurements were taken between the two points to make sure that none of the harness wire leads where the wires split up near the back of the console to the footwell were neither too long nor too short. And it turned out that I had to make some adjustment to the iPod/mp3 cable. I needed it to be longer so a replacement was in order. The actual length of the wire harness came to 10 feet, end-to-end, from the foot well to the 3.5mm tip of the iPod cable. Power and ground came to only 6 feet. Step-2, Done!
Thanks for looking, everyone!
Next; It will be the cutting and drilling.
.
Last edited by MAGNATUDE; May 17, 2016 at 01:20 PM.
As you know by now, I talked about adding a few things to the center storage console. It is just too convenient not to take advantage of this opportunity to go ahead and mod a few other features the CF did not come with. This portion of the installation has absolutely no relation to the Bluetooth mod but we are here now, so just enjoy!
I always wondered why the engineers did not put similar lighting in the center storage console as they did with the glovebox storage. So, now I'll make it a reality and install one in like it should have been done.
I have read in this forum about CF owners having problems with batteries not keeping its charge or alternators failing. For a small price, I am willing to go ahead and install a digital voltmeter which allows me to monitor the current charging state of my CF anytime, engine running or not.
The born date of my Crossfire is mid July, 2003. I am sure the designers did not anticipate what a major role personal electronics have on us thirteen years later. Updating my CF with an auxillary power connector is exactly what it needs to keep up with the times. Heck, my '14 Chrysler 300C has 4 of them! So that's going in!
Lastly, friends and family, like my nieces, riding in the CF would enjoy being able to listen to their own personal devices that may not have Bluetooth technology, like an iPod or an mp3 player. And all it would cost me is a stereo cord with a headphone jack. Done!
The picture below is the forward portion of the center console storage with the felt liner pulled down exposing just the plastic as I mark it and get ready to drill two large holes for the auxillary power connector and the digital voltmeter. Along the lower part of the center line will be a smaller hole large enough to thread the 3.5mm tip of the iPod stereo cord. To the left, a barely visible cutout is made on the liner to accomodate the lighting dimmer switch.
Okay and here's the finished product, below, with power hooked up and all!
Notice the touch pad dimmer switch on the upper left by the auxillary power connector?
Lighting consists of a set of hidden 8" array adjustable warm white LED strips on either side of the console, epoxied in place. The LED strips will only come on if you touch the dimmer switch, located the upper left at the forward part of the storage. It is turned off one of two ways: by touching the dimmer switch or by triggering a magnetic reed switch when closing the console cover. The reed switch also controls the on/off function of the voltmeter. Open the cover, the voltmeter turns on, close the cover, the voltmeter is then not visible, so it is turned off.
To keep things in the storage compartment less cluttered, the 5 ft. length of iPod stereo cable can be stowed away from view, through the small hole all the way to the 3.5mm tip when its not in use! Leaving just the tip exposed.
The DEI magnetic reed switch epoxied to the cover and cast aluminum hinge of the console. Careful attention was used to make the wires as less visible as could be by drilling the smallest hole possible and using epoxy glue within the hole to eliminate any movement preventing the wires from chaffing.
In the photo below, located towards the back mounting hole, hidden under the felt liner, is a secret brass colored control-****. That brass-**** is the 50-turn, 12-volt potentiometer that allows me to adjust and fine tune the brightness limit of the storage console's LED lighting system.
Bottom view of the blue 50-turn, 12-volt potentiometer epoxied and ziptied for superior stability.
Thanks again for looking!
Step-3, Done!
.
Last edited by MAGNATUDE; May 17, 2016 at 01:25 PM.
Movin' on.....two weeks into the build, I get to work again on something Bluetooth related.
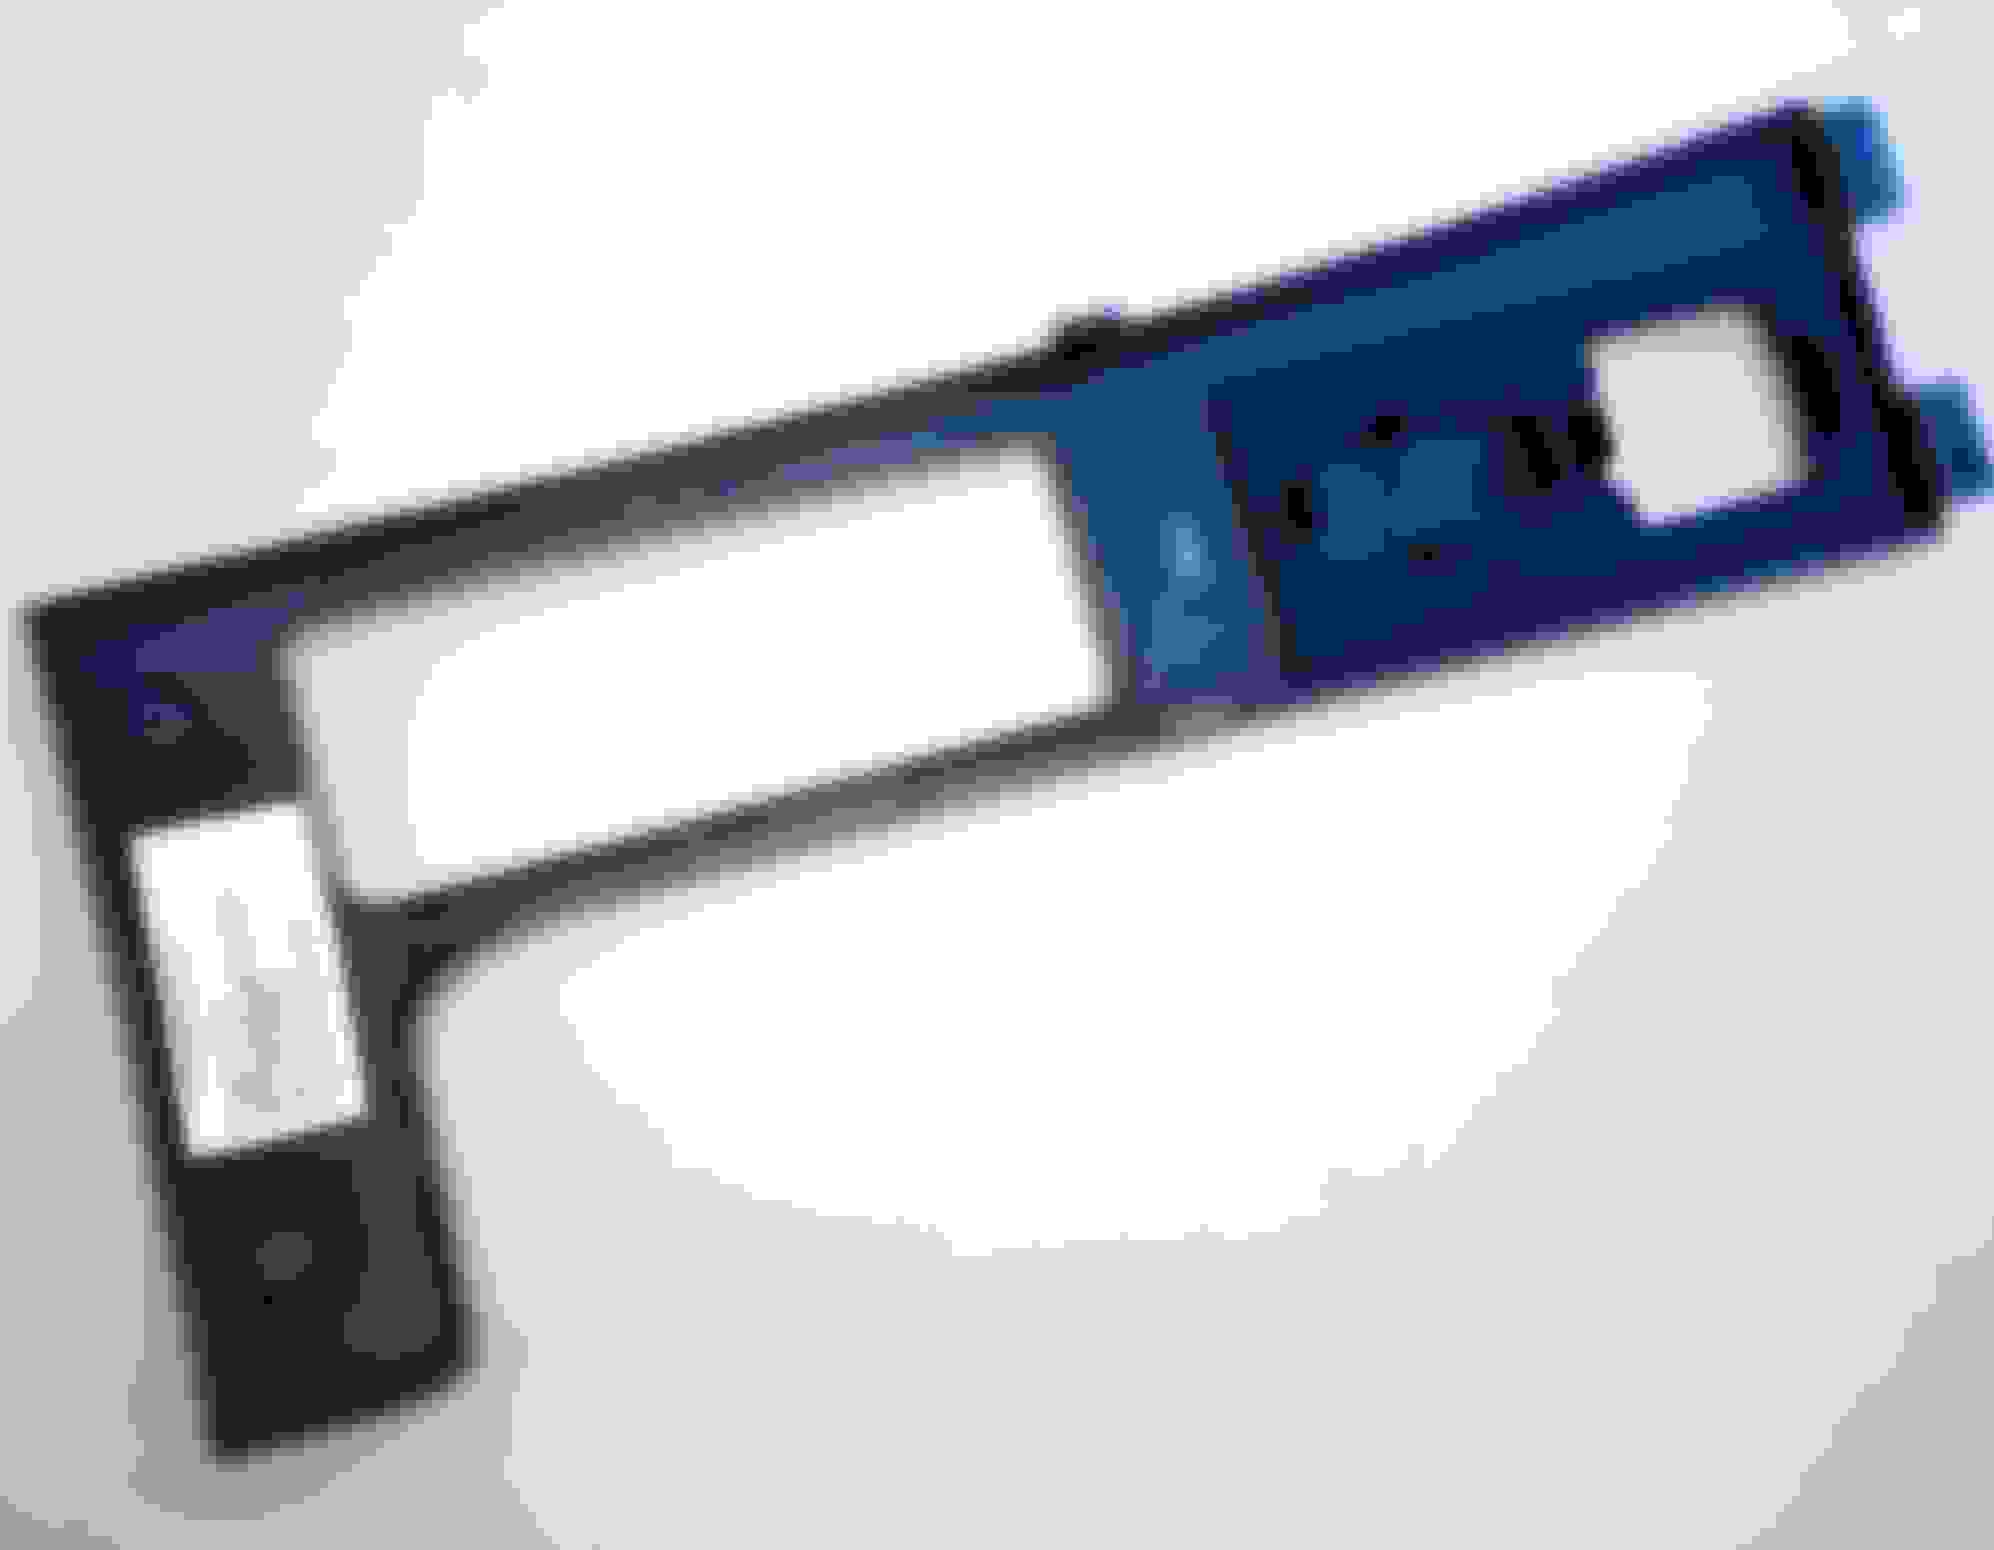
I chose to put the input selector switch between the mirror adjustment **** and the cupholder. With the panel removed from the console, I mapped out where to drill the hole. Looking at it from the bottom, a small portion of the unused plastic switch holder needed to be trimmed away for the securing nut to fit through.
The drill press was the perfect tool to trim that piece of plastic away so I began to line the press table with old newspaper as padding to prevent the panels painted surface from being scratched. Got everything lined up, clamped and secured in place, ready to make that trim. That factory switch holder became a perfect guide in helping me decide where the hole center should be.
I used a 1-1/2" hole saw to remove just enough of the black plastic section making sure not to drill completely through the panel.
I replaced the hole saw with a multi-step drill bit to drill through the panel.
The switch's threaded outside diameter calls for a 1-1/16" hole but my step bit can go from 1" then skips to 1-1/8". As a precaution, I marked the bit at 1" and stop there hoping I wouldn't need to go any larger.
...and, to my luck, a 1" hole was enough to make the switch fit through that hole perfectly!
The panel and the switch were assembled together to see just how it looked and I was very satisfied at how that turned out.
Step-4, Done.
.
Last edited by MAGNATUDE; May 17, 2016 at 01:00 PM.
With the wire harness and center storage console completed, it was time to do step-5 and that is to marry the console electronics to the wire harness. More details on the component board later...
It was important to have the cupholder and the handbrake lever trim removed to be able to have enough room to access and be able to tuck and ziptie the wire leads that connect to the dimmer switch and the voltmeter. It would have been nearly impossible to access those components with the brake lever trim and the cupholder assembly in place.
Wire access to the brightness potentiometer, auxillary DC power, magnetic reed switch and the Bluetooth A/B switch was not a problem.
Snaking the wire through and under the center console was probably the easiest part of the installation. I did, however, needed to remove the passenger side footwell air vent (with only one philips style screw) to pull the wire harness through. From there, I just ran the rest of the harness under a 4" section of the carpet and had the wire come out along with the other factory wire harness leading to the factory amplifier.
Ironically, with all the work that went into this mod and after everything was re-assembled, the only thing I had to show for is a nice little LED stainless steel switch by the cupholder.
.
Last edited by MAGNATUDE; May 17, 2016 at 09:28 AM.
It's always humbling to see what others can do in a weekend, that would take me a full winter season. "IF", I could even do it. Great write-up and easy to follow. Thanks!
Thanks for the compliment Steve Jr. I feel I needed to share this among all Crossfire Forum members and pay forward the knowledge I've gained from member contributions.
The M303 is a nice looking piece. Unfortnately for me, I wanted to keep the factory look of the dash console, did not want to spend that much on a headunit and I do not like to talk on the phone while driving anyway.
Although the M303 utilizes Parrot Bluetooth, audio data bandwidth is still compressed using its A2DP technology for stereo sound, has a 30ft receiving range and boasts an output of only 2 volts to the amp.
When compared to the price of a brand new headunit, I really like the performance aspect of my BT modification. Audio data bandwidth is un-compressed using 4.0 Bluetooth compliant with AptX codecs for Hi-Def sound. With the line driver, output voltage matches and even supercedes the 5 volts input spec of our factory amp and I can play my music from 100ft away when camping on a weekend or at the beach.....all for a fraction of a price of a new headunit.
Last edited by MAGNATUDE; May 19, 2016 at 07:06 AM.
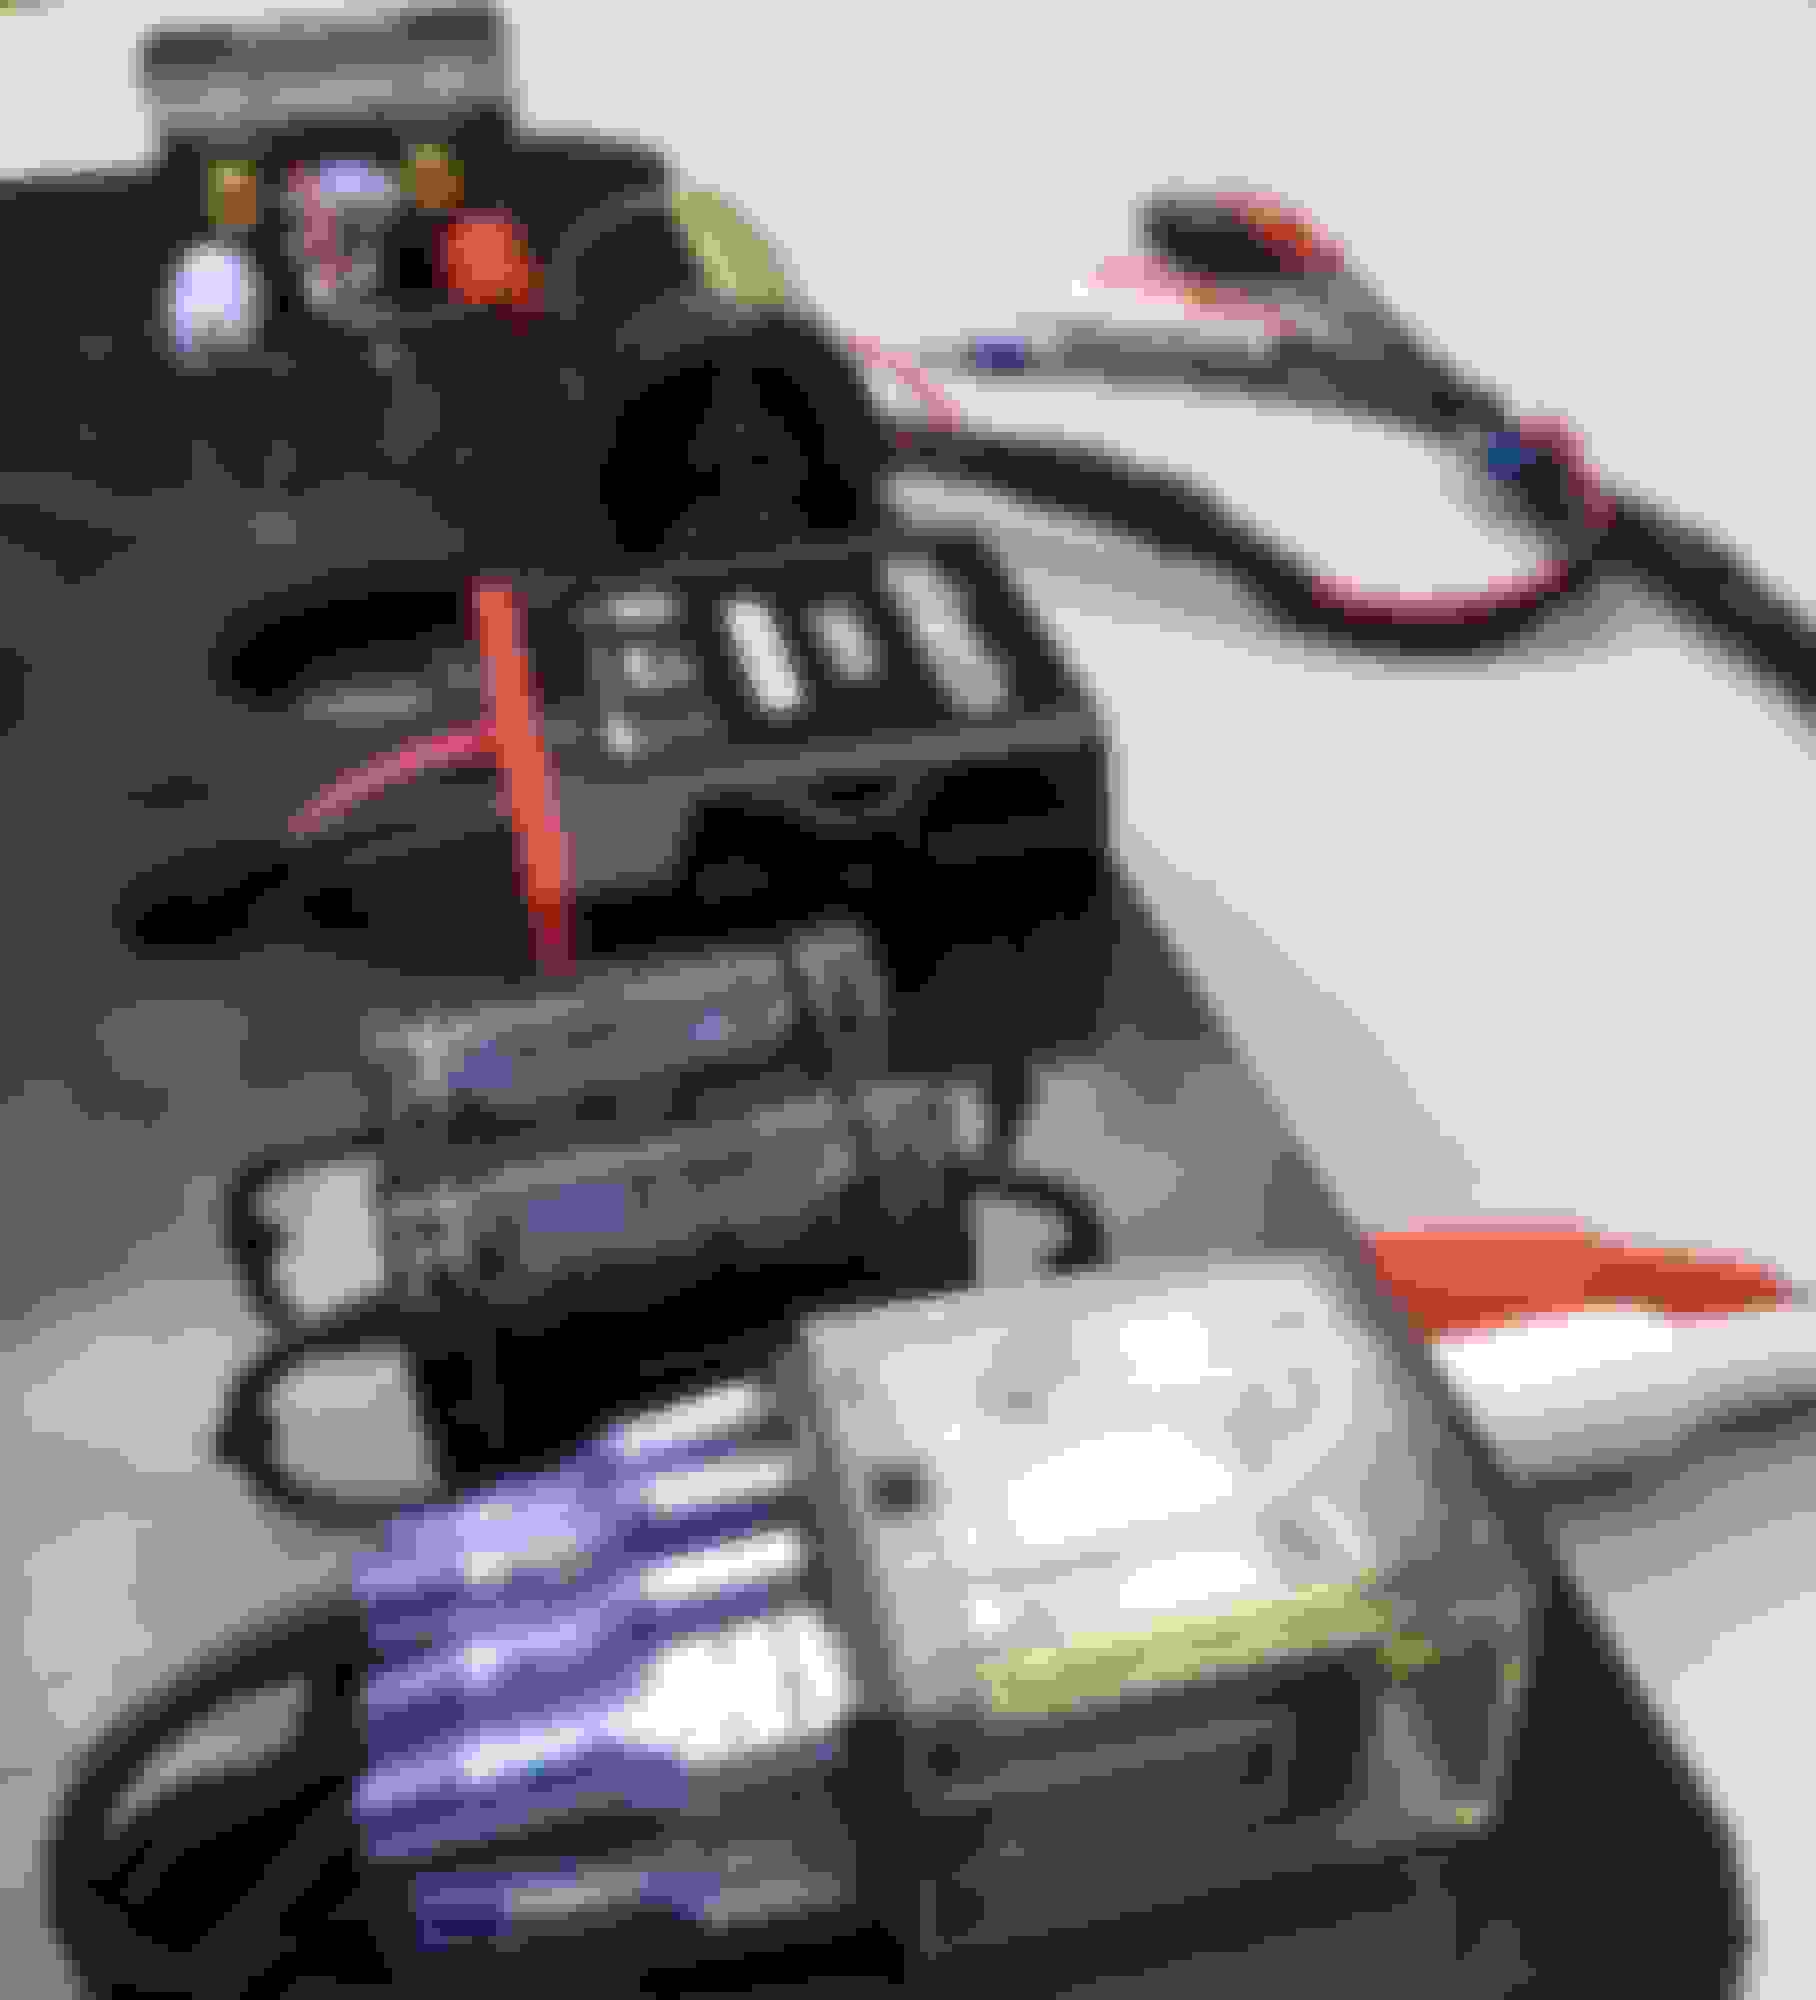
While the additional features and electronics on the storage console were being worked on during the day, I was able to chip away in completing the component board at night, after putting my son to bed.
Components were all placed on the upper end of the board to avoid creating a large bulge on the footwell carpet once the board is mounted to the cabin side of the factory amp panel. Several trips were made to the Crossfire footwell/amp area to ensure that the board had enough clearance, that it did not interfere with any of the factory wiring or component modules and that it would be stable enough to withstand occasional foot action.
Pictured below (in the foreground) is the input signal switching relay. It is my audio traffic controller that allows me to go from listening to radio, to listening to my smartphone with Bluetooth or to any mp3 device my friends or family decides to bring with them.
Next to the relay are a pair of 100 microfarad, bi-polar, coupling capacitors. They are connected in series with the left and right signal output off the relay. Their main job is to let the AC music signal pass on through to the amplifier and at the same time, block any unwanted DC bias (which could cause popping noise or humm heard though the speakers) between the amp and the relay.
Behind the coupling capacitors is the 4.0 Bluetooth receiver from Exile Audio. The signal received is converted to line level signal and is then sent to the line driver (to boost the signal to 5 volts) located at the very far end of the board.
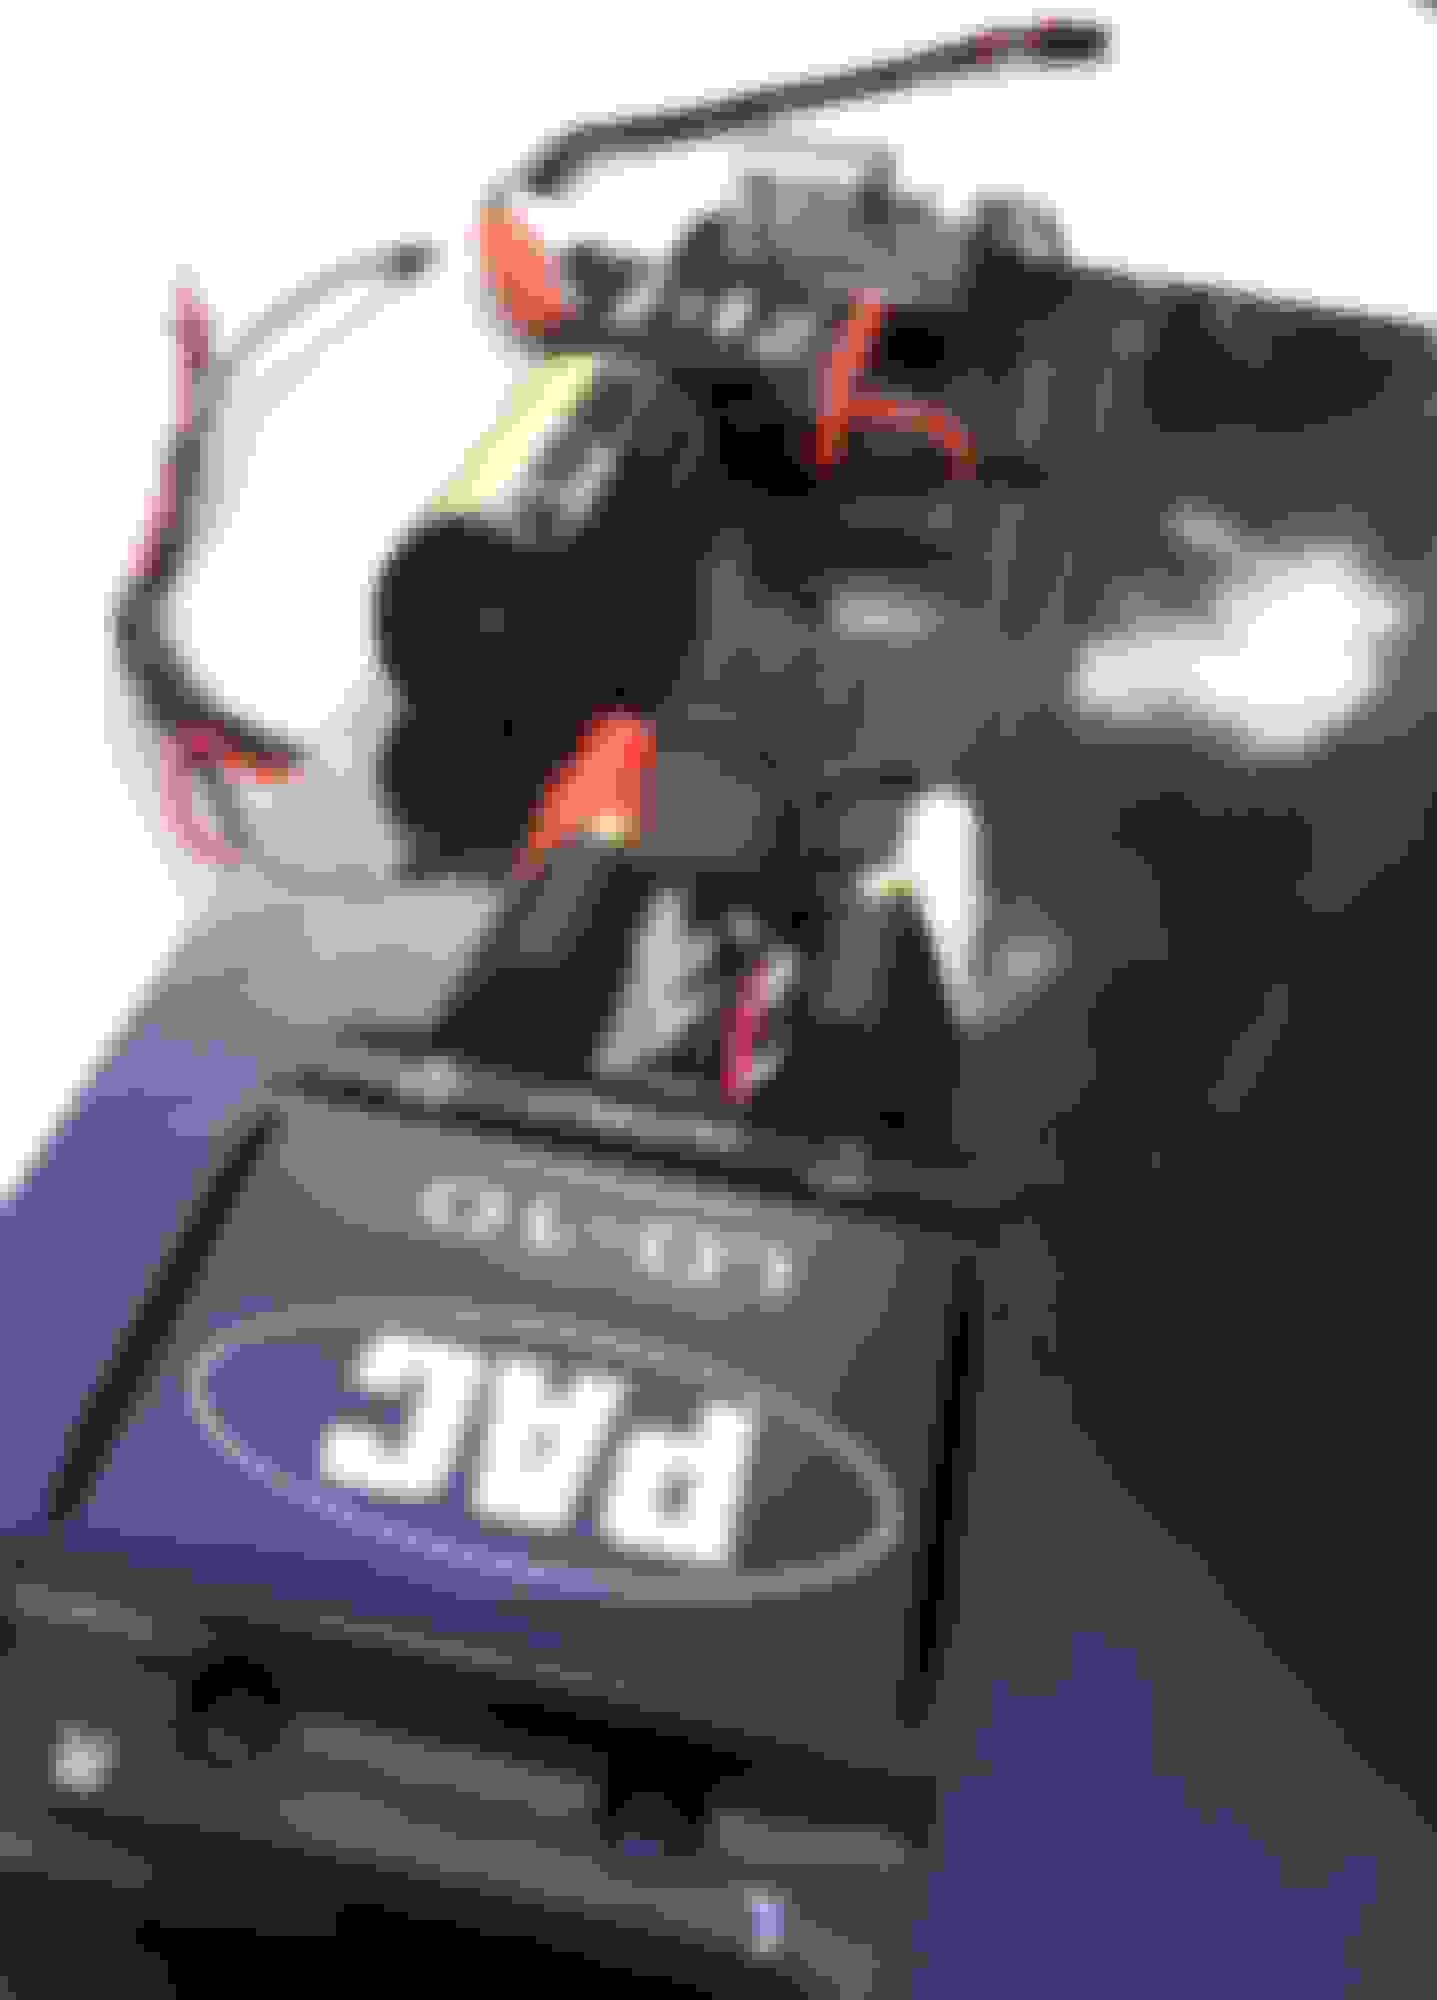
The PAC LD-10 line driver is an essential piece of the puzzle. It's basically there to increase the normally low voltage of any personal/handheld device to the same output level voltage of the factory radio. Mp3 and streaming music would sound anemic when compared to music heard from our OEM headunit because our OEM headunit sends a much higher speaker level signal to the factory amp.
To match the signal level of any Bluetooth/mp3 devices to the OEM headunit, the left and right output voltage level trim **** (shown at the foreground of the picture) can be increased or decreased by turning them up or down.
The component board was designed to be removed and installed easily for signal level tuning and for ease of maintenance. There are two stereo RCA cables coming from the board; one is for the signal originating from the factory headunit and it runs to the "A" side of the switching relay. The second RCA cable is from the output end of the switching relay via coupling capacitors and it leads back to the amplifier with either an mp3/iPod/Bluetooth signal or AM/FM/CD signal from the OEM HU. The other set of wires are to connect with the wire harness that leads from the stainless steel A/B source selector switch on the console to switch and power the Bluetooth components.
Wow. Beautifully done. A lot of planning and work and it sounds like it was worth it. Not sure I would take this on but the instructions and pictures are wonderful.
My effort was way more simple. A 50 dollar Bluetooth plug in transmitter. It actually works amazingly well. I know the sound quality is diminished but it actually still sounds pretty good. Also, the phone via the Bluetooth transmitter works incredibly well. $50. Functionality allows for music on San disk, ipod, etc. etc. but I do have to say toggling between folders etc isn't that easier. I do have steering wheel control unit with it that helps, but it' impossible to read the small screen.
Nice work, but I really don't see the point. For a little more than $100 and 30 minutes of work, you could have installed a new head unit that is far superior to the factory unit in every way and offers greater functionality. This looks like $500 worth of work to solve a $100 problem. I'm happy that it works for you.
For +/- $50. , the Bluetooth v4.0 really sounds great in the car.
Much of the work you saw was for the storage console upgrade.
As of this writing, I haven't found a headunit that delivers BT 4.0 HD to work with an iOS device. Most car headunits pretty much use the older Bluetooth technology and don't sound as good as the v4.0.
Is there a photo of what you see inside the car?
Looks very professional, well done.