When you click on links to various merchants on this site and make a purchase, this can result in this site earning a commission. Affiliate programs and affiliations include, but are not limited to, the eBay Partner Network.
In this thread I will be posting pictures and the how to's that I've done since I've owned my car and through the present. Like a living history. Hopefully the pictures and maintenance will help others along the way. NOTE: I will be adding a list of links to my "how to" posts so that you won't have to search every page. The links will be listed under the pictures below.
Introduction:
I know the first question I'm going to get, and yes he's named after the horror host and TV personality Svengoolie. However I didn't name him that.
My girlfriend is the one who is responsible for me getting my car in the first place. My father was recovering from being very ill at the time and I was under a lot of stress. She knew my love of cars and suggested that I find something to distract me.
Ironically I helped her get her new car a 2022 Subaru WRX 6 speed manual. This rekindled my passion for cars and what ever I got had to be a manual.
Kathy went with me when I looked at other cars and I drove a 2006 Crossfire coupe with a manual prior to going to test drive my car. I liked the coupe but I didn't like not having good visibility.
I saw a 2006 manual roadster for sale in Gilbertsville, PA with only 46,556 miles on it. We drove the 2 hours from NJ to go test drive it. I immediately fell in love with it, but I was hesitant to buy it. She encouraged me- "Just do it dammit", and I'm happy I did! I also have to thank my father for his encouragement to get the car as well.
She drove my Ram 1500 following me the entire way, never have driven a full sized truck before.
I figured that a woman who was good enough to do all of this for me should name the car she helped me get. Since we like to watch the show together, she chose that name.
On April 21, 2023 a 2006 Chrysler Crossfire base model 6 speed manual named "Svengoolie" was home.
OH NO! Sven's dead!
On our first drive together Kathy and I went to a diner about 40 minutes away. We had a nice lunch and when we were leaving Sven wouldn't start! No lights, no clicking of a dead battery etc...
I didn't panic, being a car guy my entire life, I just looked for the obvious. There it was, a loose positive battery cable. I was an idiot for not even having a small tool kit with me. I twisted the cable and started the car and drove it home with no issues.
Lesson learned, carry tools! When we got back I parked the car and I knew I was going to go over the car.
April 23, 2023.
Sven all cleaned up and in his new home. April 23, 2023. When I bought him from the used car dealer he was dusty from their gravel driveway.
Last edited by M60A3Driver; Feb 14, 2024 at 12:58 AM.
Reason: add the date
Sven gets his first replacement part!
After the diner incident, I started making a check list. Never having owned a half breed car like this I needed more info about my new to me car. I joined this forum on May 1, 2023 and I was glad I did!
I spent hours on here reading and absorbing info about the car like a sponge. The checklist was now 4 pages long!
When I was trying to find the multi-tool for the convertible top, I saw it.
Like a wart on a witch's nose, there it was! I was devastated! Should I just sell the car now?
The lower vent on the driver's side was missing the attaching screw!
Ok, maybe a little over dramatic
Seriously though, I got the part from ebay and on May 6, 2023 I put my first part on my Crossfire!
Who knew that you had to be a contortionist to work on this car?!
The big maintenance day for Svengoolie was May 15th, 2023.
Engine oil, oil filter, air filters, cleaned the air filter housing and other maintenance and then...
The cabin filter. I'm old! I can't twist into those positions like that! That thing was installed by some alien being that Karmann hired!
That had to be the original because it was nasty!
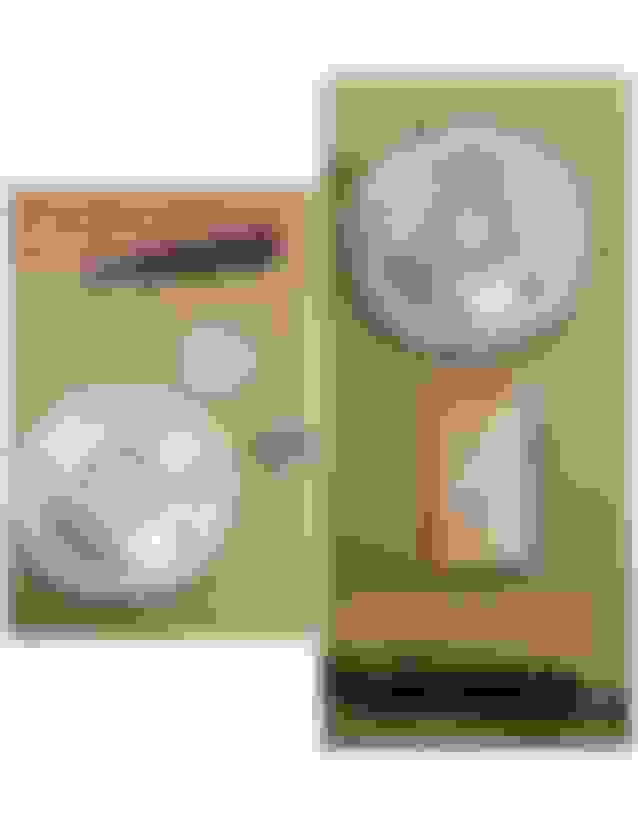
Antenna Gasket Replacement (Roadster).
"TURN UP THE RADIO" - AUTOGRAPH
November 22, 2023, "Svengoolie" gets a new antenna gasket!
I had already replaced the old antenna on May 25th and now it was time to replace the old cracked and dried out antenna gasket.
I found one on ebay but it came with a short 9" antenna so I payed more than the standard VW style gasket. I think it was worth it because the gasket was thicker and covered more area which should prevent water leaking in.
The job wasn't to hard. The pressure was released, so I raised the top and secured the tonneau and propped up the bow.
I got access through a hole in the trunk and was able to trace the 2 wires to their connectors and carefully disconnected them. I didn't have a 19mm wrench so I used a 3/4" open end wrench to remove the retaining nut.
I then pulled the antenna up and out. I cleaned the area where the gasket was and applied some wax.
Next, I removed the old gasket and cleaned the base, fit the new gasket to the base and reinstalled every thing.
Here are some pictures:
The original antenna and gasket.
The new replacement and original.
The gasket was actually falling apart when I was removing it.
The antenna base installed with the new gasket. New gasket and antenna.
Last edited by M60A3Driver; May 25, 2024 at 12:56 PM.
Reason: Title change
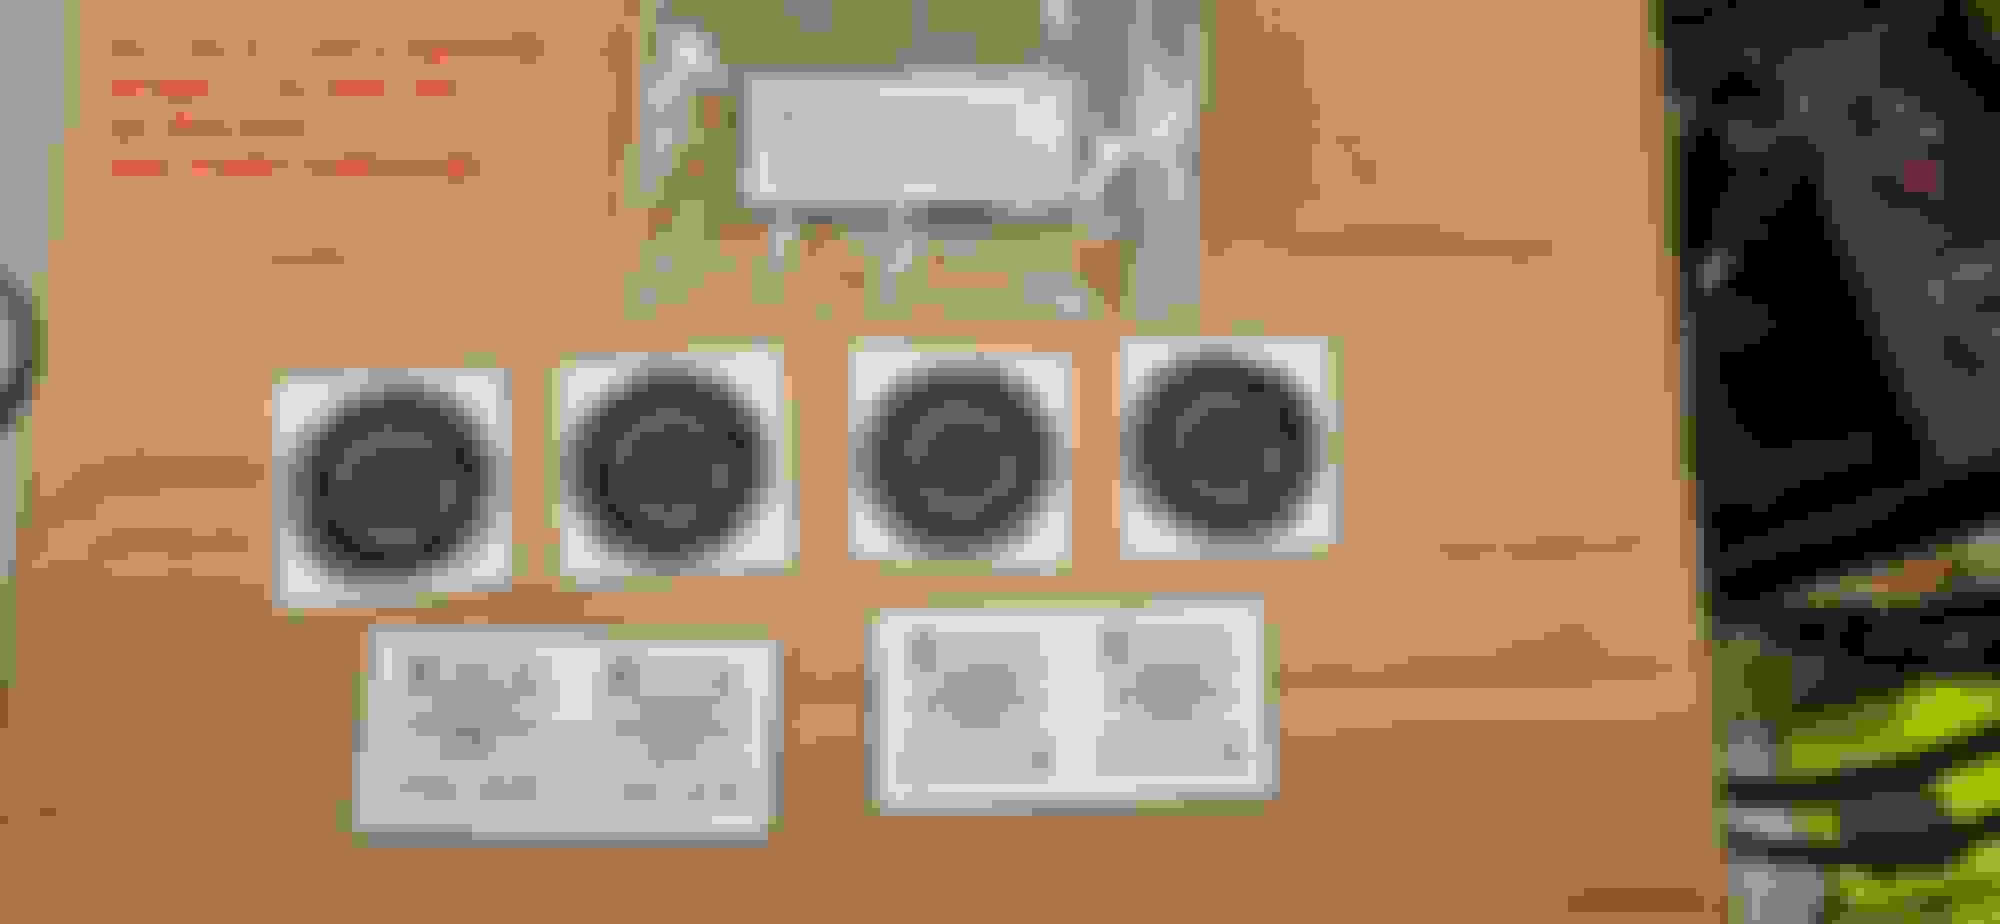
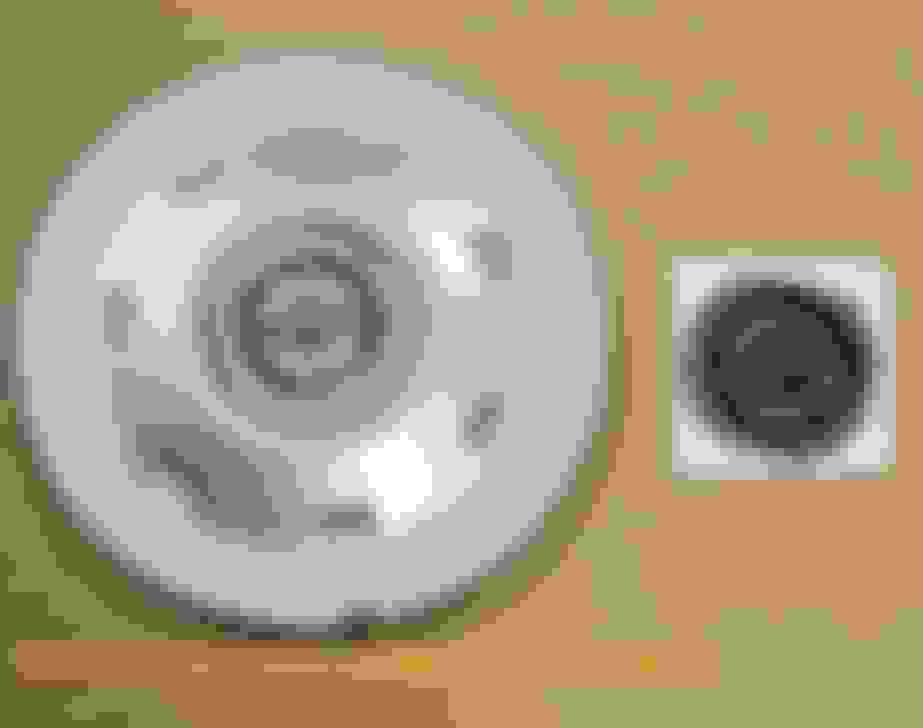
Wheel Center Cap Logo Replacement
The "Center" of attention!
Prior to the Antenna, on June 14th, 2023 was the cleaning of the wheel center caps and replacement of the Chrysler logos. A nice easy job.
I got the center cap logos from a place in England. The link will be at the end of this paragraph. The new logos were the correct size and are domed shaped like the originals.
They have them in black and chrome as well as the gold with colors.
Removing the originals was tough at times because the adhesive they used was pretty strong. I took pictures as I did it and then put it up on the FB forum.
Here's where I got the logos: https://www.chryslercrossfire.co.uk/...ories.html#ba4
Last edited by M60A3Driver; May 25, 2024 at 12:58 PM.
The "Center" of attention!
Prior to the Antenna, on June 14th, 2023 was the cleaning of the wheel center caps and replacement of the Chrysler logos. A nice easy job.
I got the center cap logos from a place in England. The link will be at the end of this paragraph. The new logos were the correct size and are domed shaped like the originals.
They have them in black and chrome as well as the gold with colors.
Removing the originals was tough at times because the adhesive they used was pretty strong. I took pictures as I did it and then put it up on the FB forum.
Here's where I got the logos: https://www.chryslercrossfire.co.uk/...ories.html#ba4
Do you by any chance know the size of the original ones? I am trying to have some customized made out of Aluminum. Thanks very much!
Valet Key
The key to the story
When I bought my car in April of 2023 I only had one key. I didn't think this was a big deal and I figured I would eventually go to the local locksmith and have one made.
Then in May I joined this forum and I was shocked at how much this one key is responsible for and how vital it was! I started reading about how I would have to send my key to Michigan or California.
Knowing the reliability of USPS and other delivery companies, I didn't want to send my key out. With my luck, the next thing I would be doing is tearing the dash apart to get the SKREEM out.
I called a few places and they had no clue. Then I remembered both my father and uncle used to work for a locksmith that's been around for many years.
I went to him but he said he didn't have the programming equipment and told me he knew another local shop that worked on Mercedes-Benz keys.
I called "The Keyless Shop in Fairfield, NJ. I spoke with the owner and he said he used to do the keys but didn't want to do them anymore. I called a few more places with no luck. So I decided to drive Sven to the shop and I waited for them to show up. I spoke with a technician and explained my situation.
He made an appointment for me to come back and he said he could only make a valet key. He tried to clone my key when I had the first appointment, but couldn't get it to program.
Long story short he was persistent and found the program through the company's main HQ. On July 27, 2023 I had my valet key!
Now I can send my valet key out to Michigan or California to get a new fob made and not have to worry!
Last edited by M60A3Driver; May 25, 2024 at 12:59 PM.
Reason: Title Change
Hi,
just a quick question - did the technician clone your key, and write the clone to another RFID chip, or did he program a new RFID chip using your vin number? The reason I ask is because there are other posts that say cloning won't work - the SKREEM has 8 channels/tracks for upto 8 keys. The first two tracks are usually the used by the two keys you get when you buy the car. Any other keys are suppose to go into the later tracks, unless you want to overwrite the other used tracks which then makes your original keys un-operatable.
Thanks for the updates, sincerely
Jerry
Hi Jerry,
The tech gave me a new chip in the new valet key. I still have my original chip in the original fob and the key and fob work fine. I don't think he used my VIN but I'm not sure.
When I had this done, I had only owned my car for a couple of months. I wasn't familiar with any of this so I didn't really ask how he did it.
I wish I could be of more help,
John
Rear Shock Absorber Replacement
Well that's shocking!
November 26, 2023. I replaced the rear shocks on my car. It wasn't to bad since I already had the trunk liners out.
I used Monroe OE Spectrum shock absorbers.
NOTE: When installing the new shocks, torque the upper shock nut to 13 foot pounds (18 newton meters). Torque the lower nut to 41 foot pounds (55 newton meters).
Last edited by M60A3Driver; May 25, 2024 at 01:00 PM.
Front Shock Absorber Replacement
We advance to the front!
November 27, 2023. The front shocks finally arrived, they were shipped separately from the rears for some reason.
Installation was a little more different than the rear shocks, but not difficult. Again, I used Monroe OE Spectrum shock absorbers.
NOTE: When installing the new shocks, torque the upper shock nut to 13 foot pounds (18 newton meters). Torque the lower nut to 41 foot pounds (55 newton meters).
Last edited by M60A3Driver; May 25, 2024 at 01:01 PM.
Reason: Re-title
Steering Damper Replacement
Handles like a go kart!
November 30, 2023. I replaced the steering damper. This was an easy job and it didn't require many tools.
TIP: Spray the bolts the night before removal with penetrating oil.
The bolts are 16mm and should be torqued to 33 foot pounds.
Last edited by M60A3Driver; May 25, 2024 at 01:01 PM.
Reason: Make it easier to read text
Grounded
November 30, 2023 was a busy day! Gas cap tether, both ground fixes and the steering damper posted above.
Here are the pics from both ground fixes. Credit goes to James1549 and CROSSFIRERUSH for their posts.
Last edited by M60A3Driver; Sep 8, 2024 at 03:16 AM.
Grounded
November 30, 2023 was a busy day! Gas cap tether, both ground fixes and the steering damper posted above.
Here are the pics from both ground fixes. Credit goes to James1549 and CROSSFIRERUSH for their posts.
Adding a secondary ground from the battery to the transmission.
Replacing the lower ground strap.
Definitely keep posting instructions and documenting. I'm following this thread. A lot of good info here especially considering our cars are now over 18 years old and things just breaks from wear and tear. Can't wait to see what comes next for Svengoolie
Definitely keep posting instructions and documenting. I'm following this thread. A lot of good info here especially considering our cars are now over 18 years old and things just breaks from wear and tear. Can't wait to see what comes next for Svengoolie
Thanks!
Next up will be flex discs and Drive shaft bearing. I just have to find another free photo editor! LOL
Drive Shaft Support Bearing and Flex Discs
PART 1 OF 4
This is a large post with a lot of pictures, I can't find a good free photo editor, so I had to break it into 4 parts.
December 5, 2023. I started working on replacing the Flex Discs and the Carrier Bearing (Drive Shaft Support Bearing). I finished everything on December 15, 2023. (multiple projects, life events, house, etc... is why it took so long).
These are pictures of how I did the work on my car. Hopefully they will be useful to others working on their cars.
Last edited by M60A3Driver; Nov 8, 2024 at 01:24 AM.